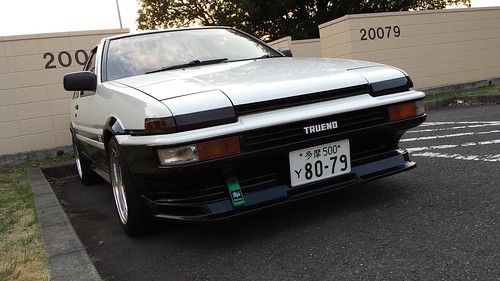
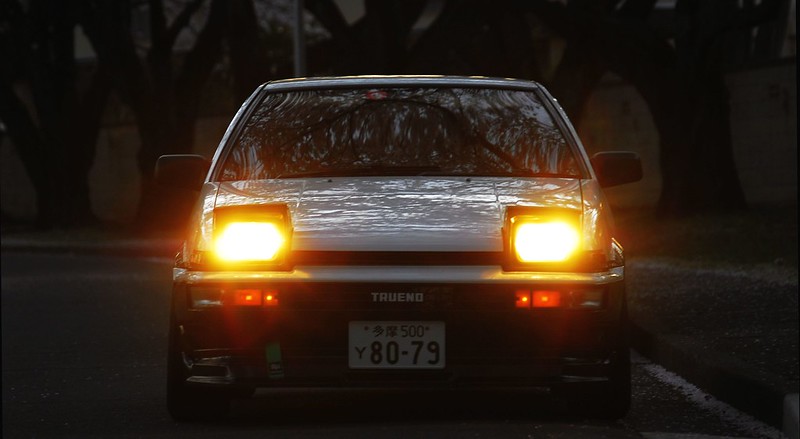
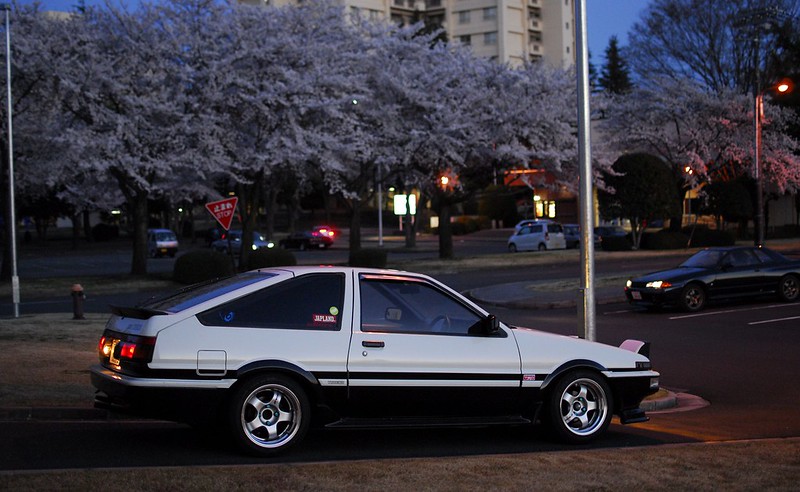
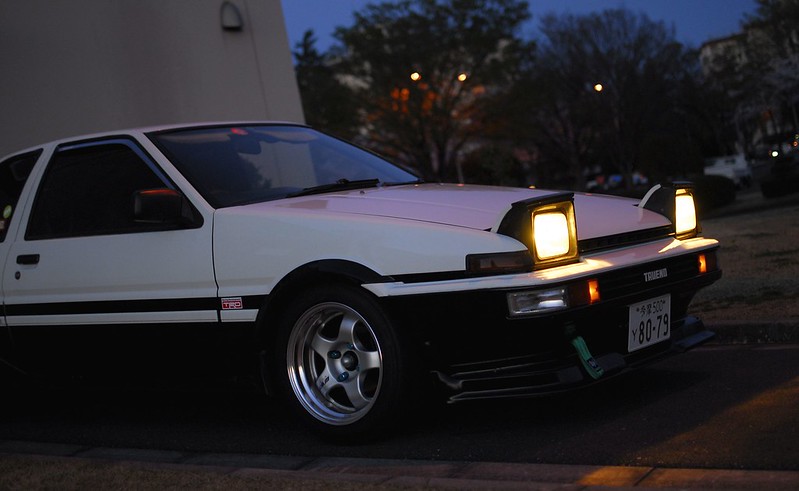
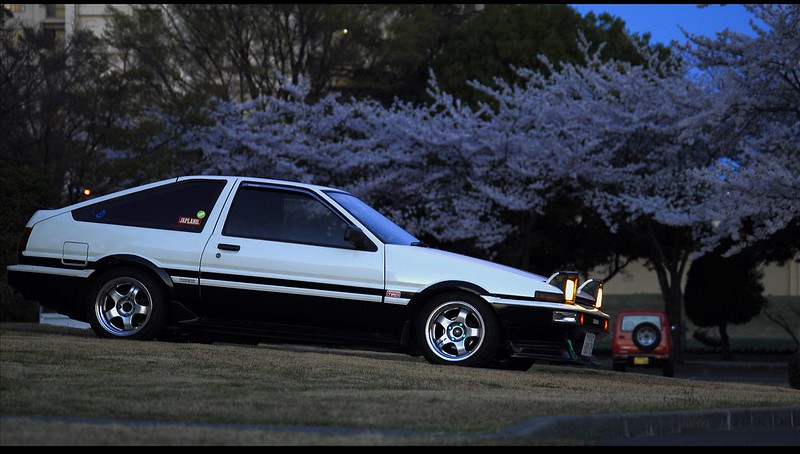
So I have had my AE86 for almost two years and other than a mix of TRD/poly bushings. A 350MM Nardi Deep Cone steering wheel, and loads of miles, i have left it alone.
Recently i decided to do all those little mods i had been wanting, all at once.
This thread will track my progress.

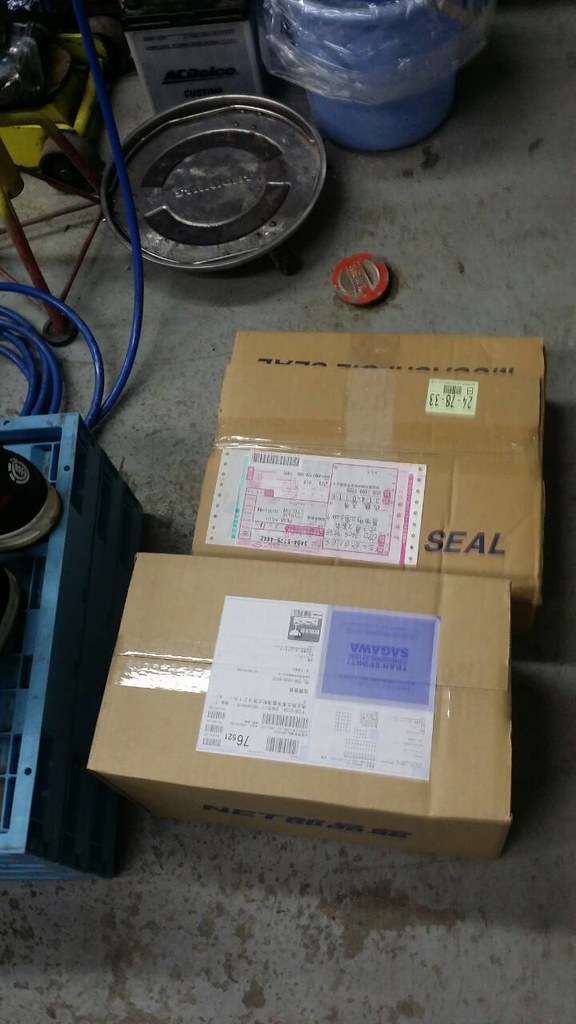
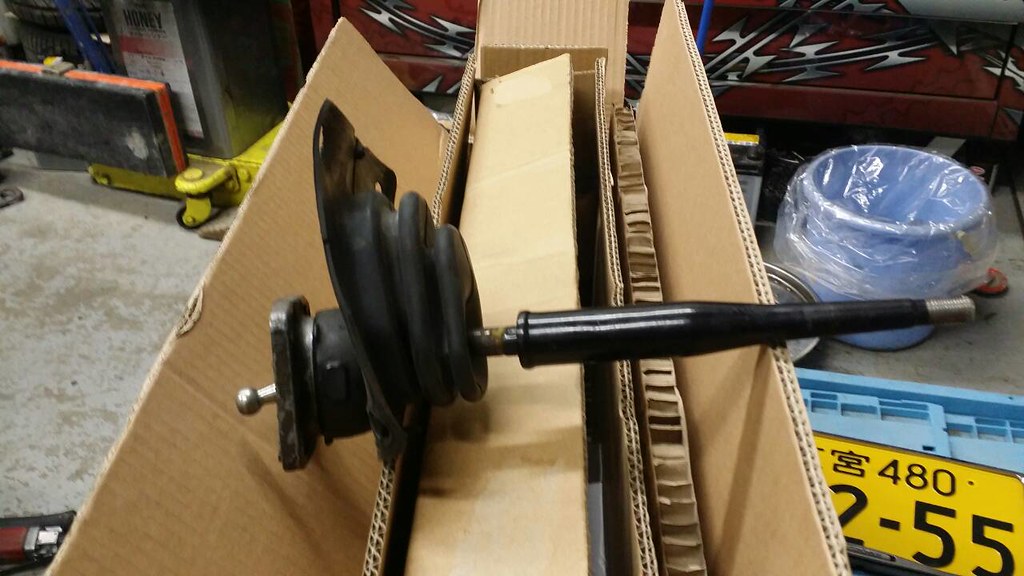
Items Purchased so far:
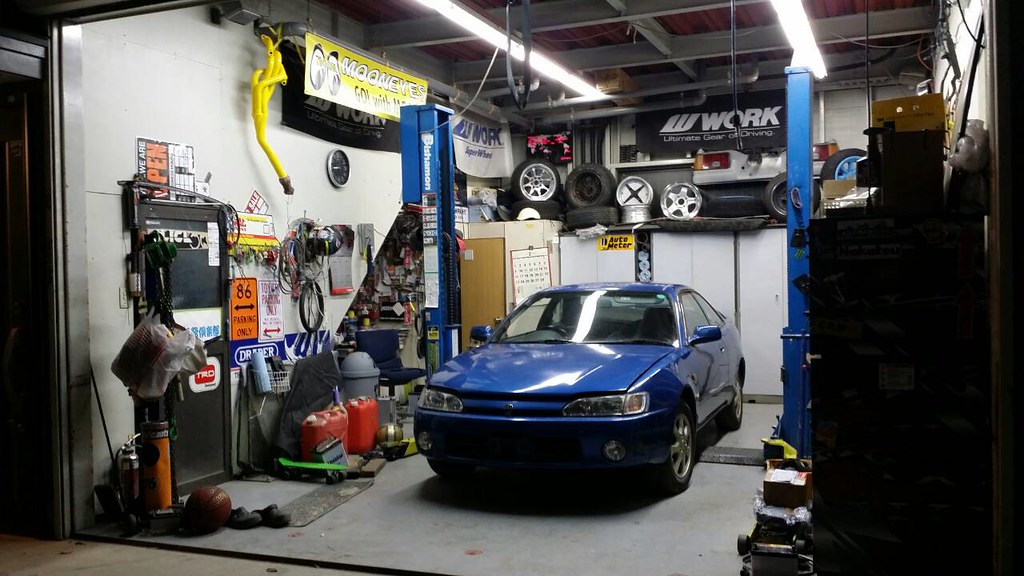
Complete AE111 Levin
Blacktop Gasket set (and general tune ups)
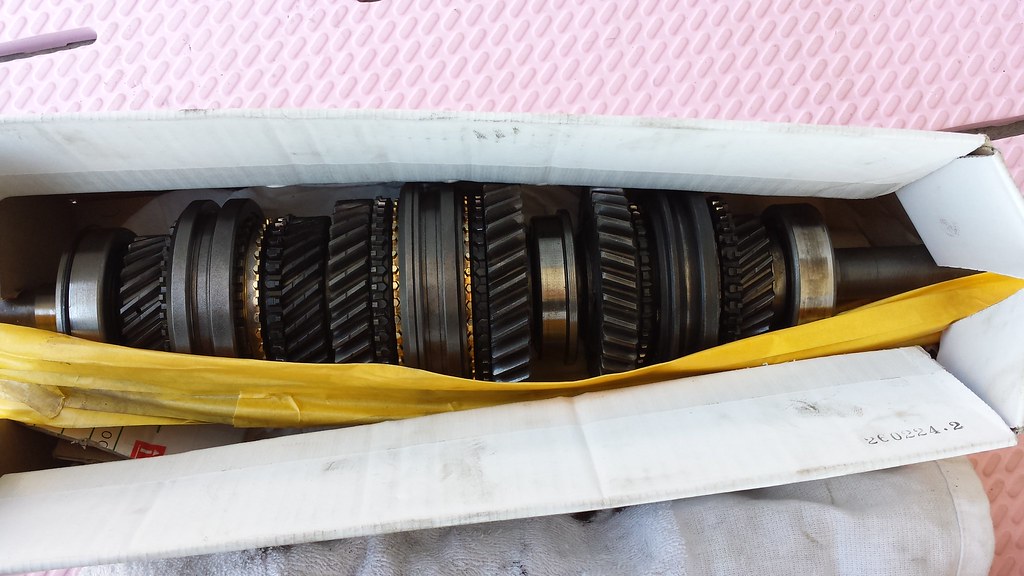
Complete Sam-Q swap kit
Whiteline Adj Sway bars
DIY adj lateral rod parts
T3 RCA's
T3 Shifter Rebuild kit (TRD Shifter for sale!)
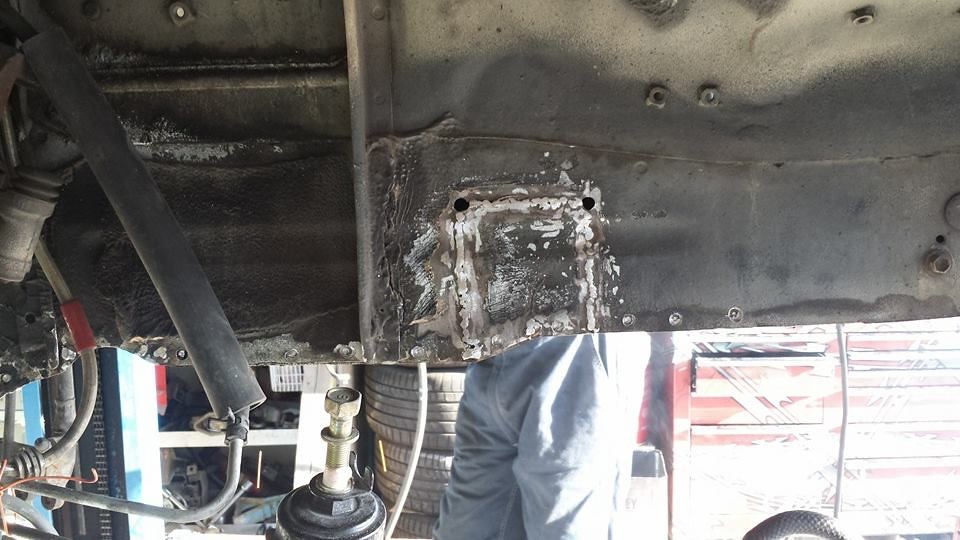
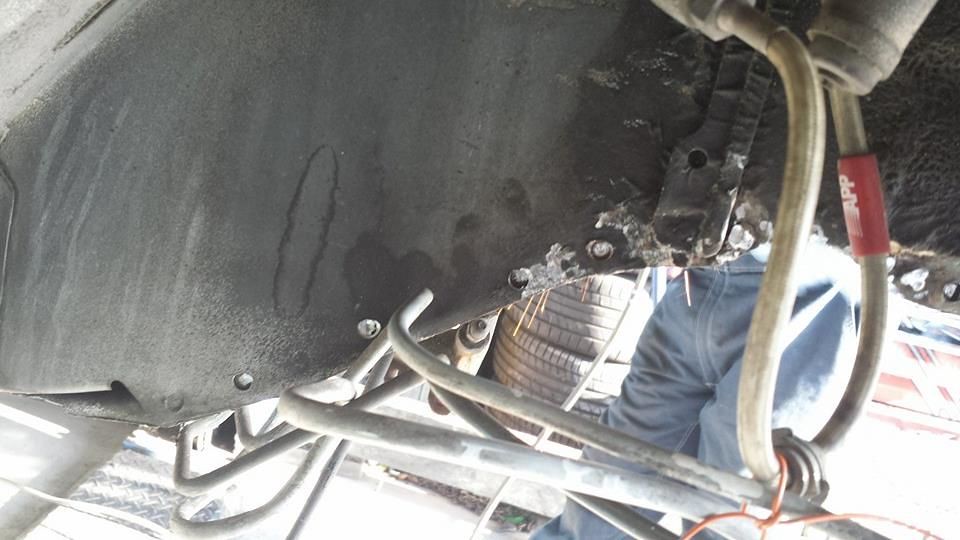
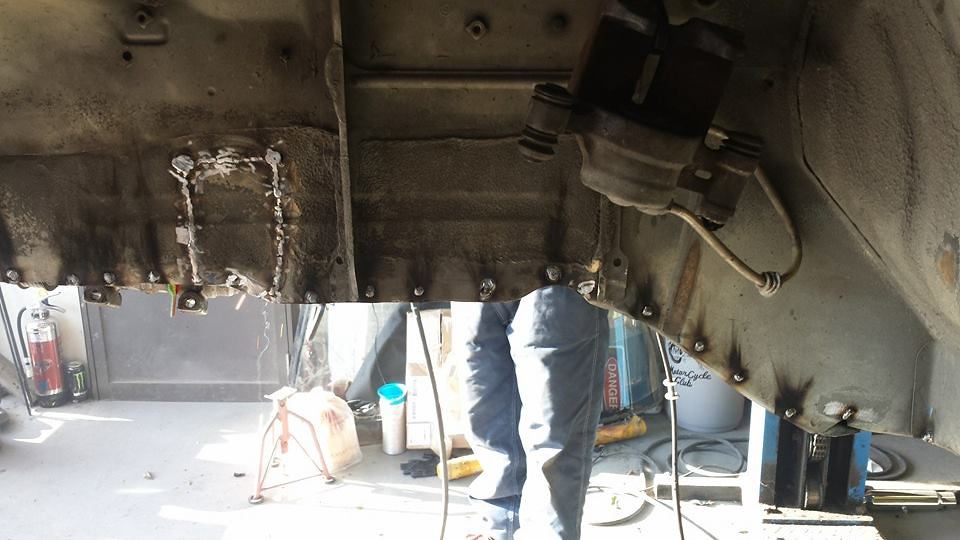
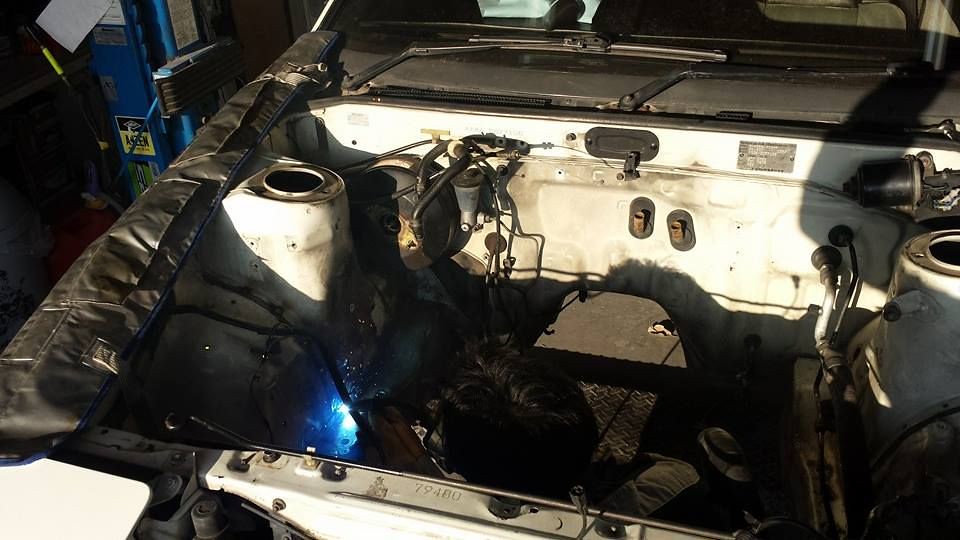
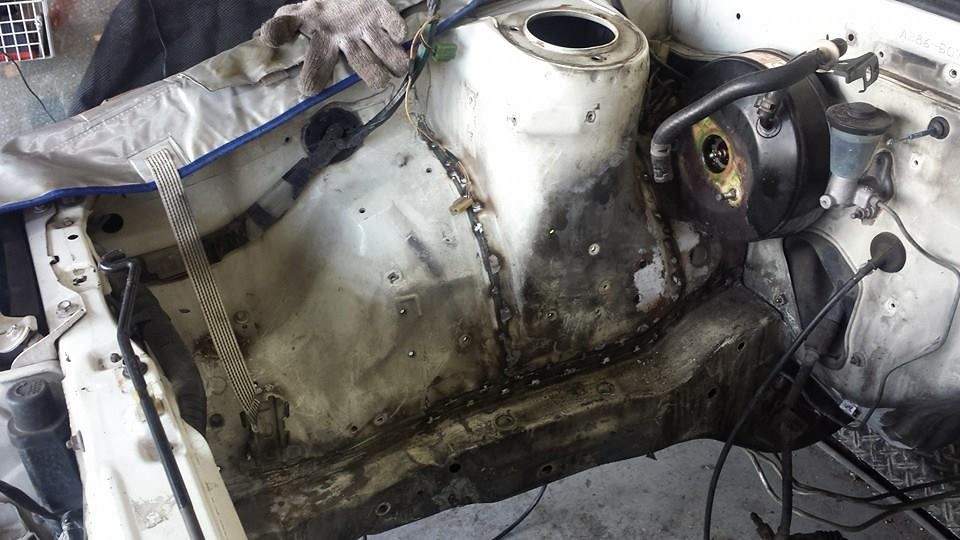
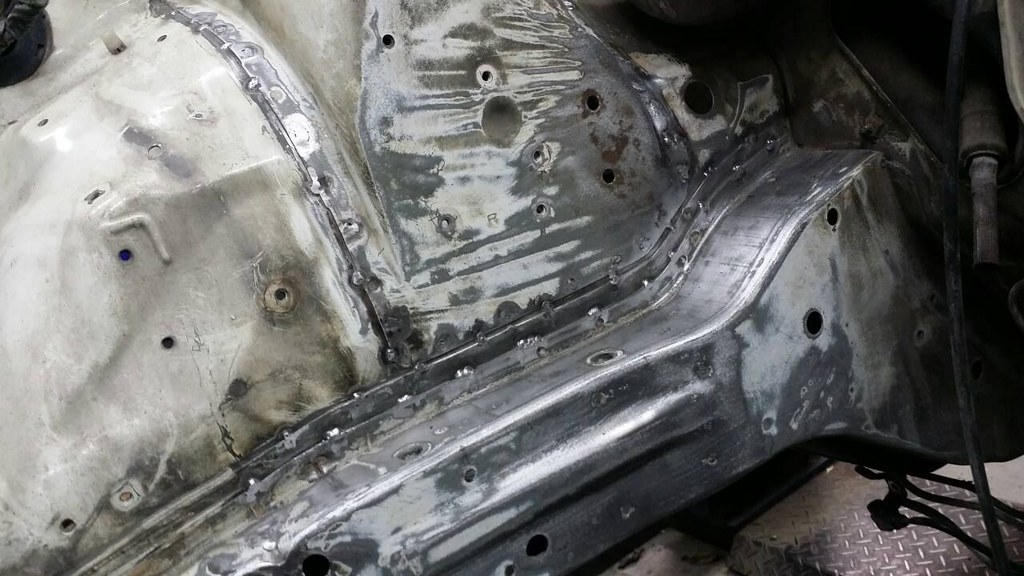
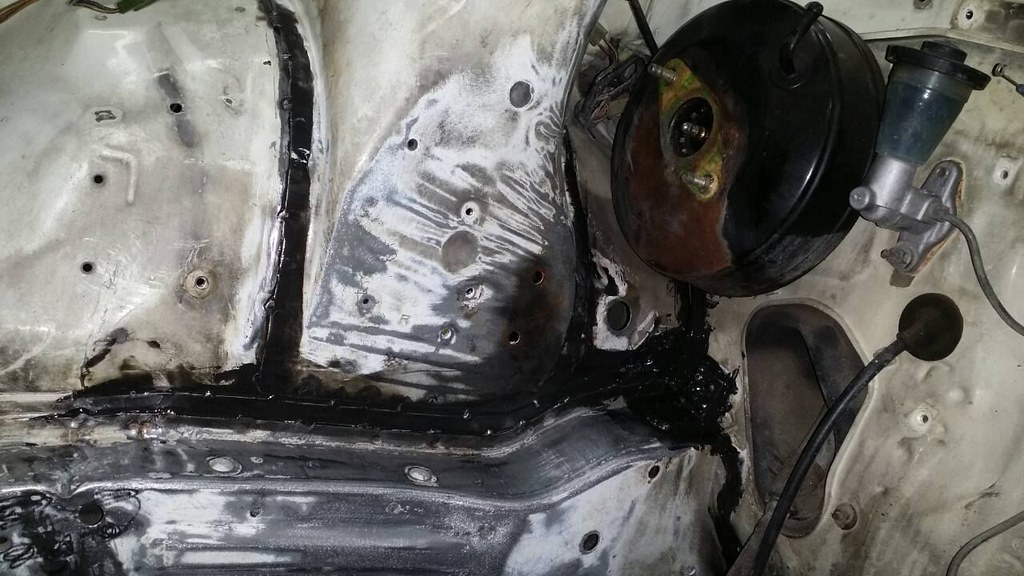
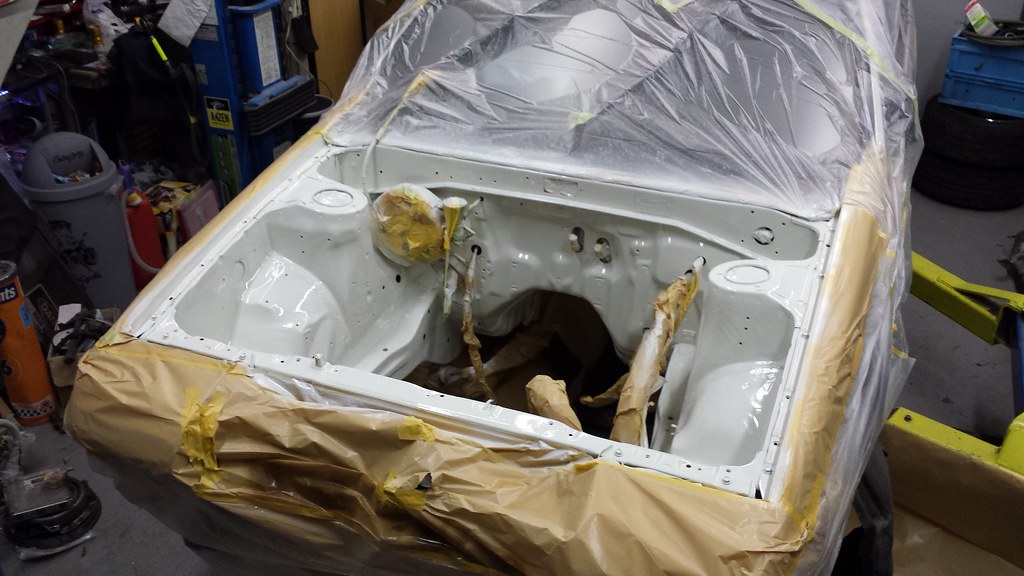
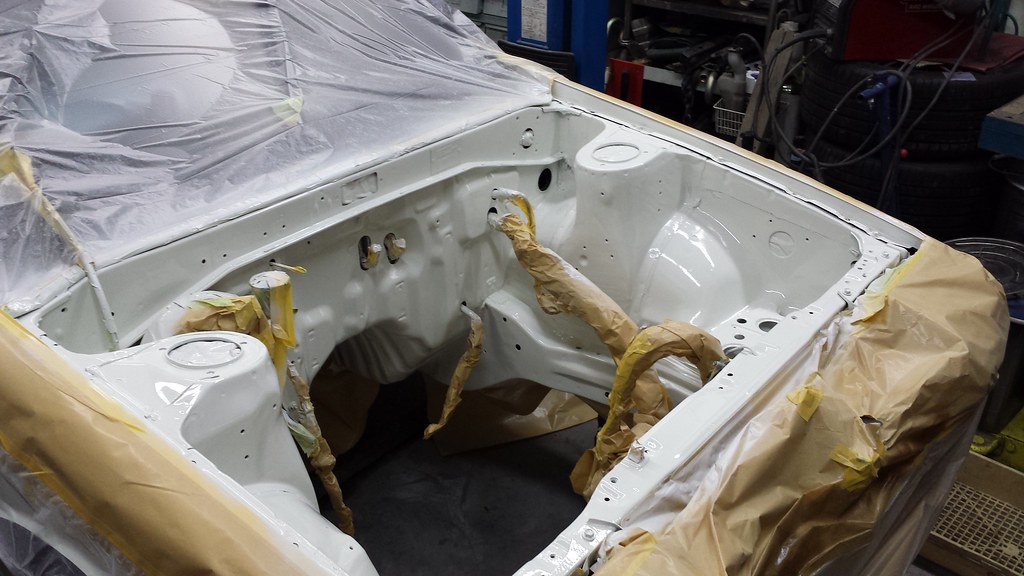
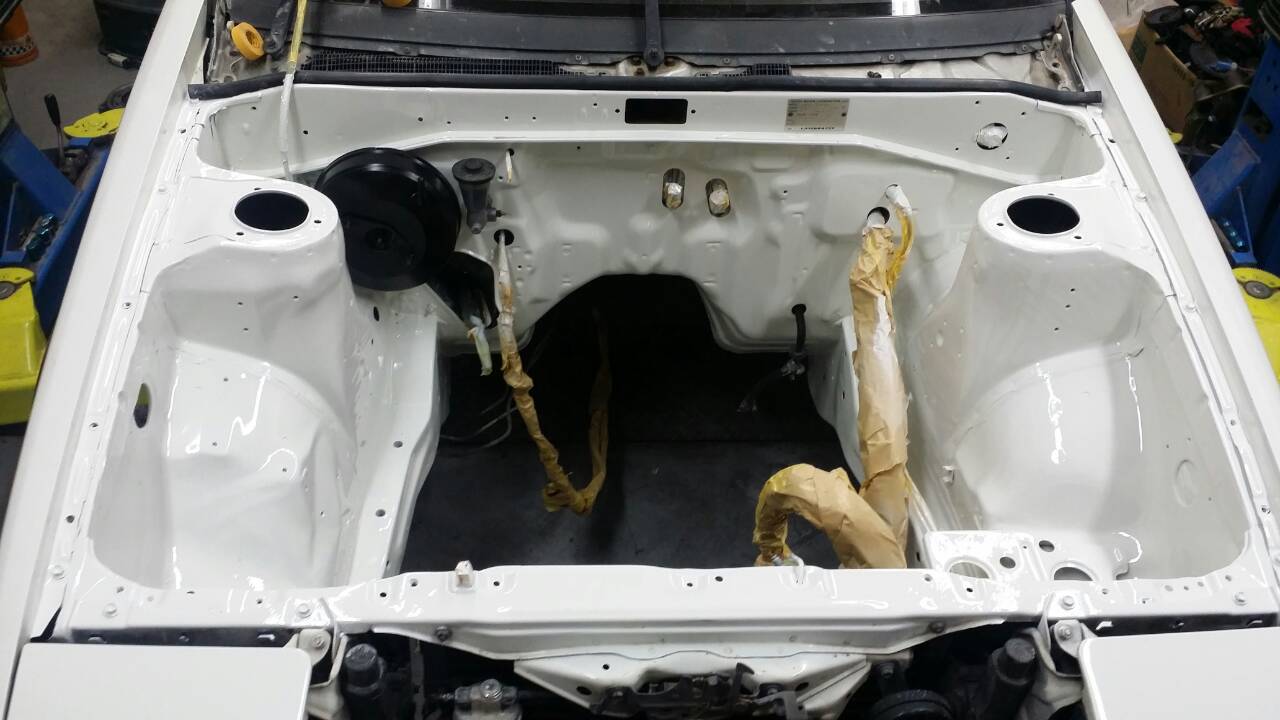
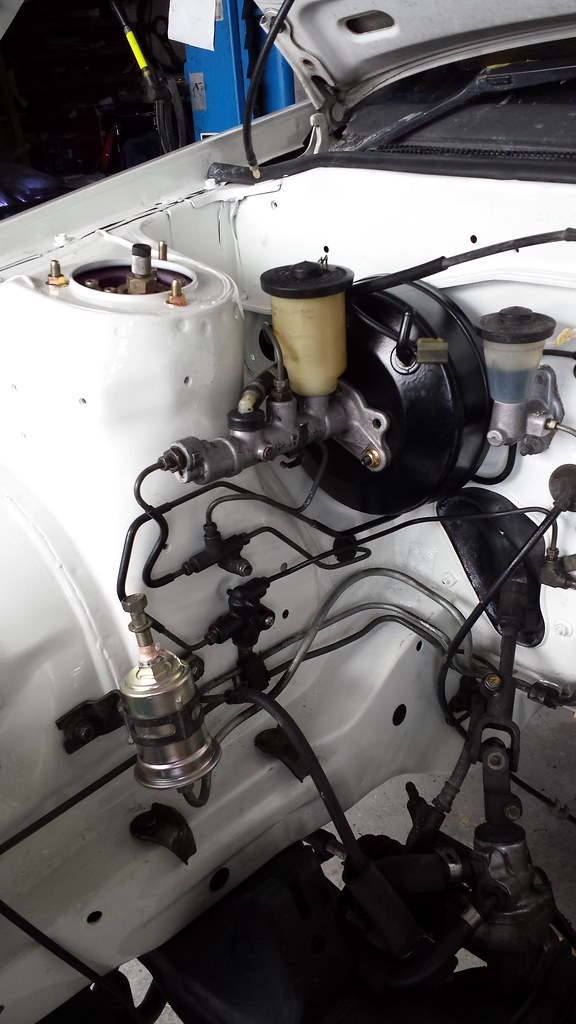
During the swap ill also be having the seams all fixed up with spot welding and fresh paint for the whole bay.
The car is already sitting at the shop and I recieve photo updates quite frequently, which ill be posting here along with whatever i go to help out with.
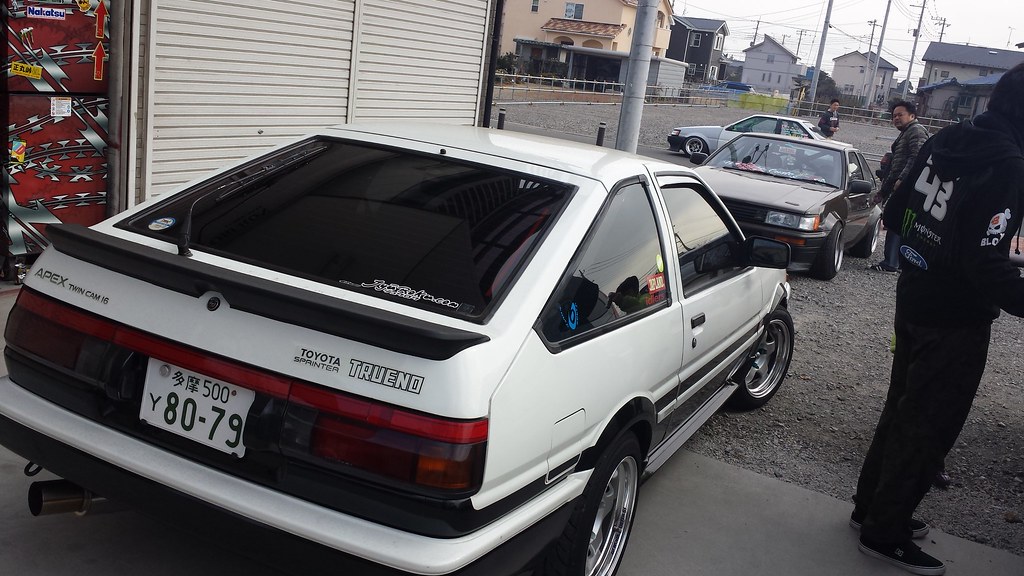
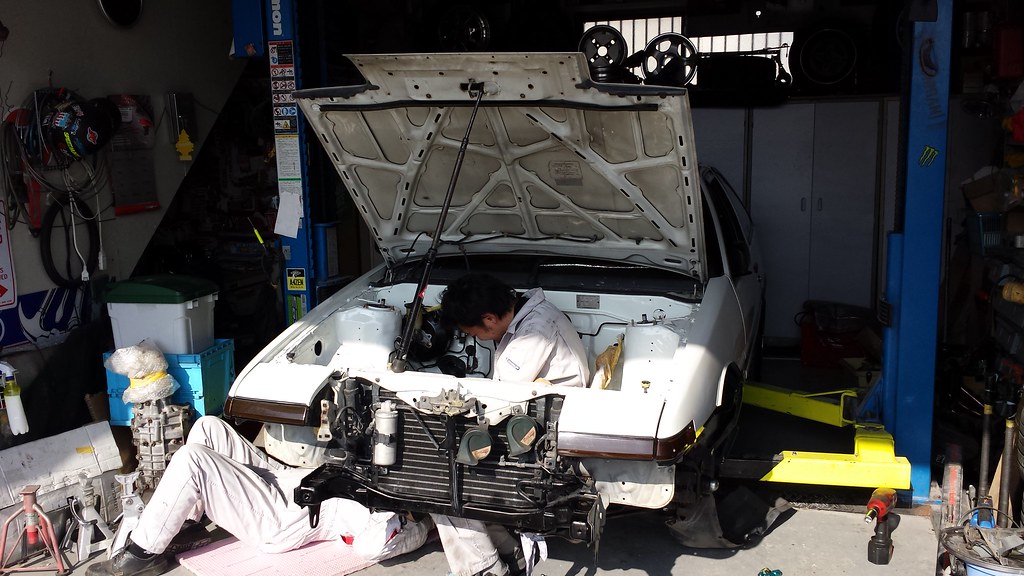
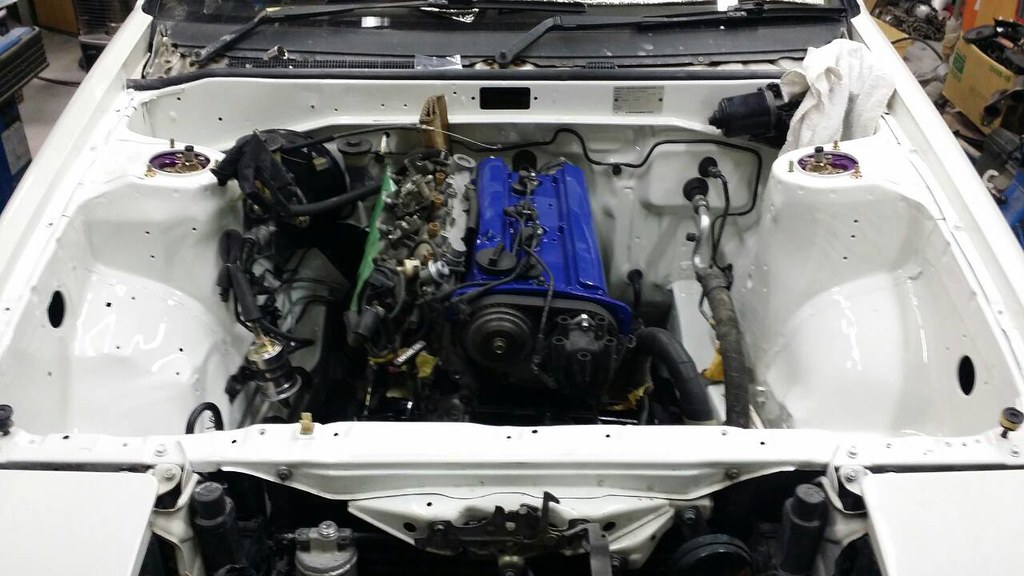
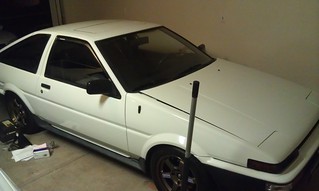
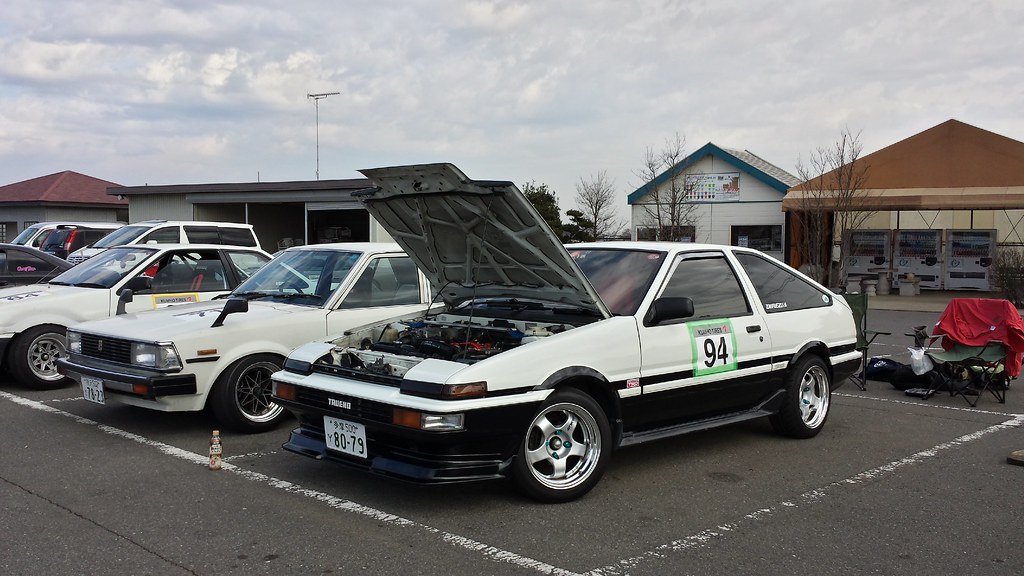
First Update 4 Feb 2014:
AE86 and AE111 rolled into the garage, preps for engine removal started.

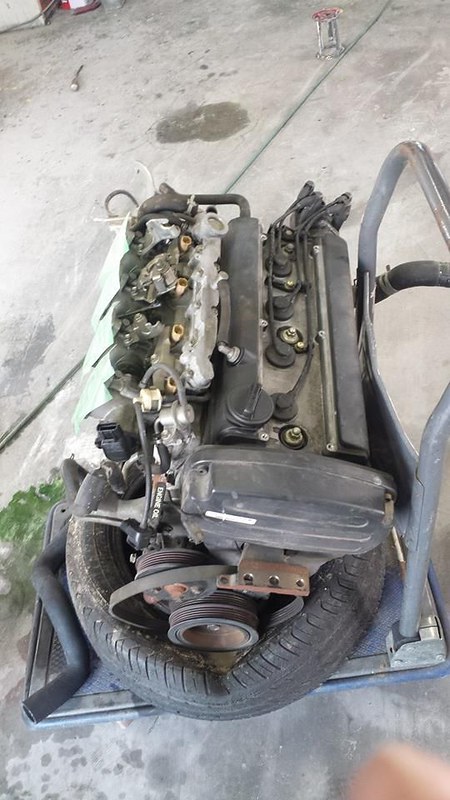
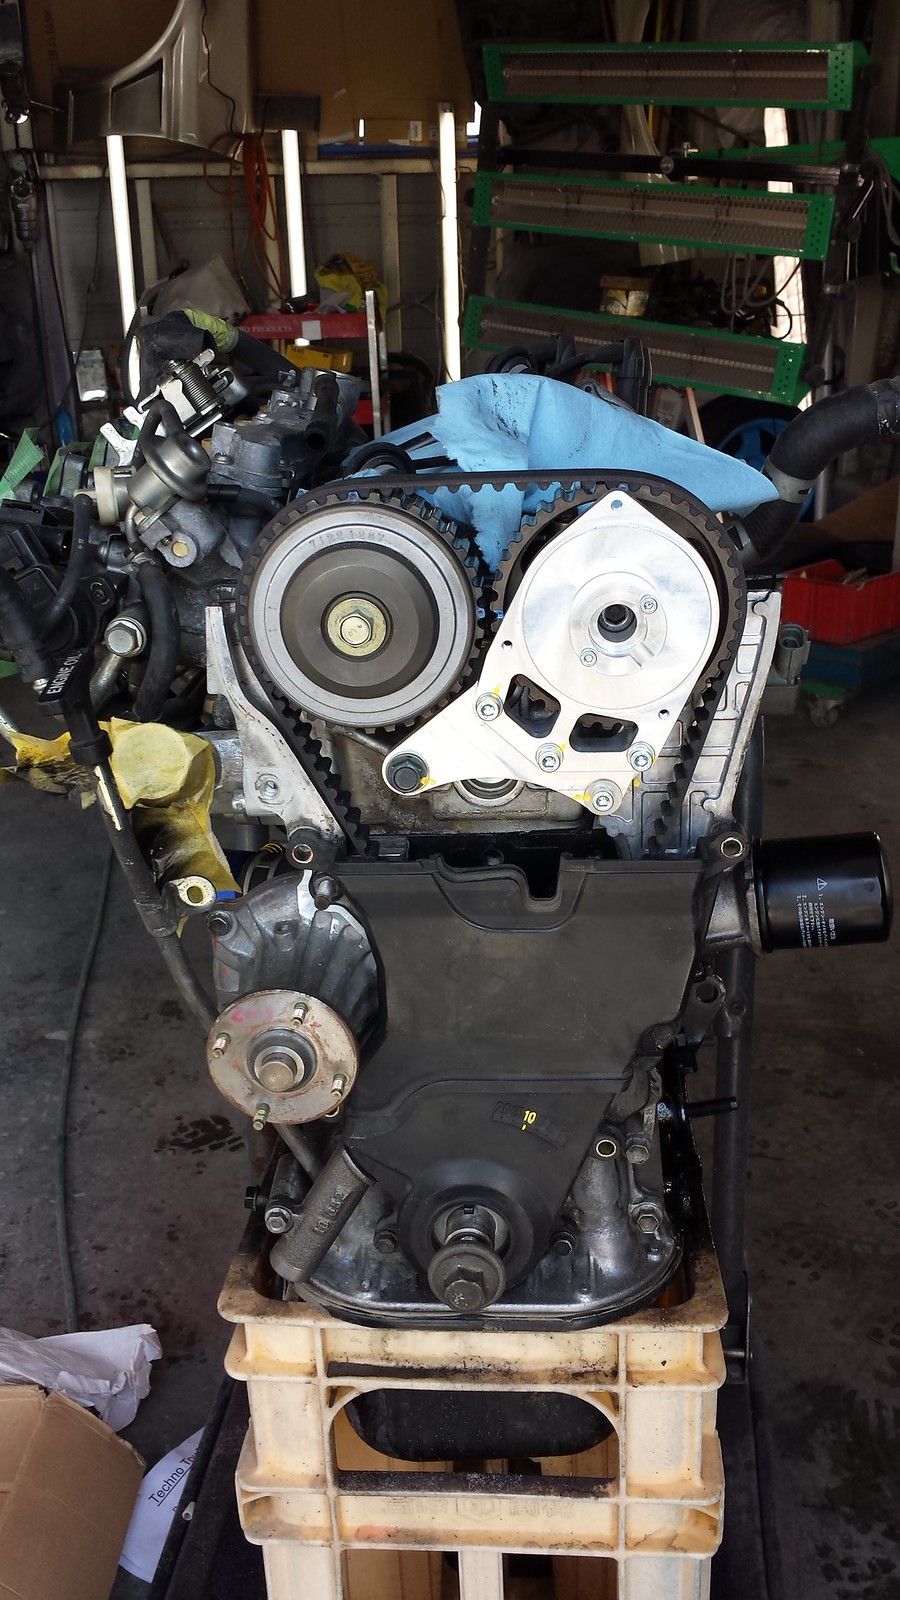
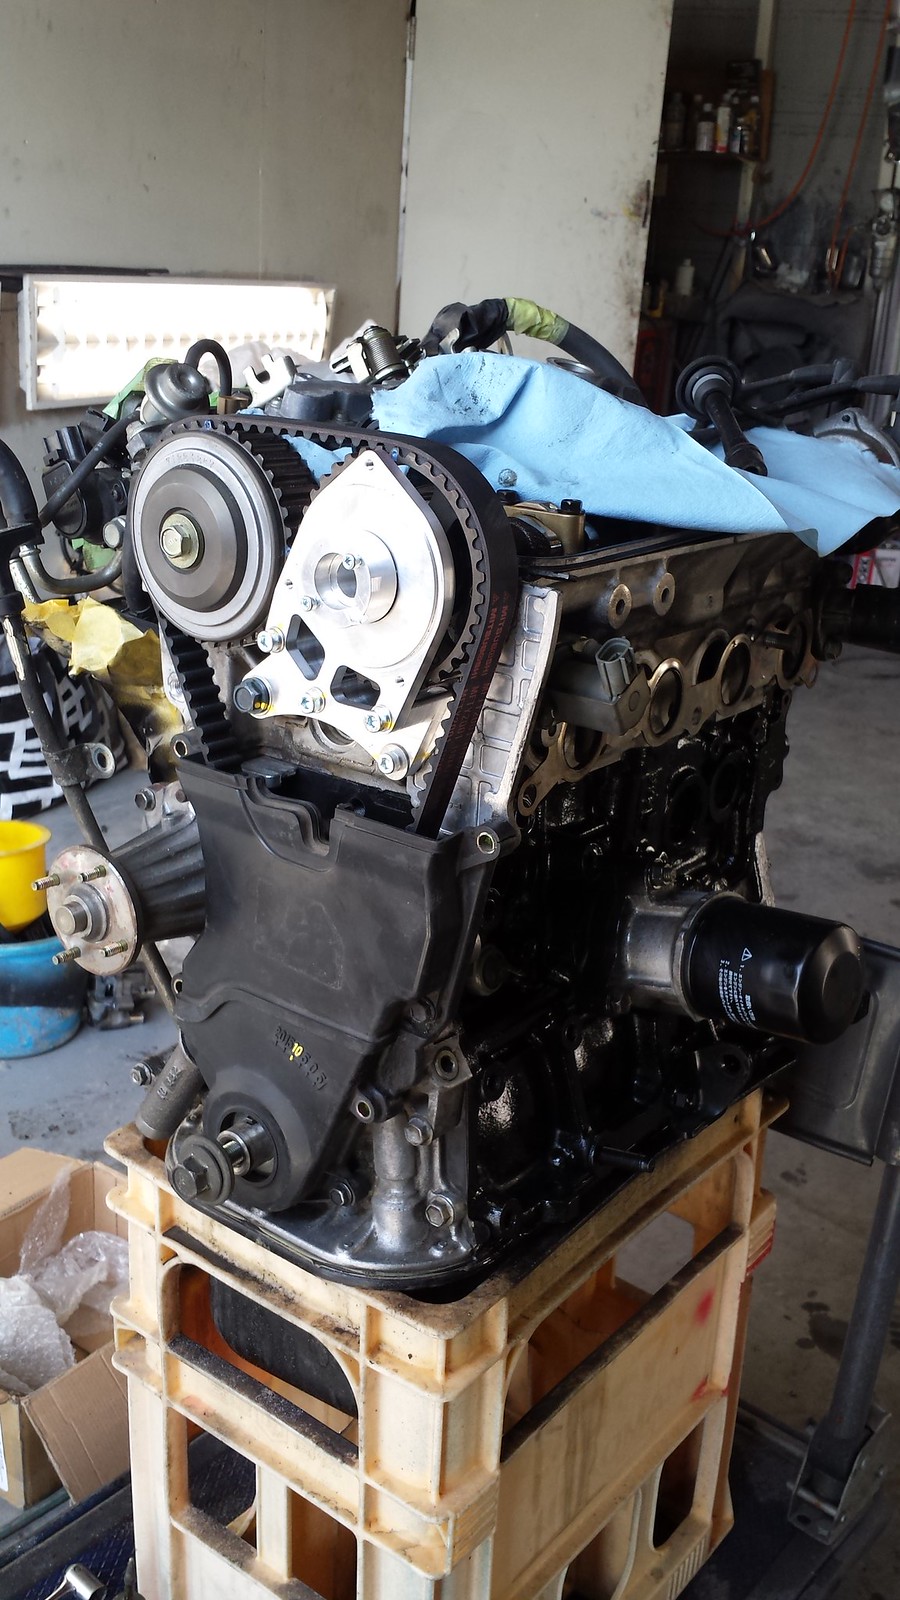
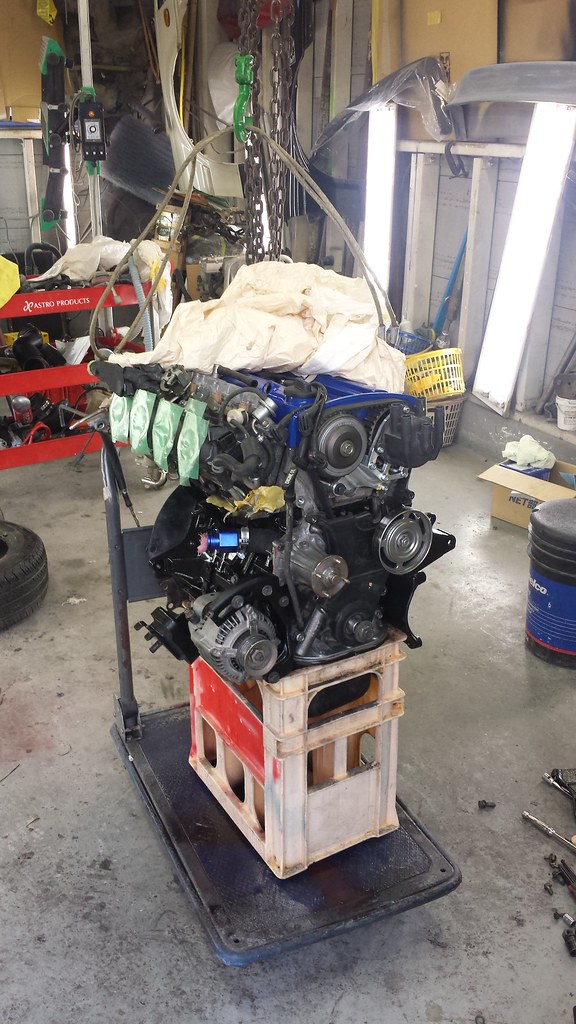
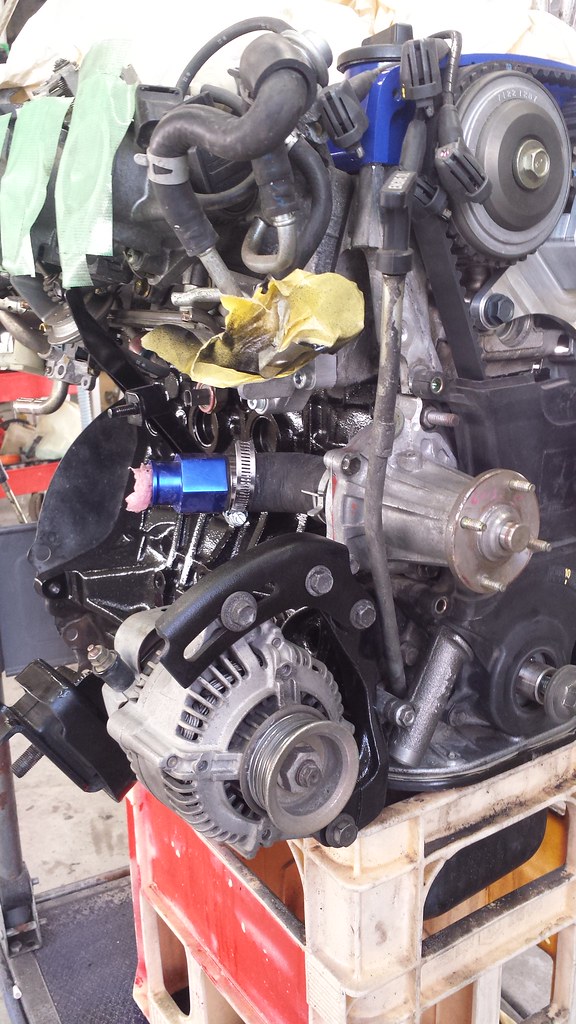
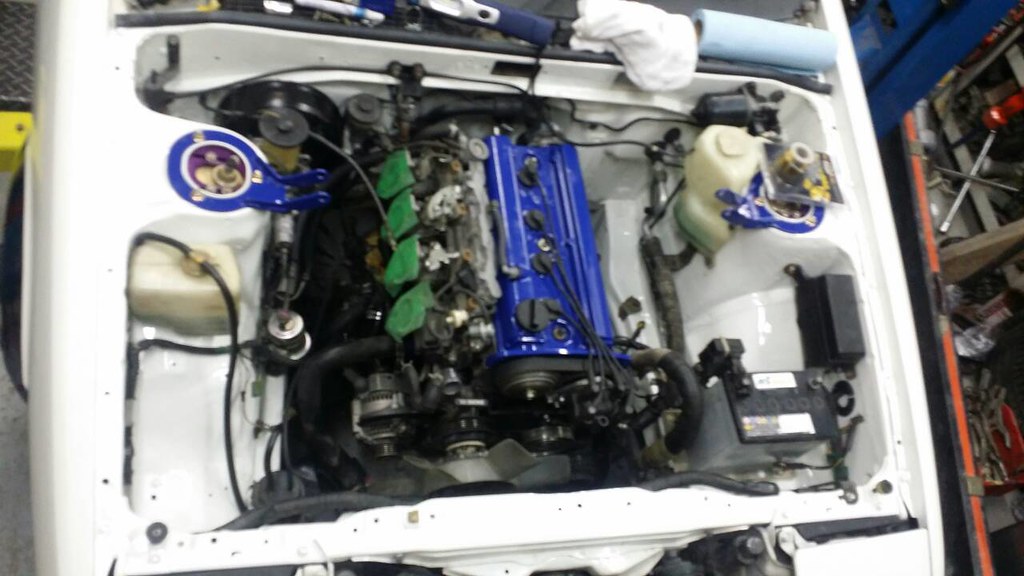
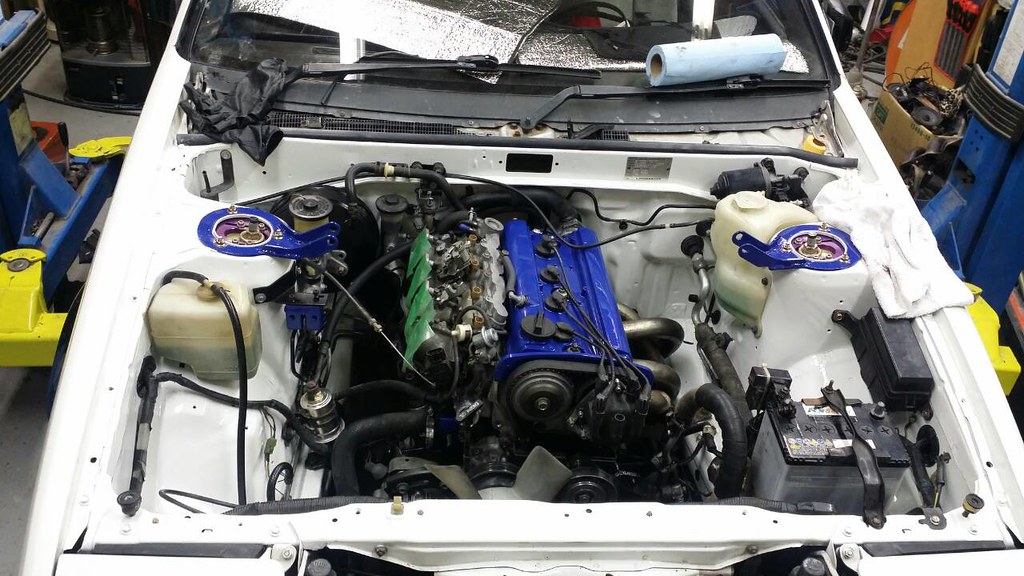
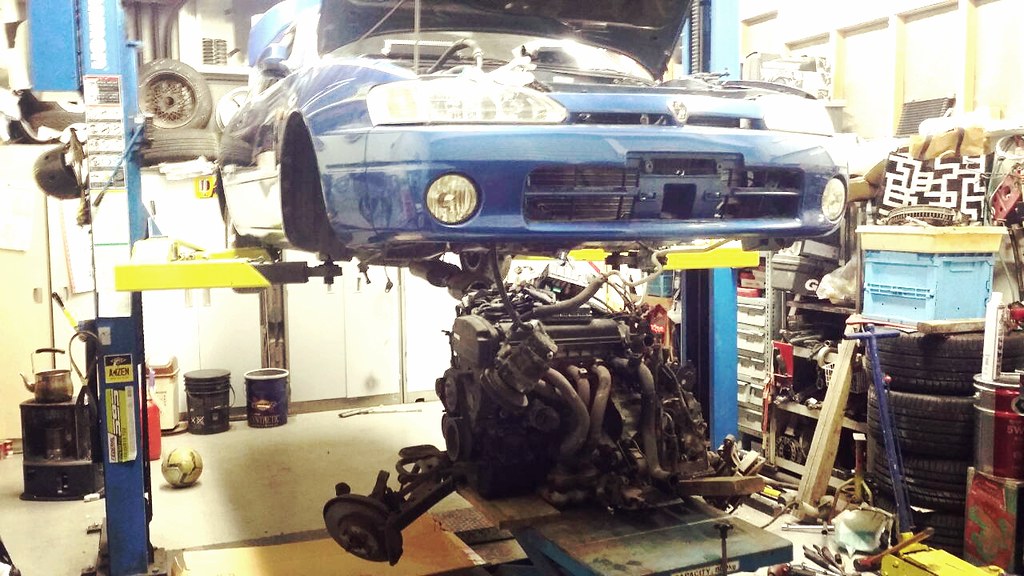
Update 8 Feb 2014:
Engine Removed from AE111.
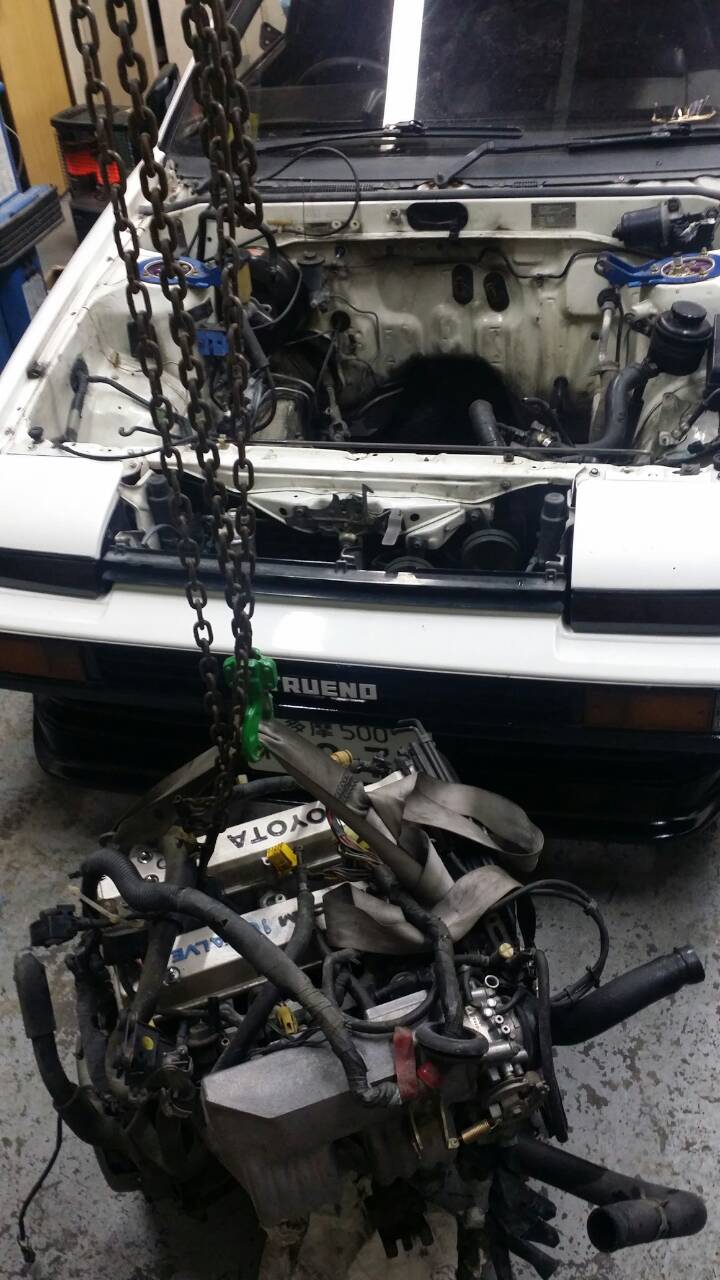
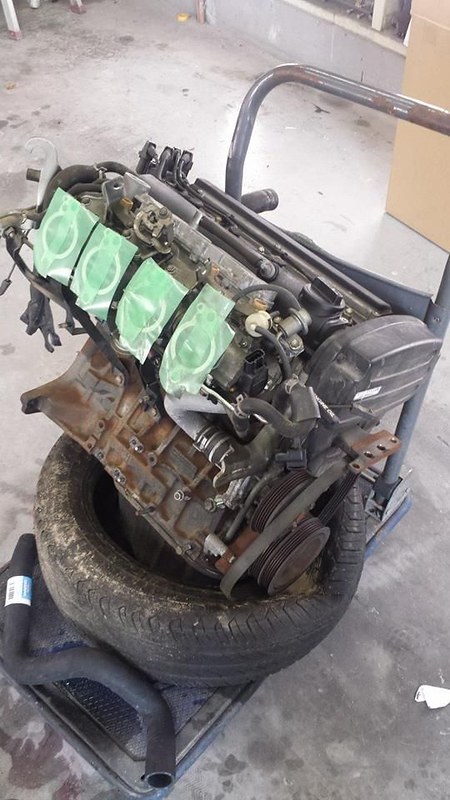
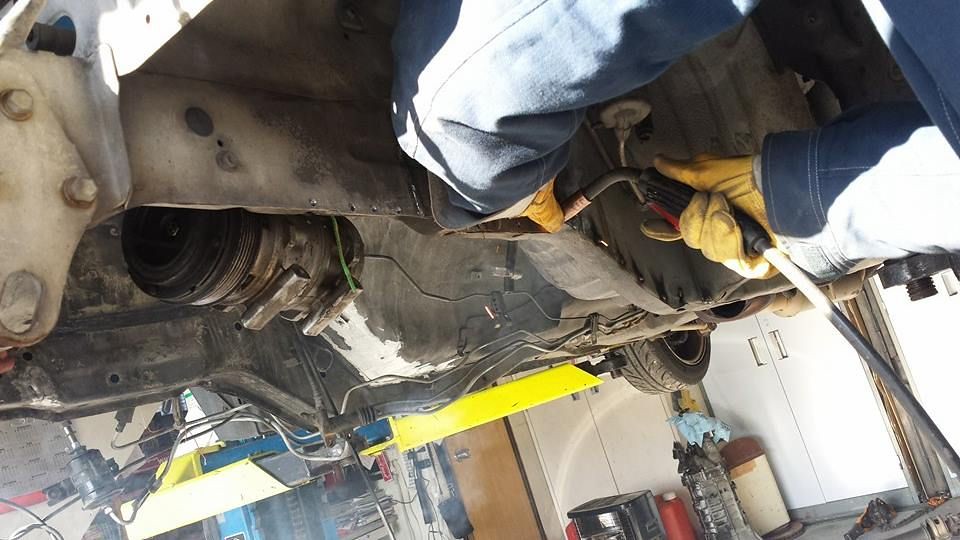
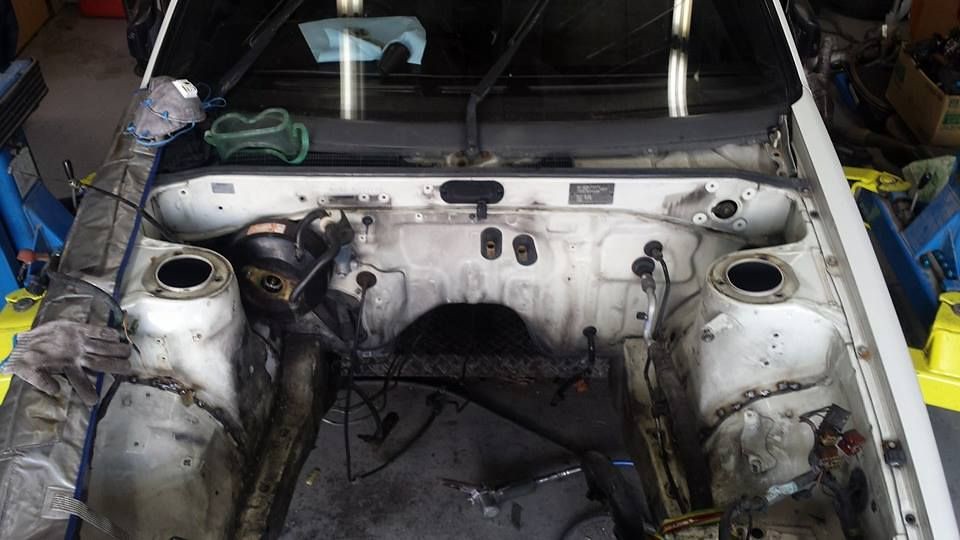
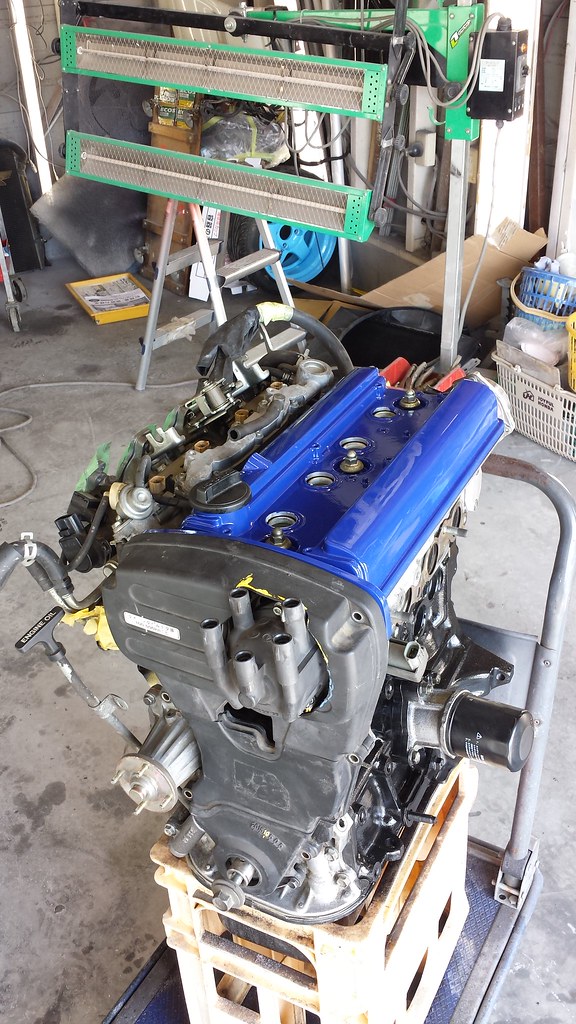
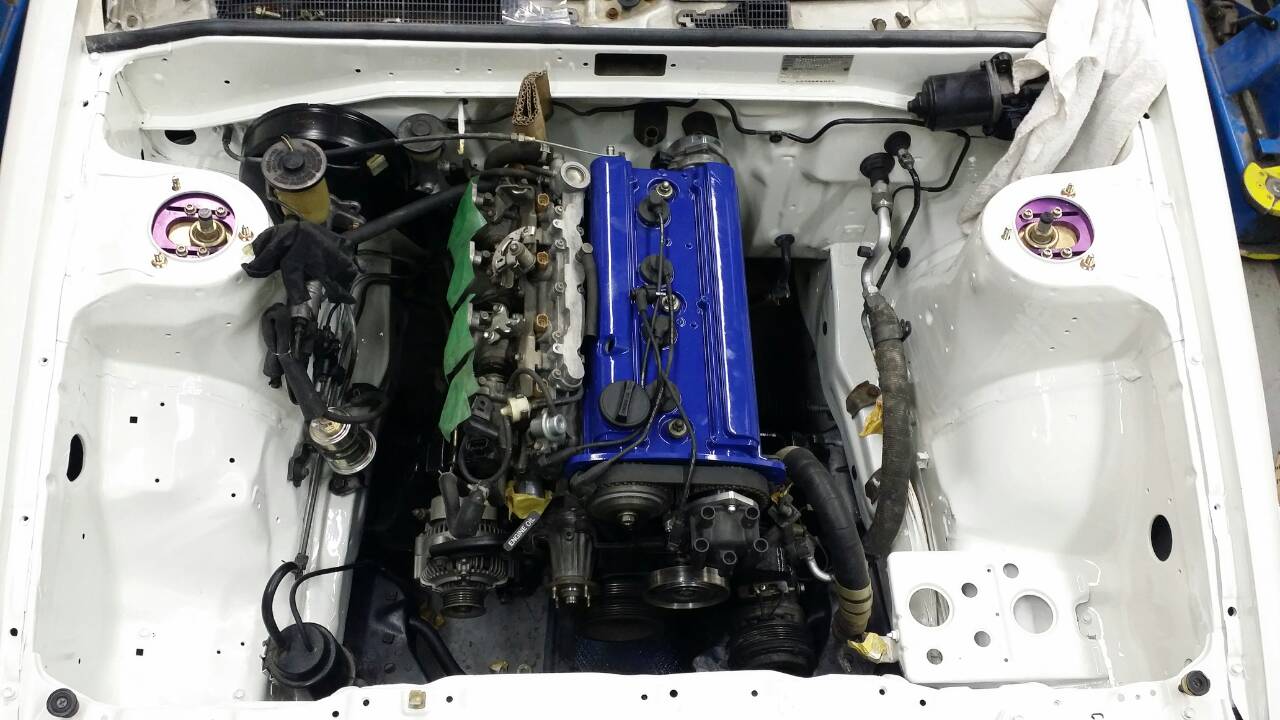
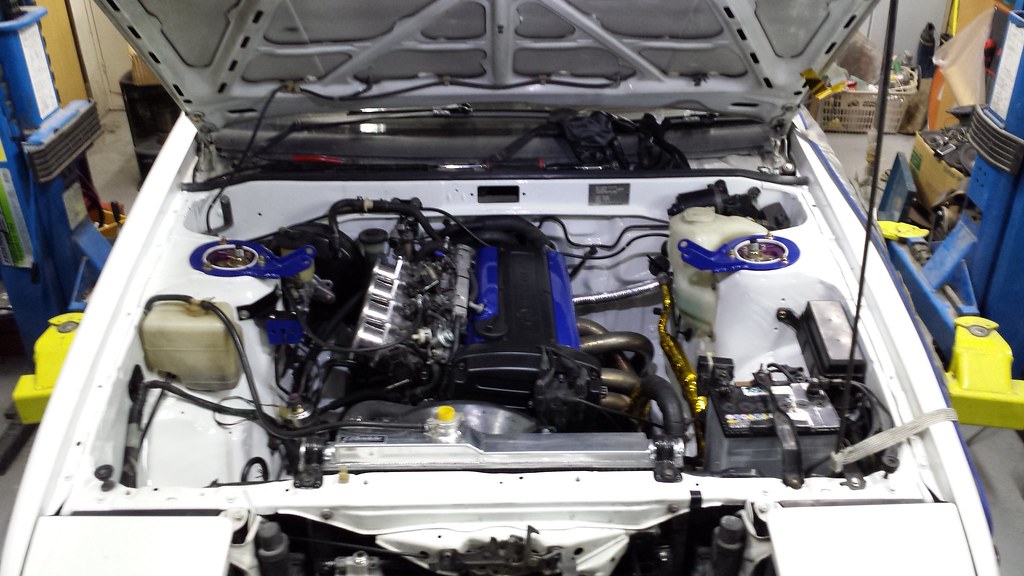
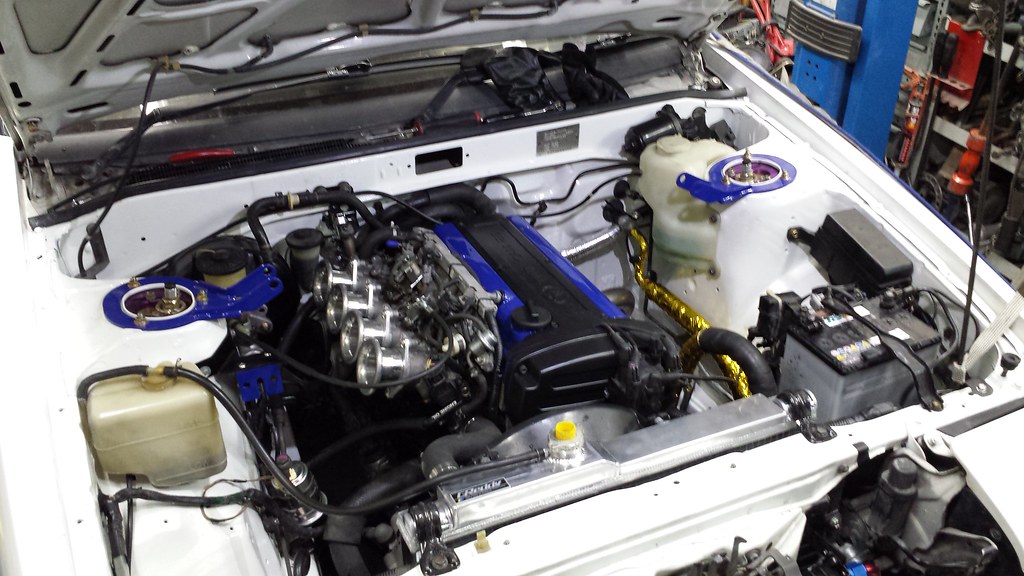
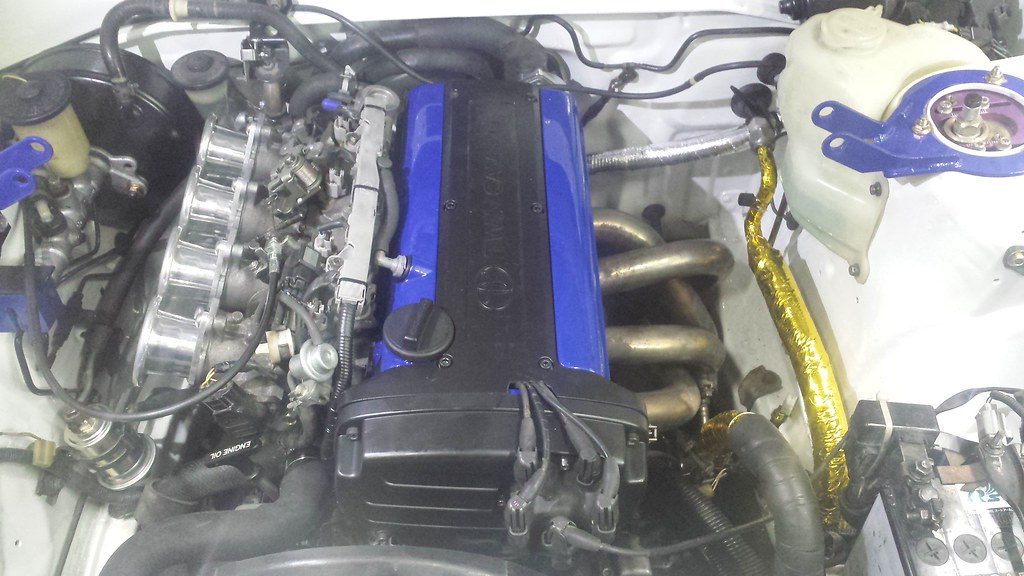
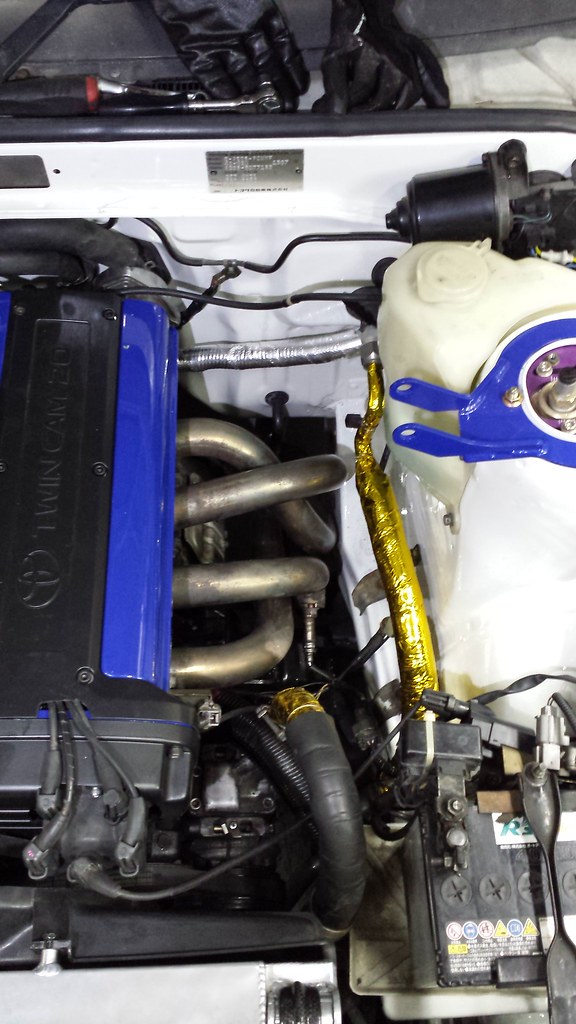
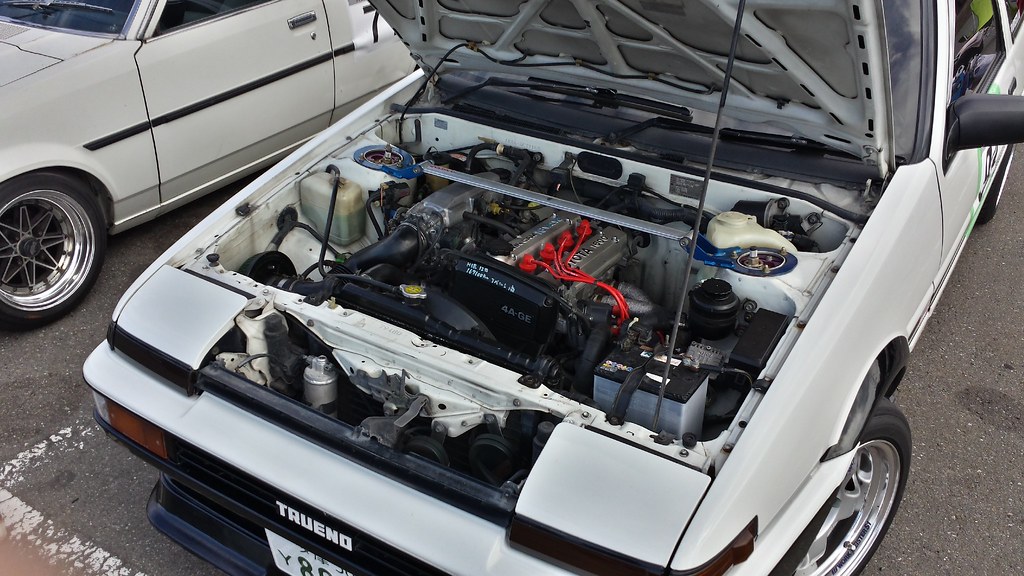
Update 9 Feb 2014:
Engine removed from my dear 86. This 16v was amazing for what it was. In the 2 years I ran it, never had to add coolant or oil. Never had any problems and I revved it to the moon almost everytime I drove it. After driving Naoki Sato's 20v swapped Levin though...the 16v was no longer enough. Comparing a fully built 16v to a bone stock 20v, the 16v is a hand grenade. The 20v will stand up to years of abuse and almost zero-maintenance.