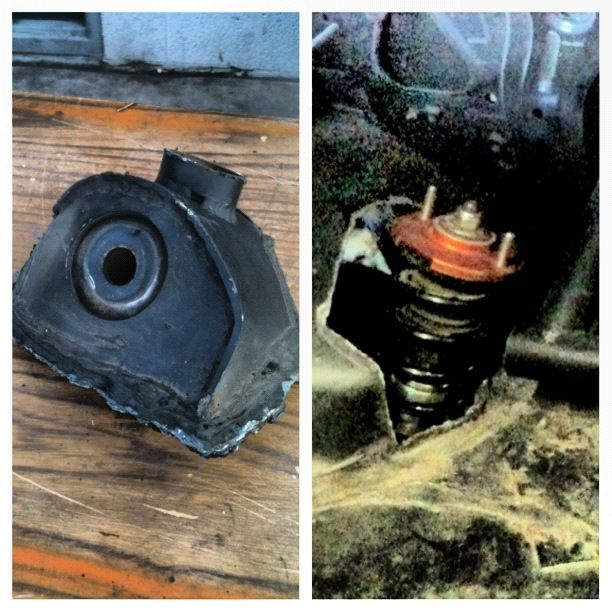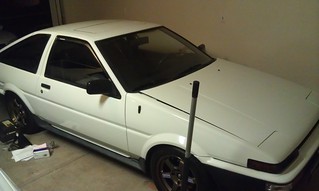
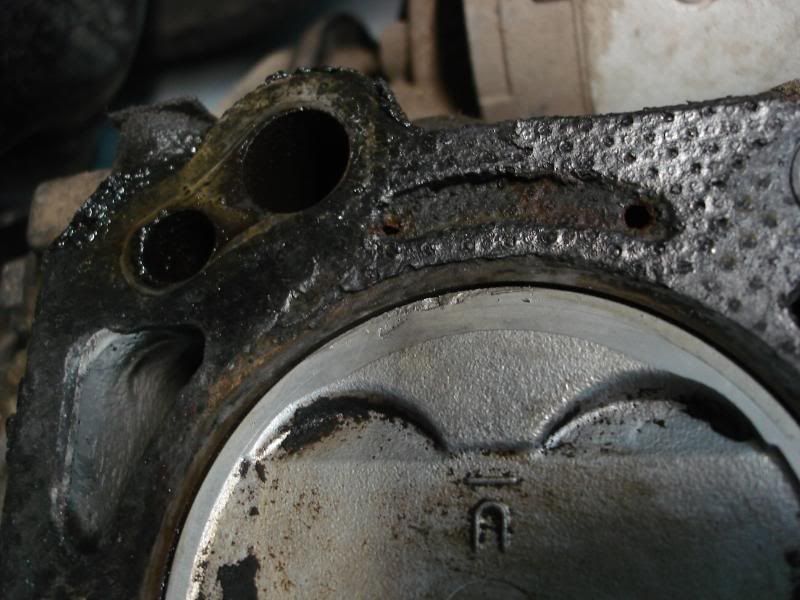
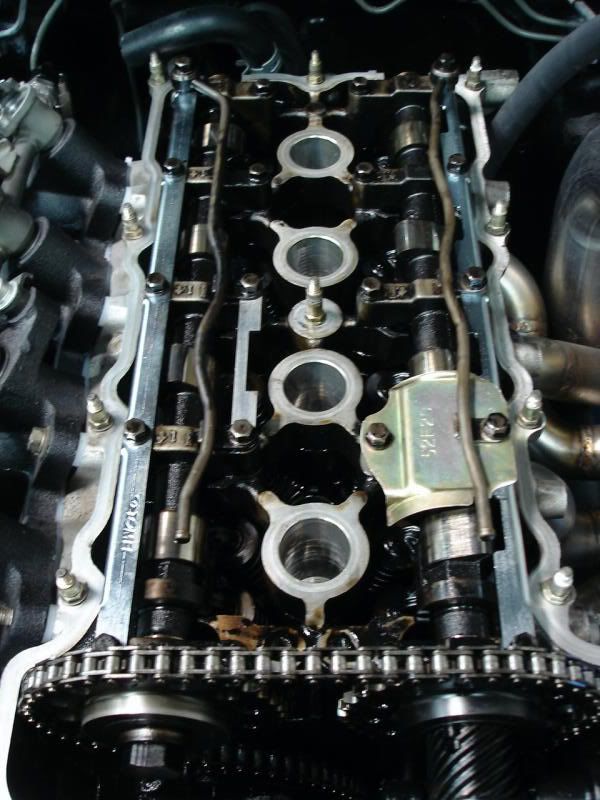
it was alot of fun until this happened to the 260,000 4ag
cracked piston
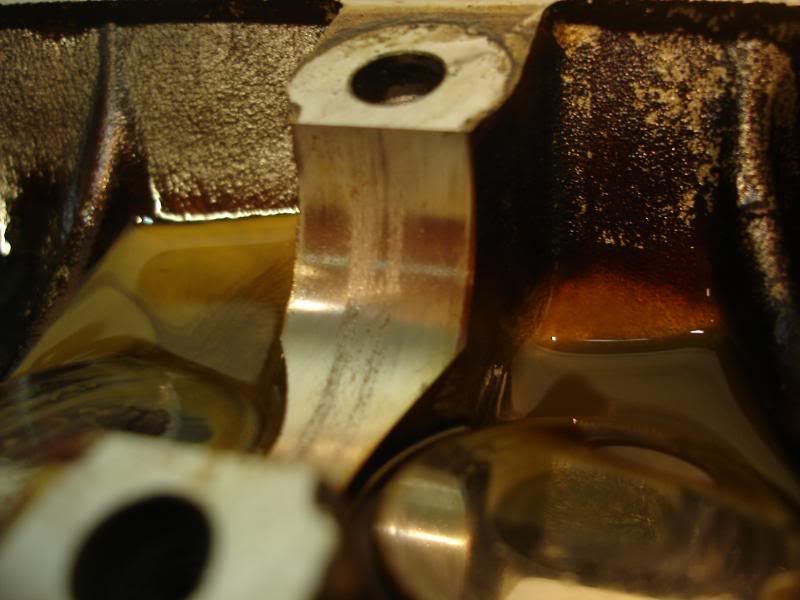
scored cam journals
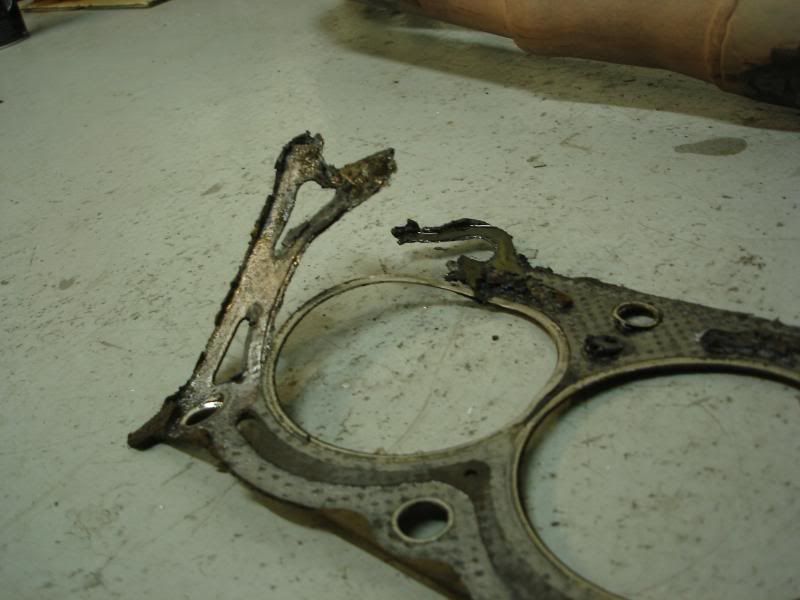
omg head gasket
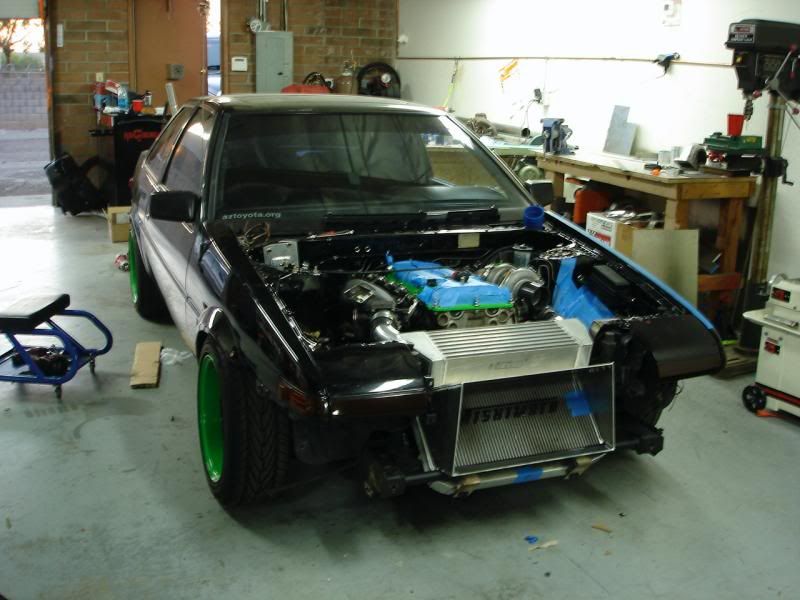
so instead of just getting a new 4ag or even perhaps a 4agze, i got all silly and bought
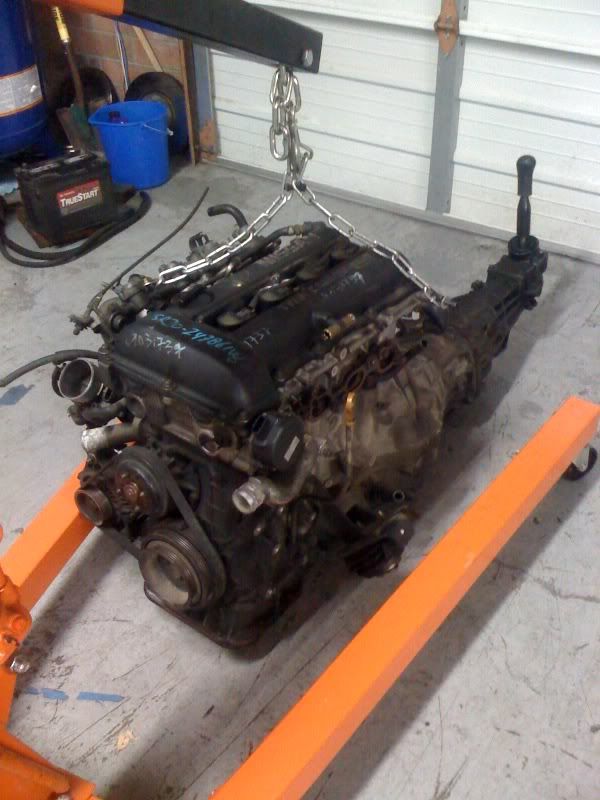
sr20det blacktop
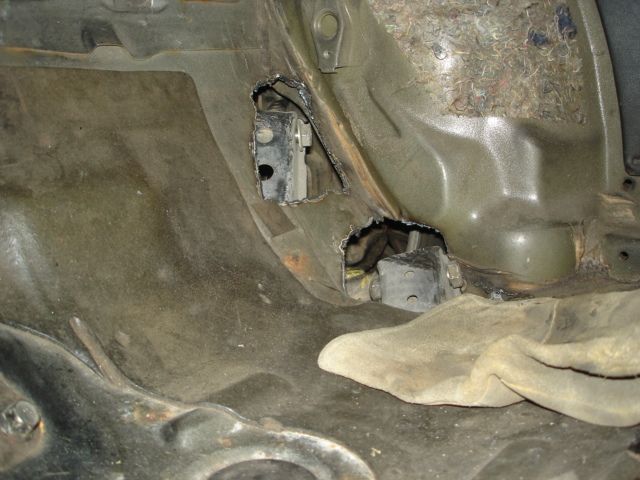
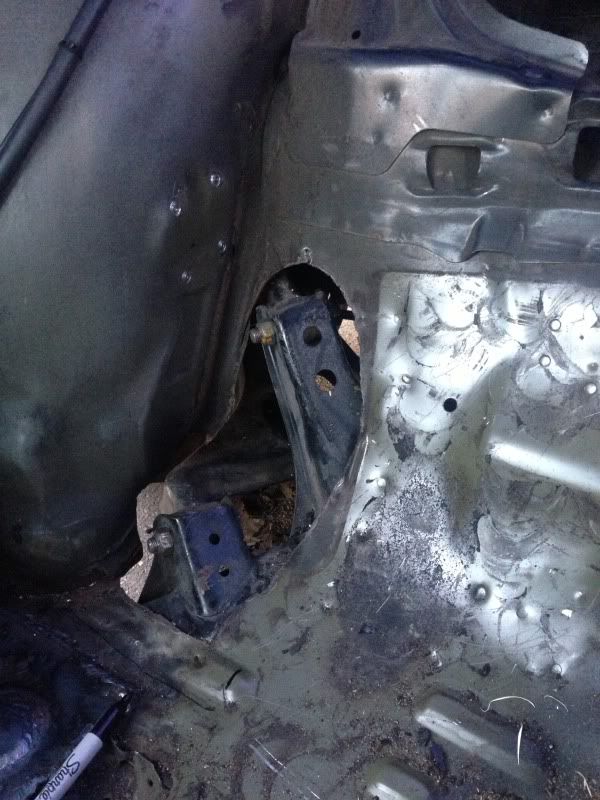
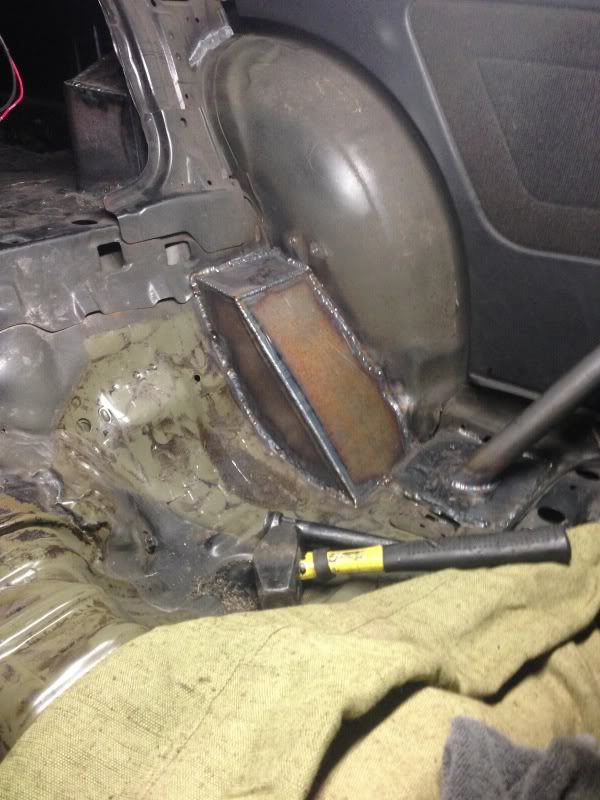
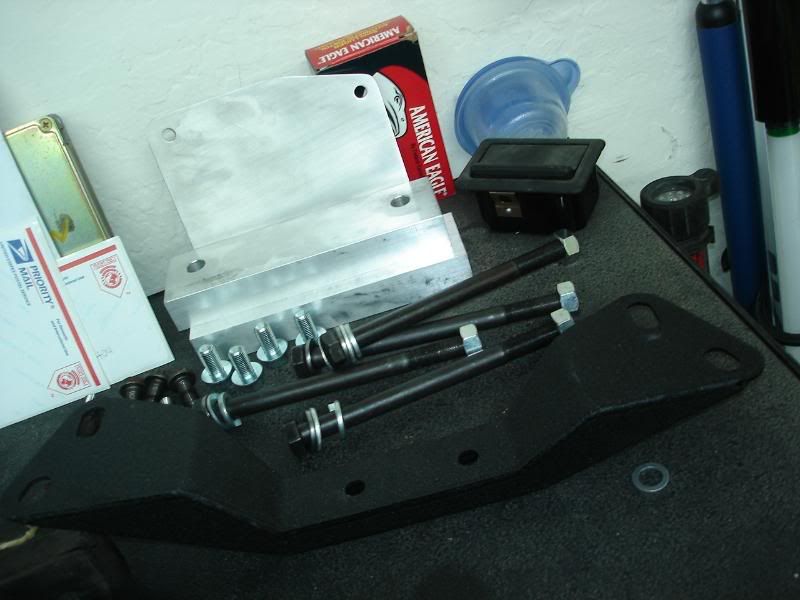
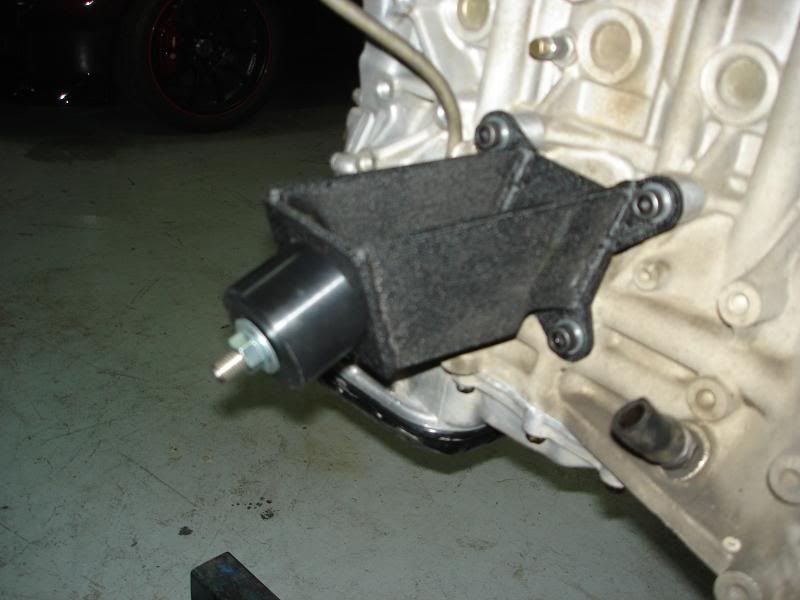
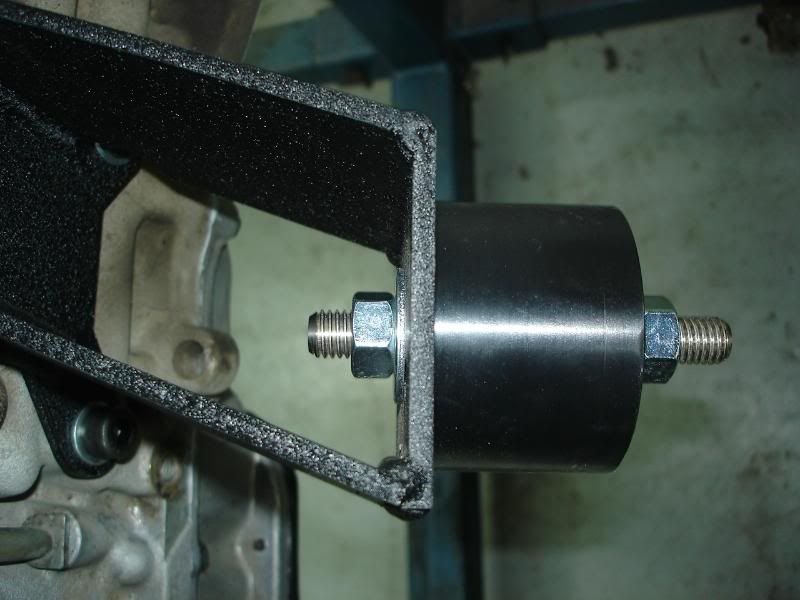
mounts:

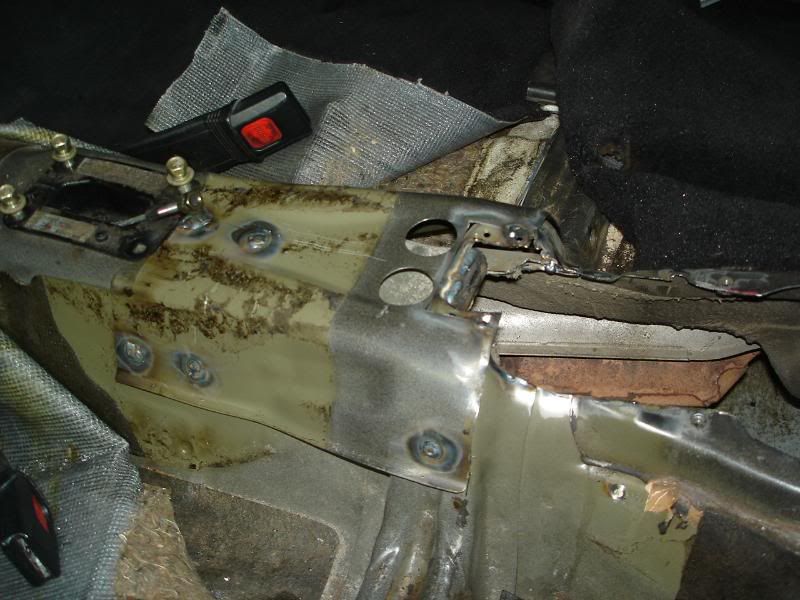
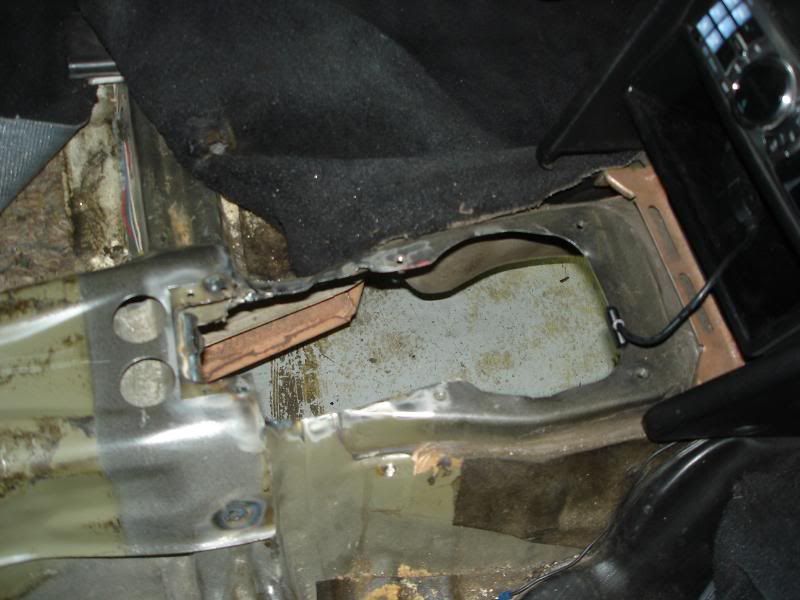
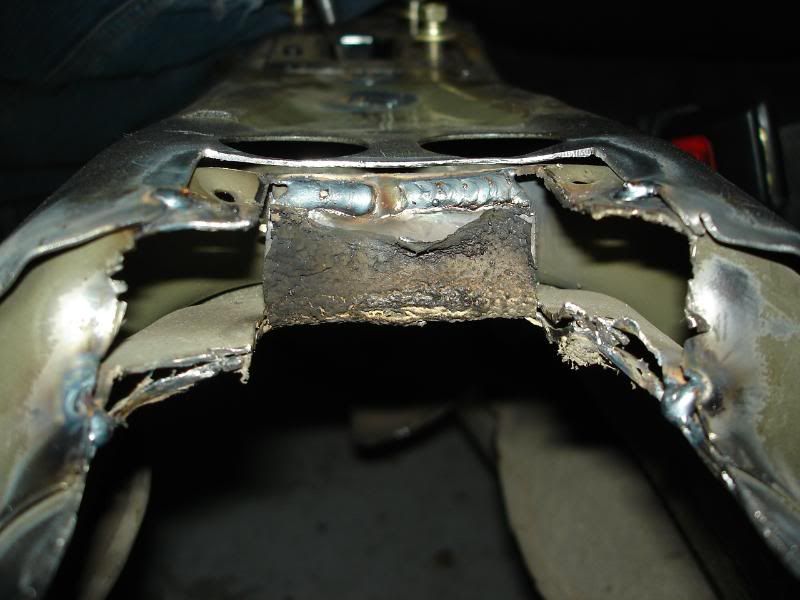
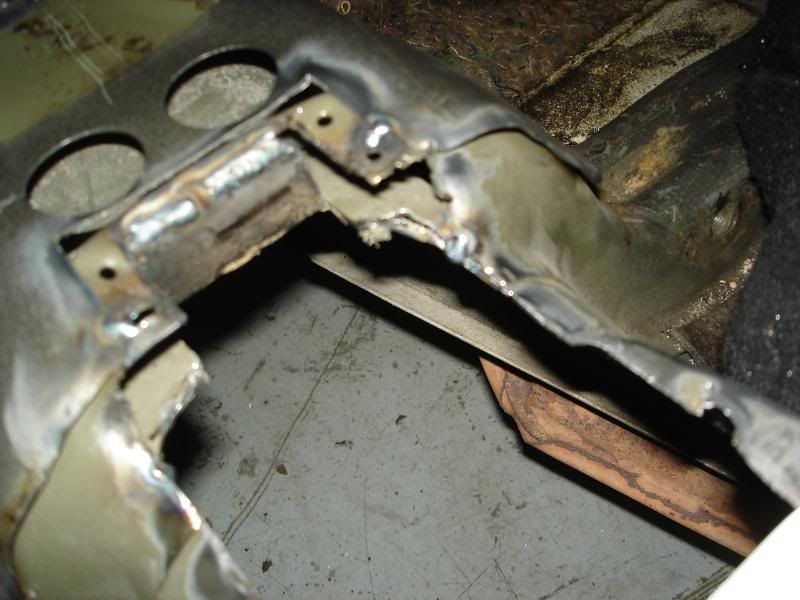
cut the shifter hole and welded everything up
added a bomer bar to stiffen up the front

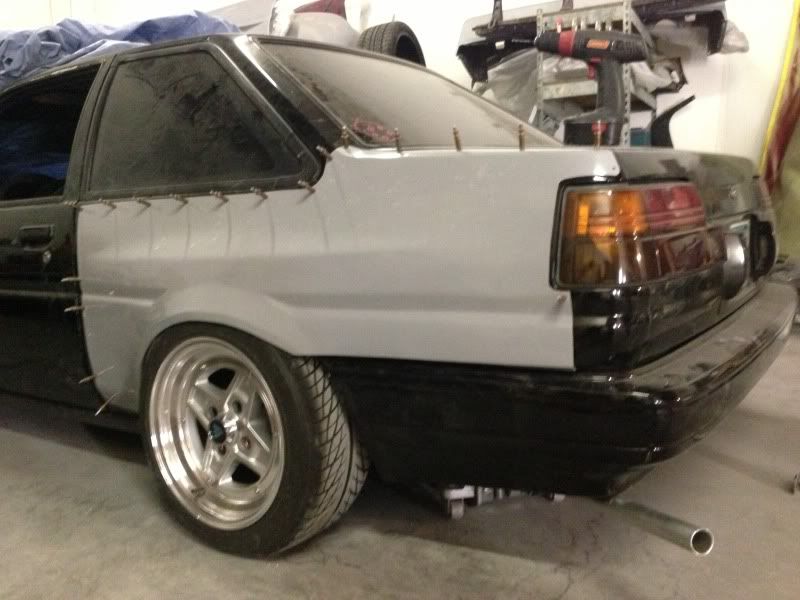
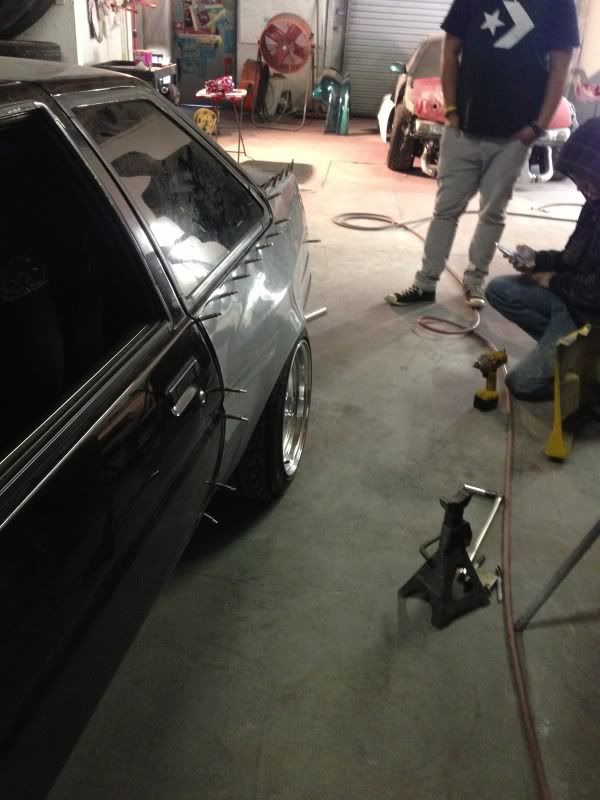
stiched a few things

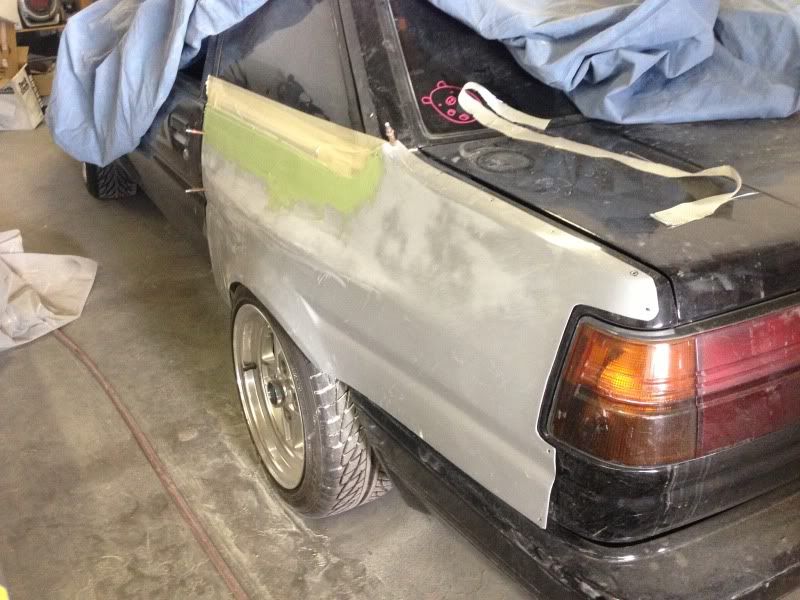
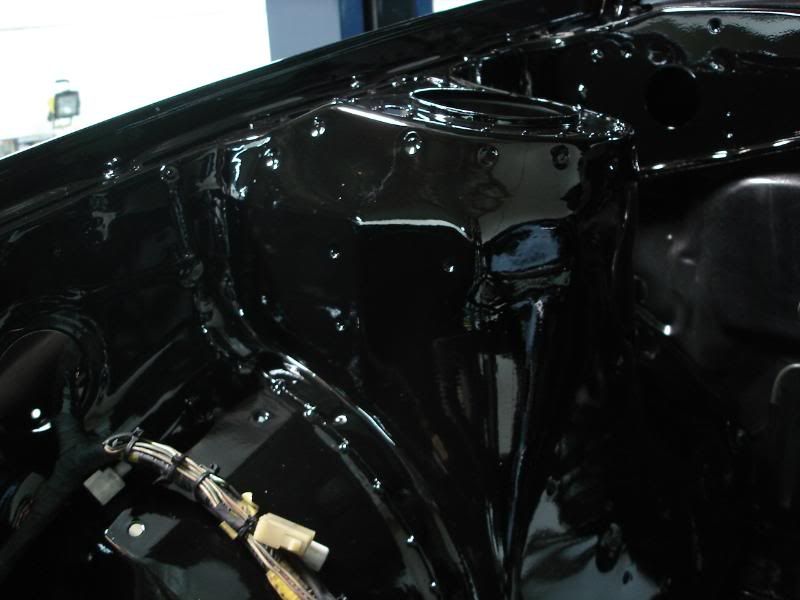
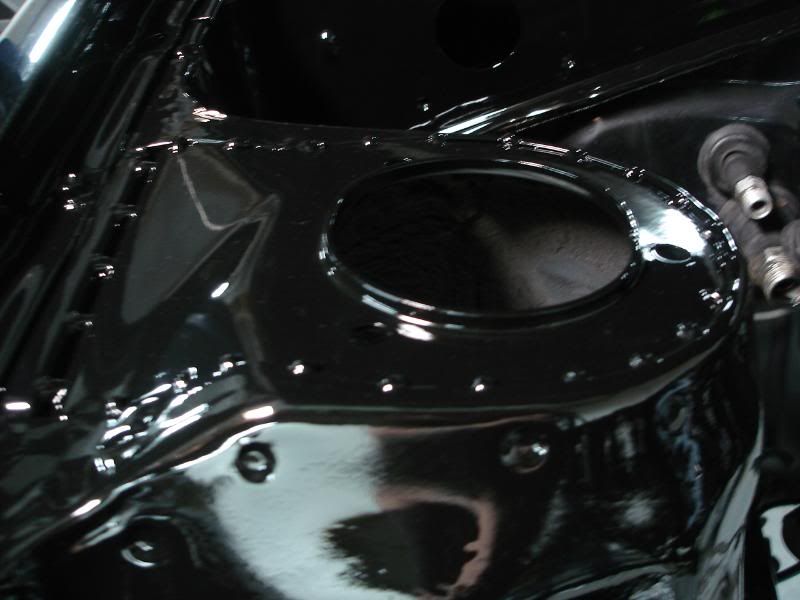
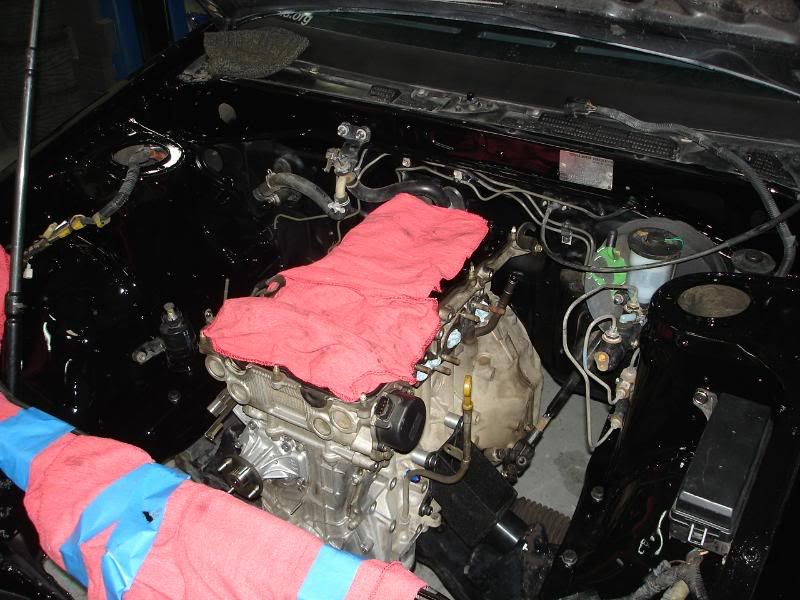
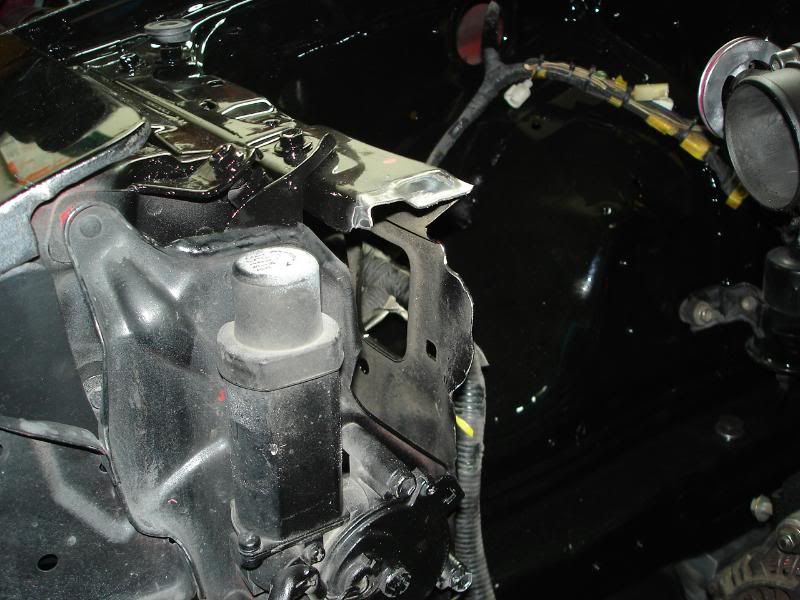
painted the bay
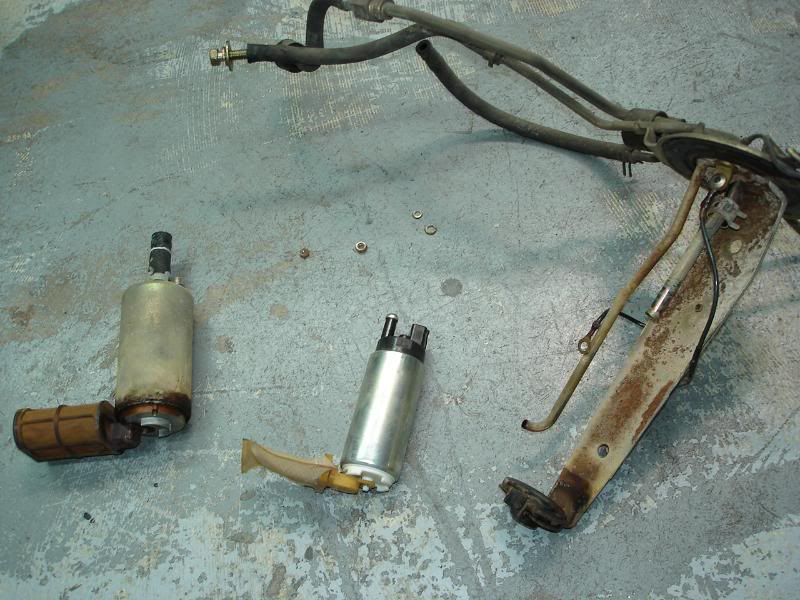
new pump
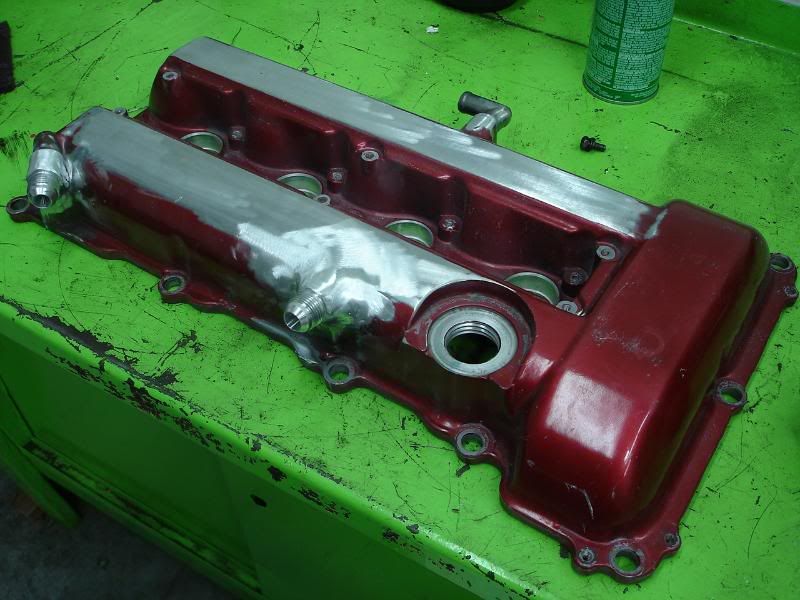
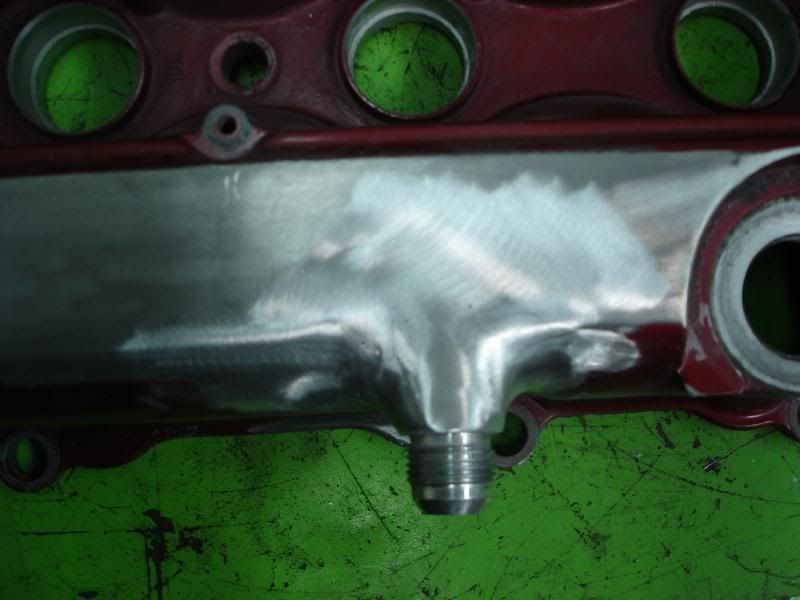
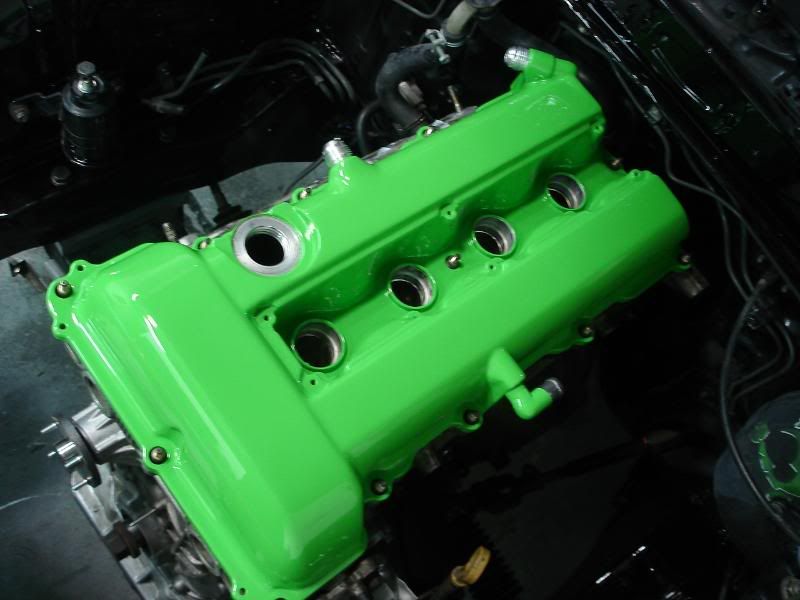
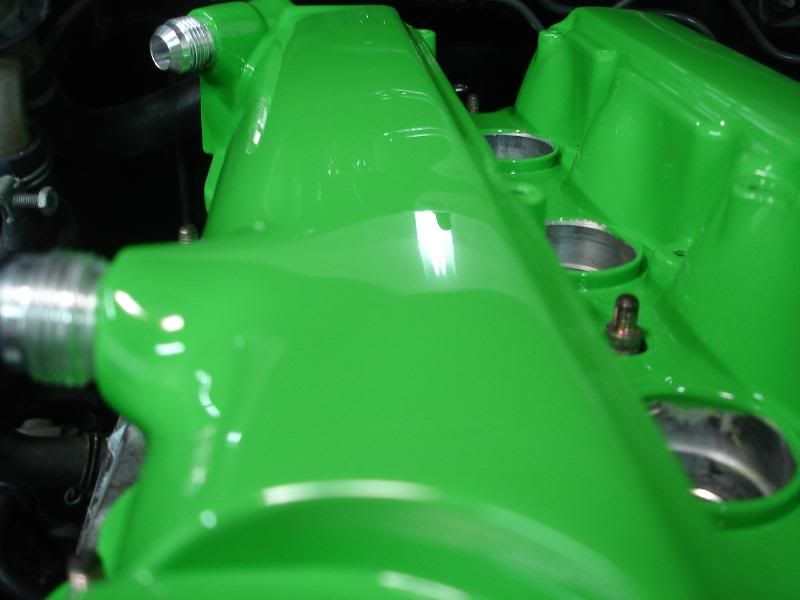
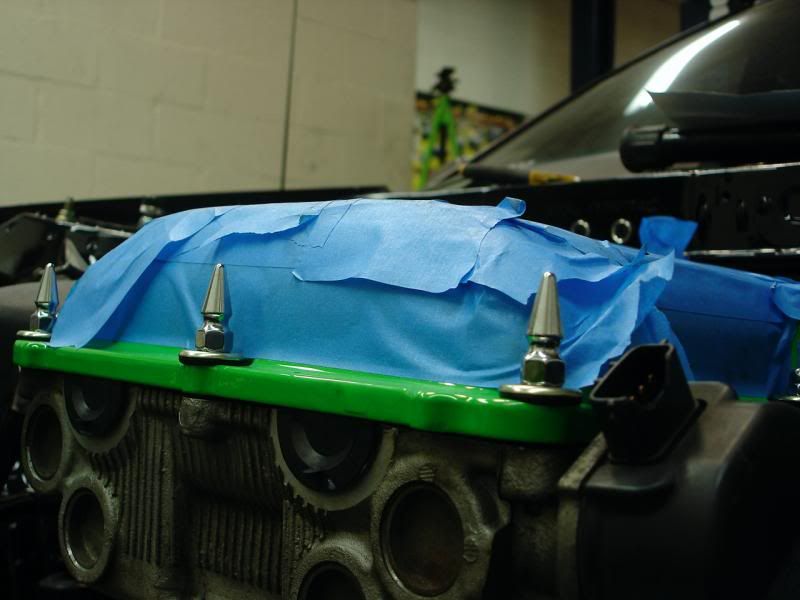
i am incapable of having a stock cam cover so i traded the blacktop cover for a redtop one (i guess the blacktop ones are cooler or something) and started grinding

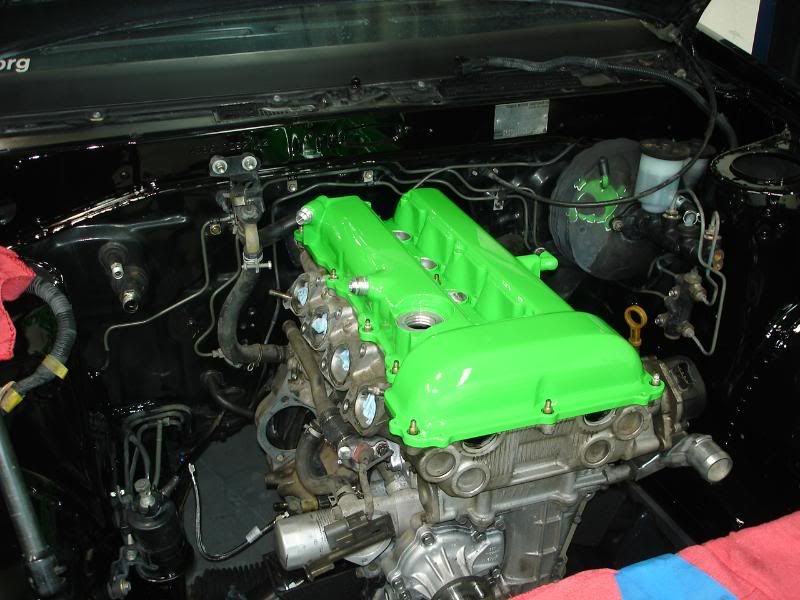
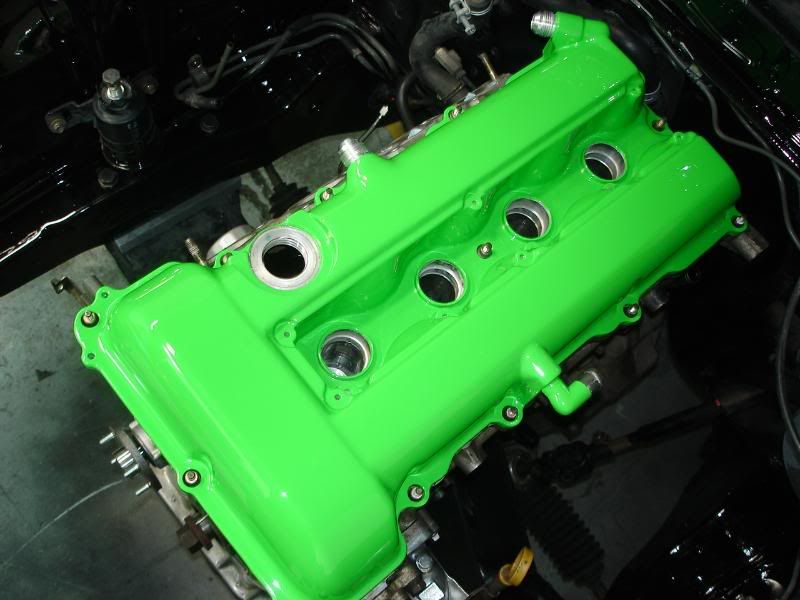
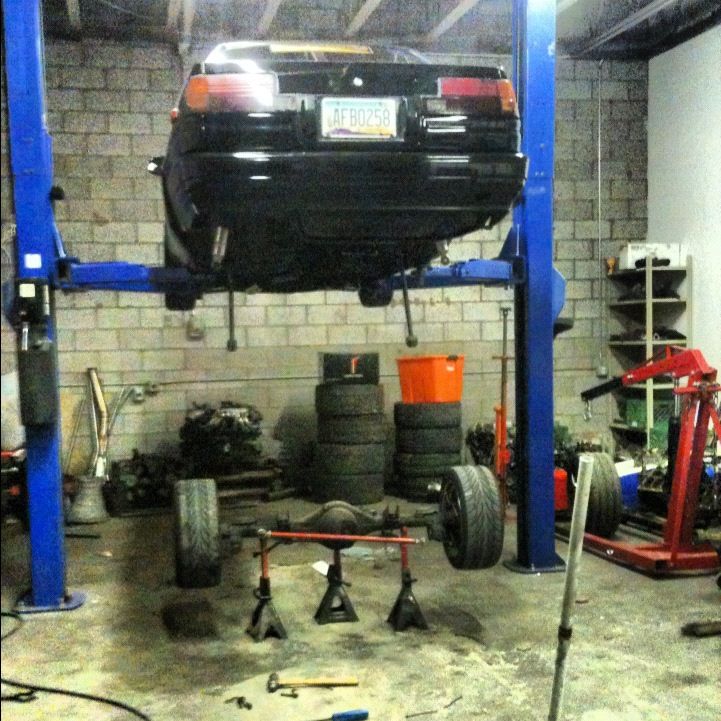
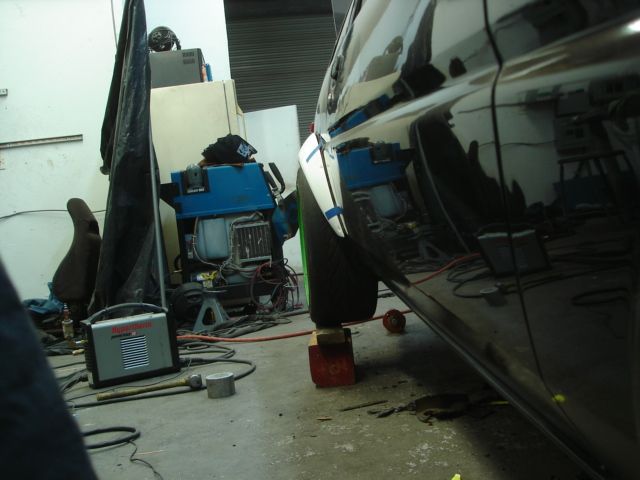
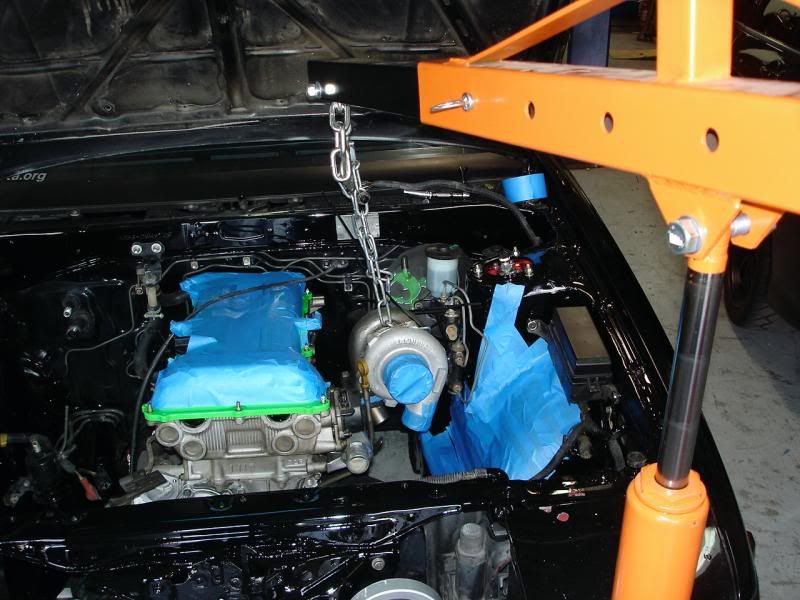
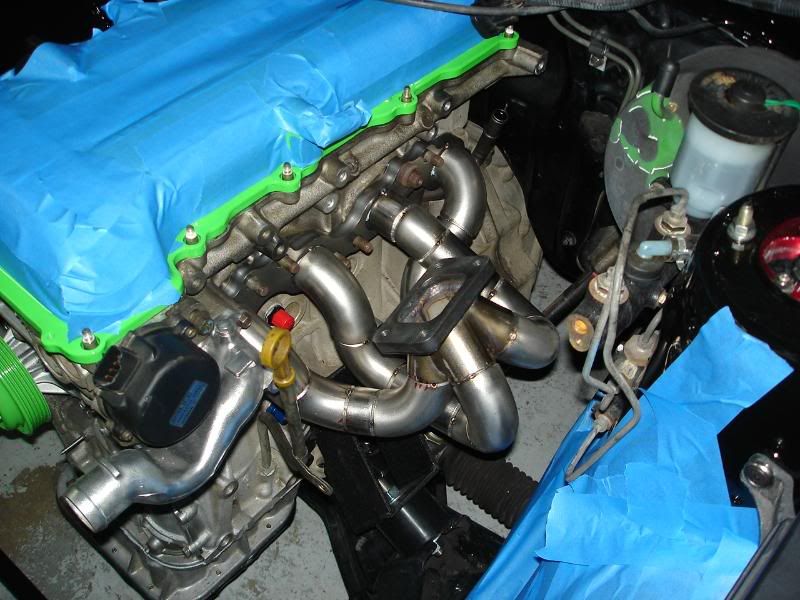
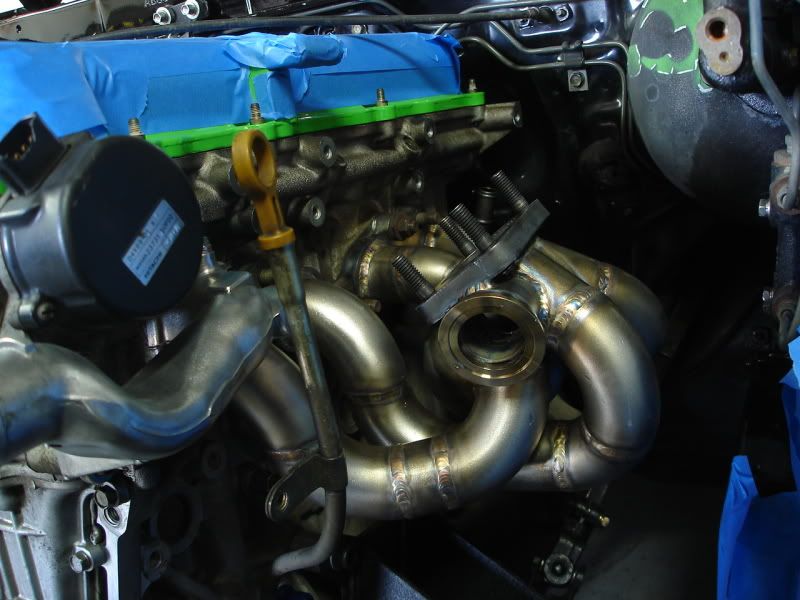
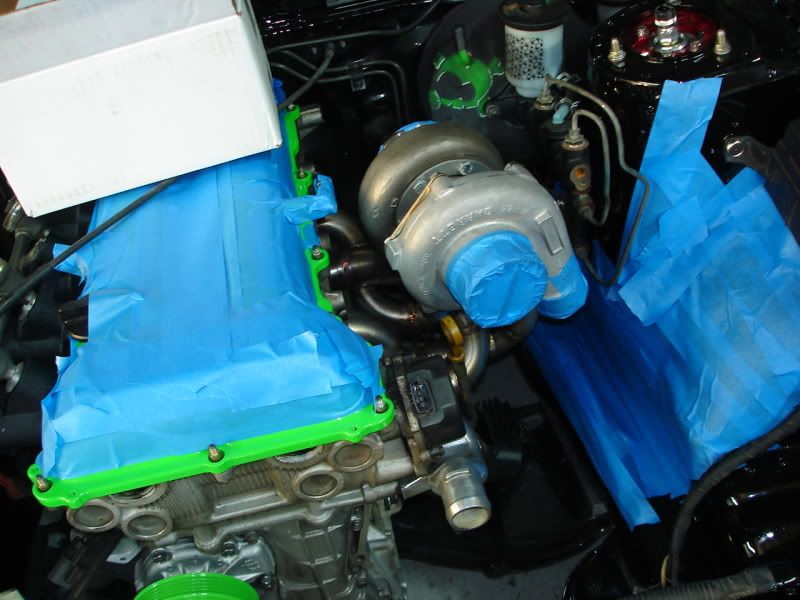
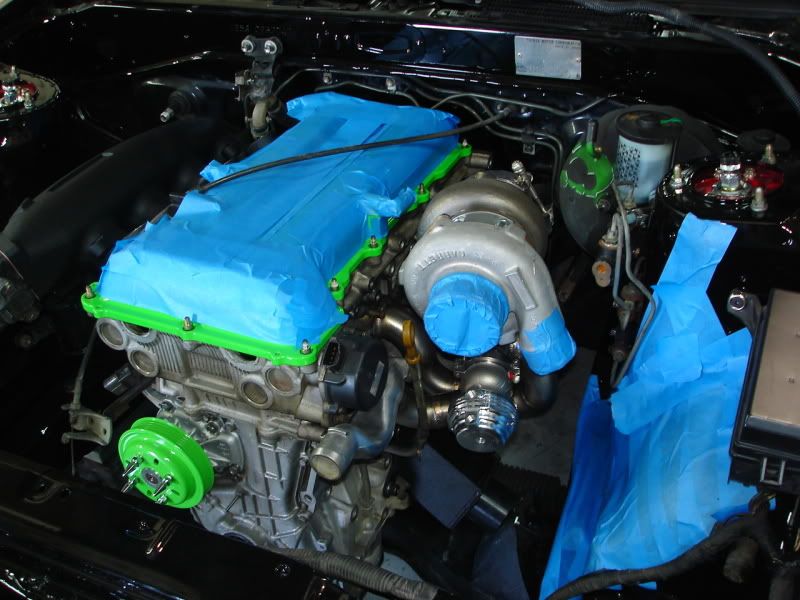
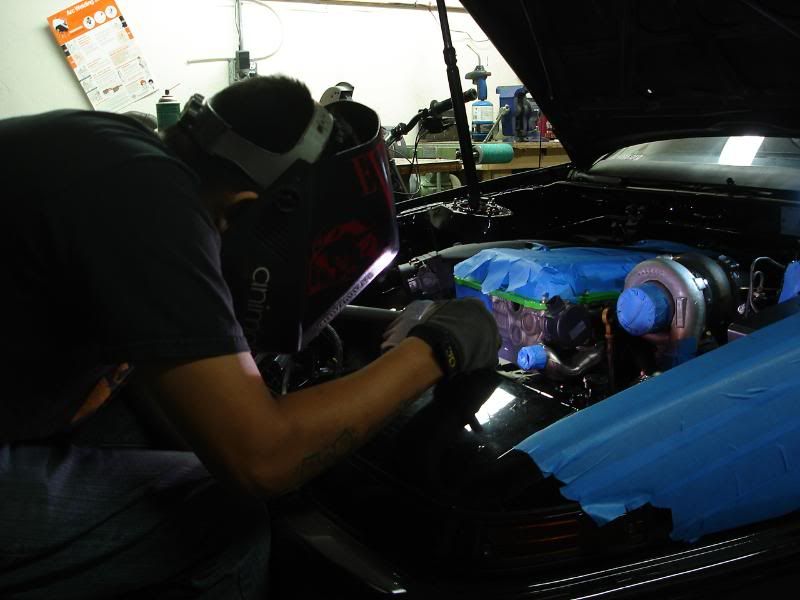
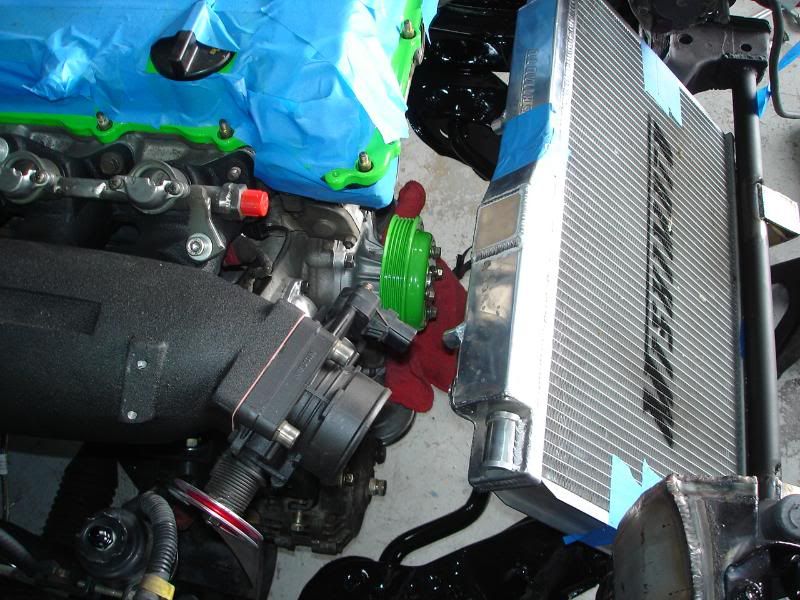
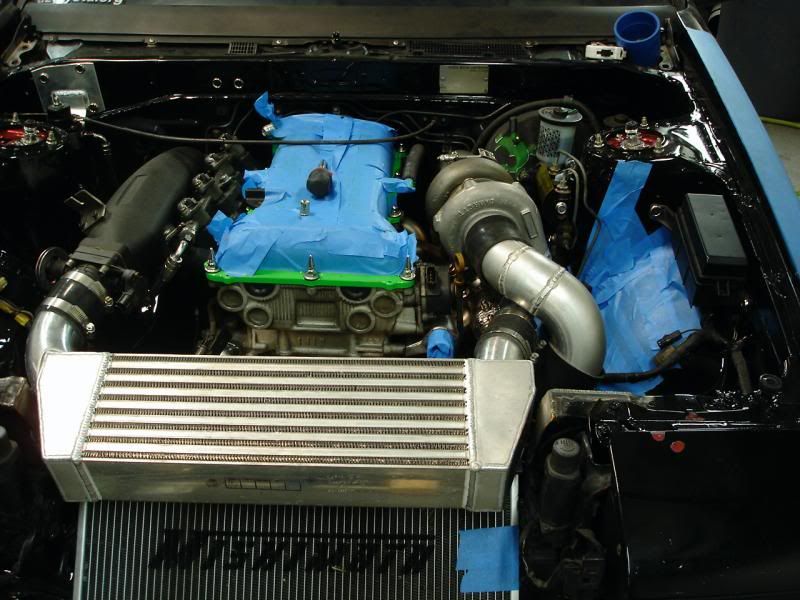
motor in for turbo kit mock up
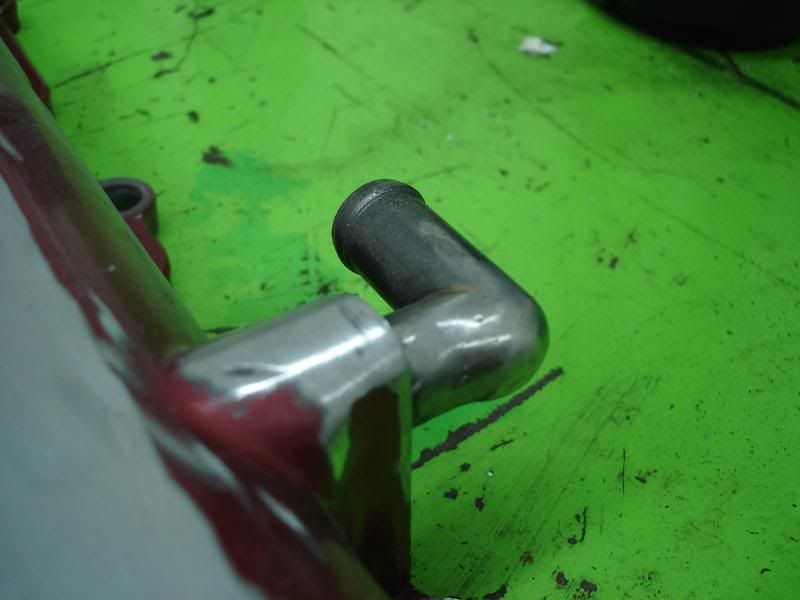
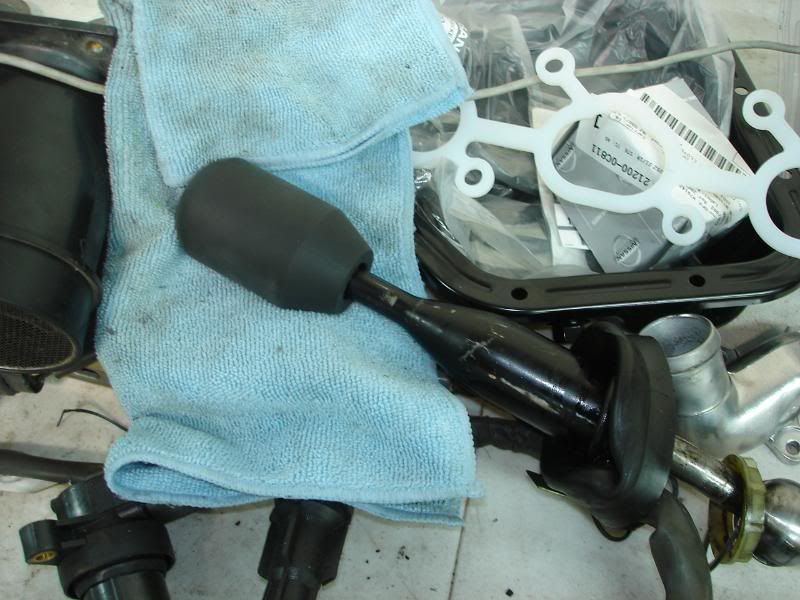
<FONT COLOR=""lime"">MY SWEET KNOB!</FONT>
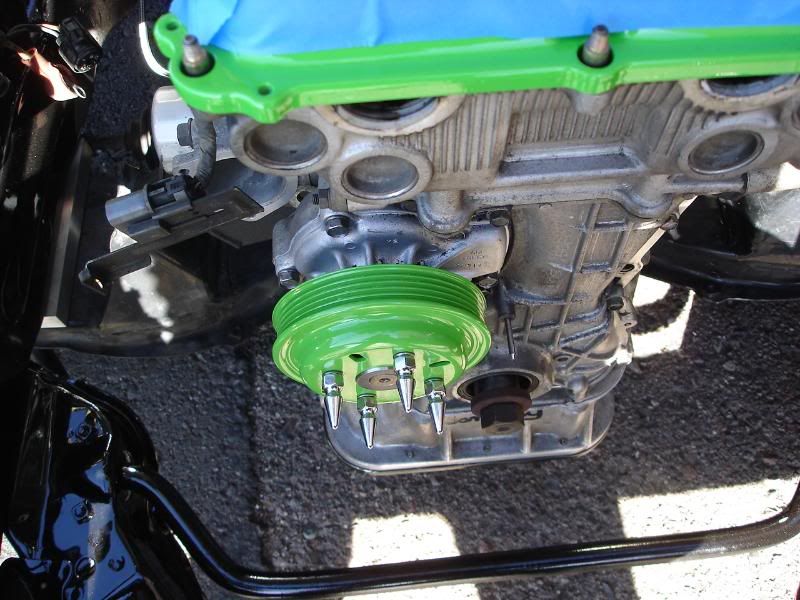
water pump pulley back from coating
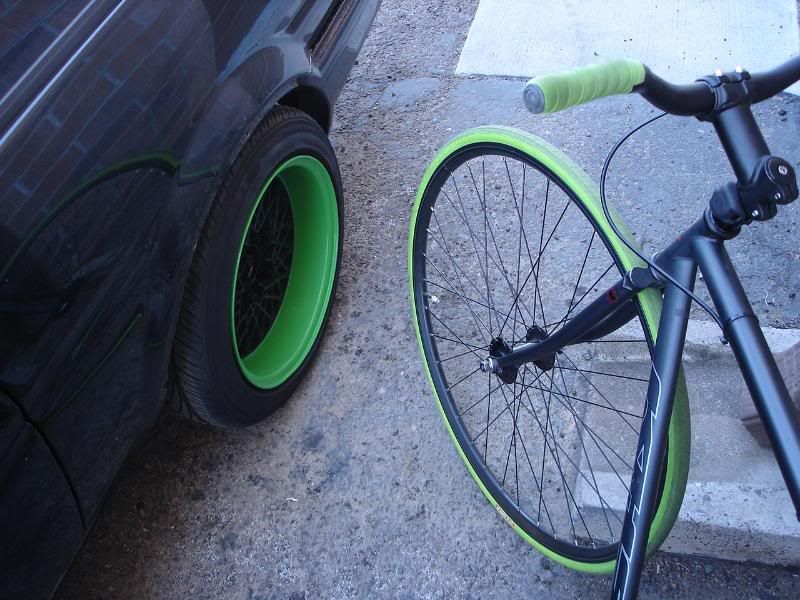
my current mode of transport matches the heap
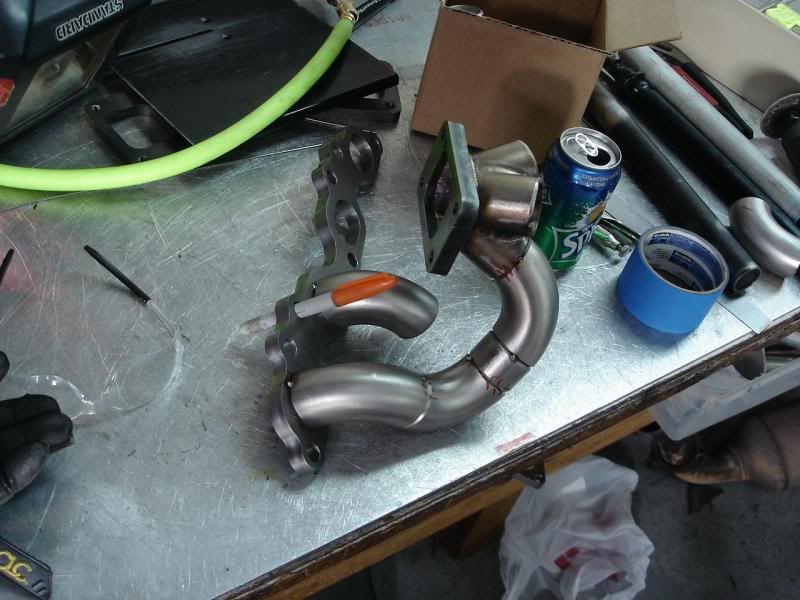
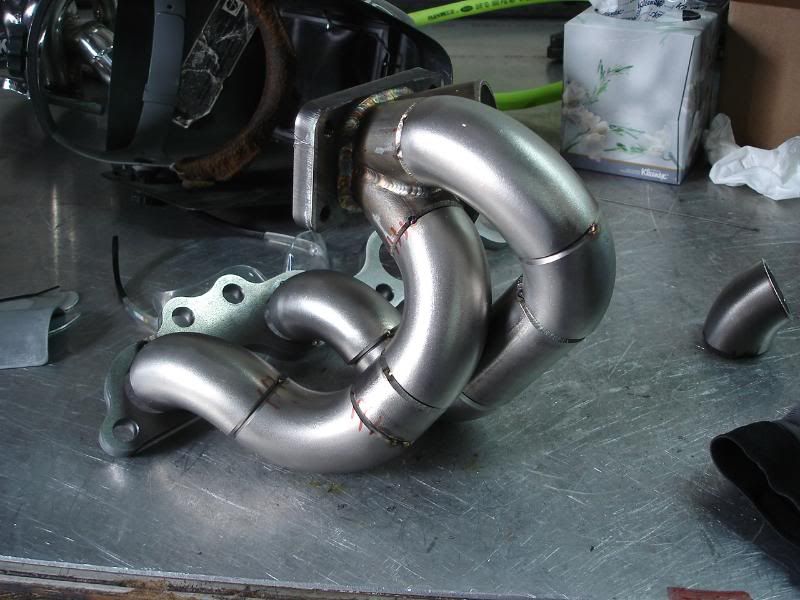
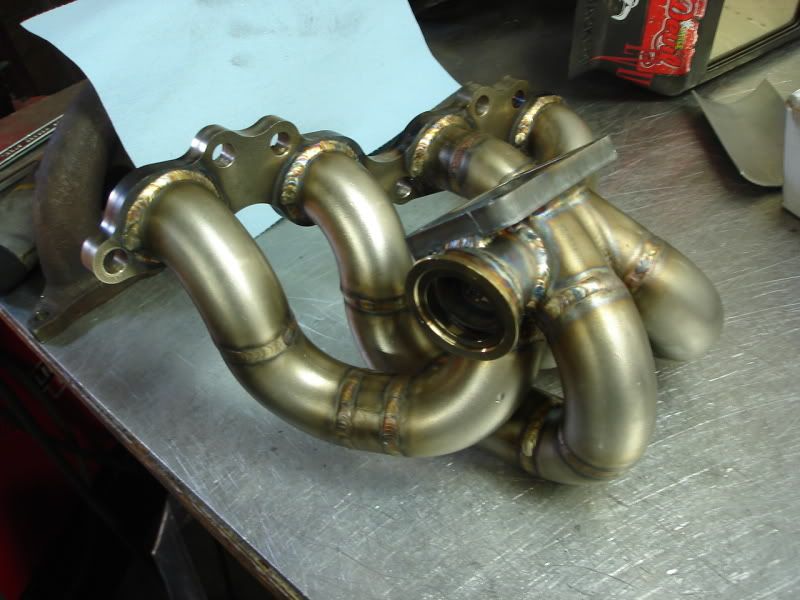
time for the manifold
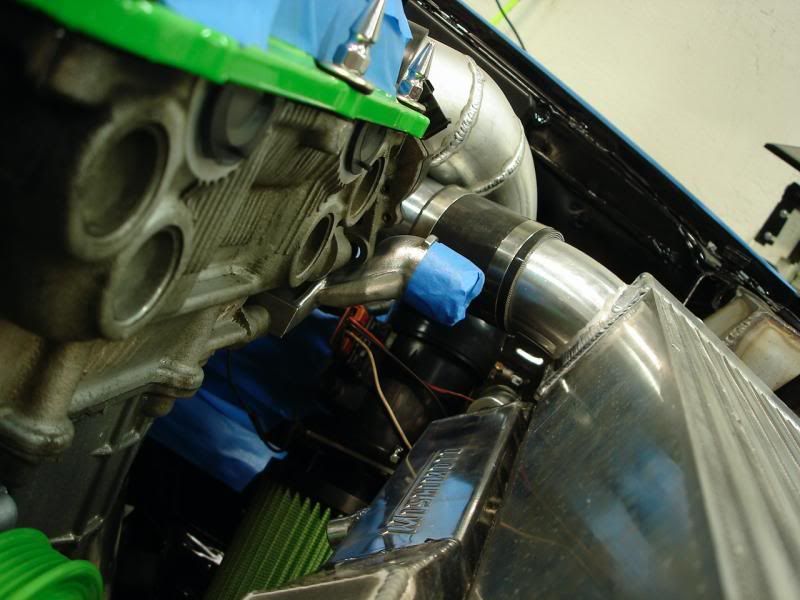
correct placement of turbo is key
collector finished

runner #1 is done
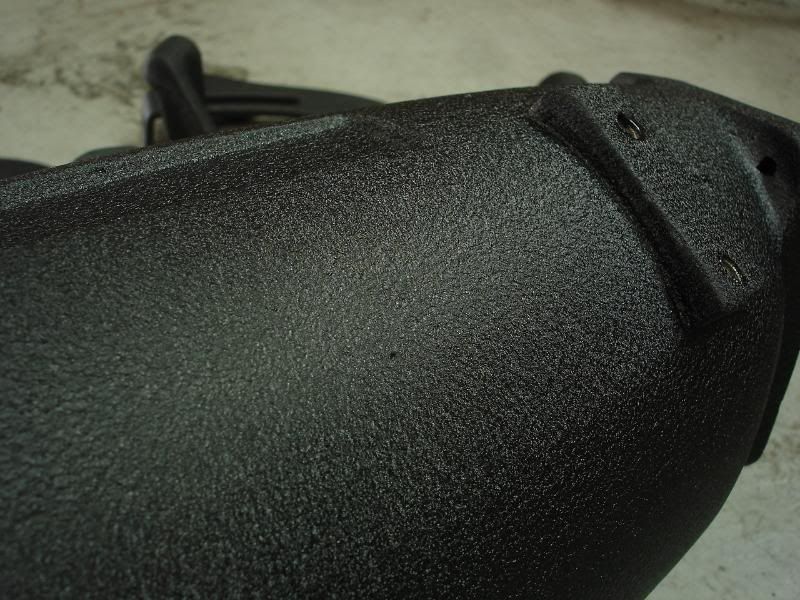
lets take a break to look at my freshly powdercoated manifold
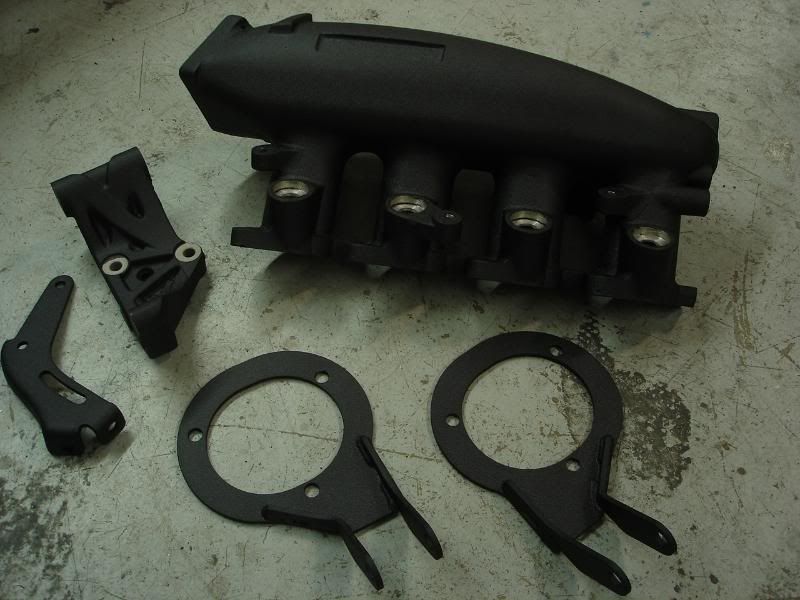
wrinkly
ok back to manifold
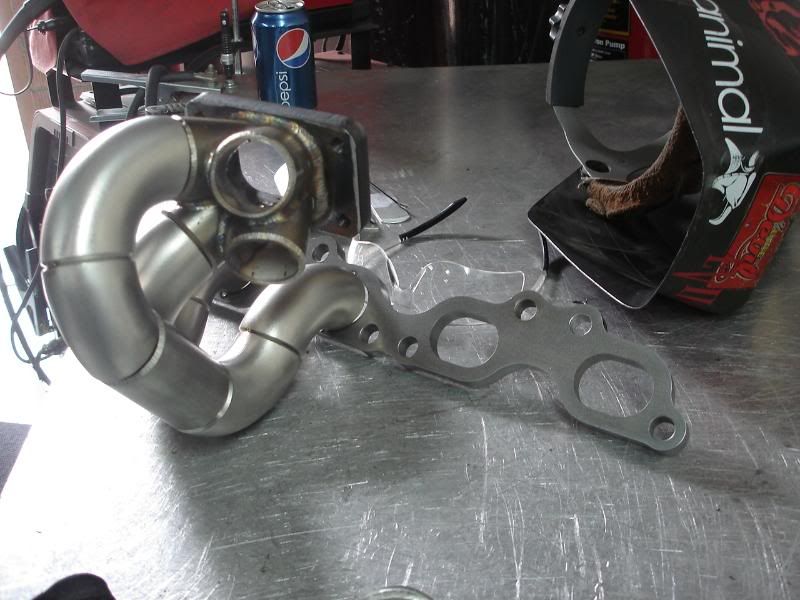

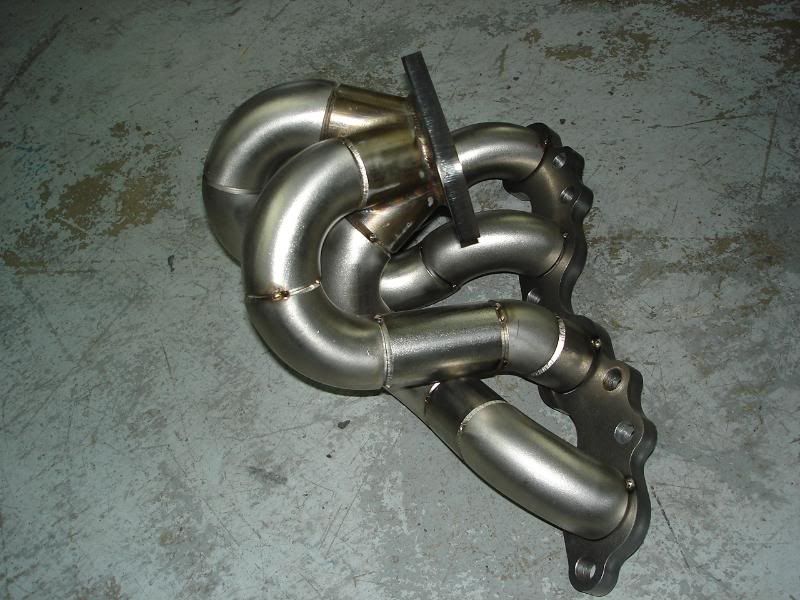
all weldededededed up with the wastegate port

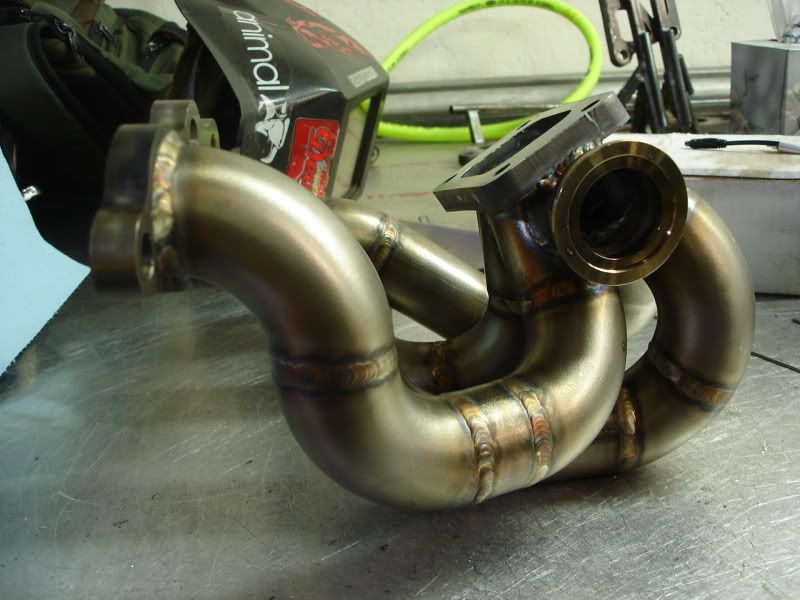
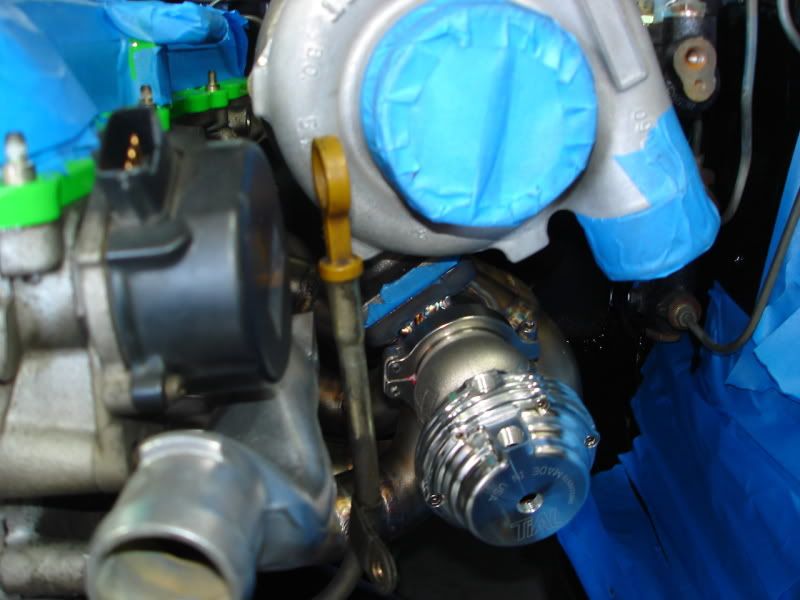
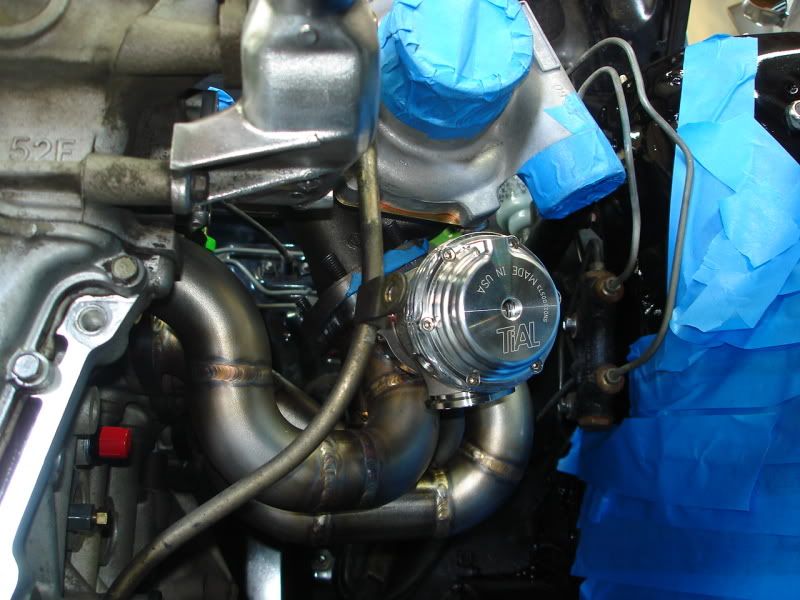
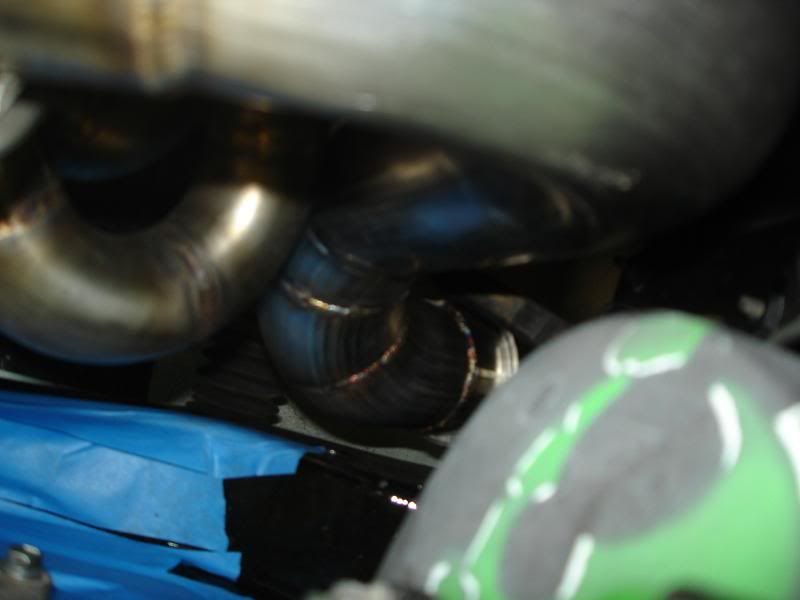
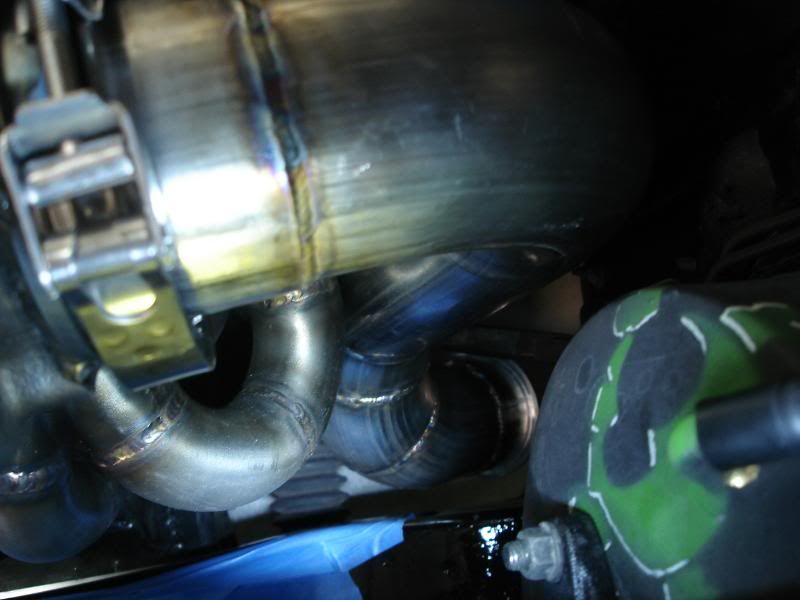
manifold with turbo (gt28rs)
and some pics with the wasgate on. i need to get some 1.5 tubing to make the external wastegate dumper
from underneath
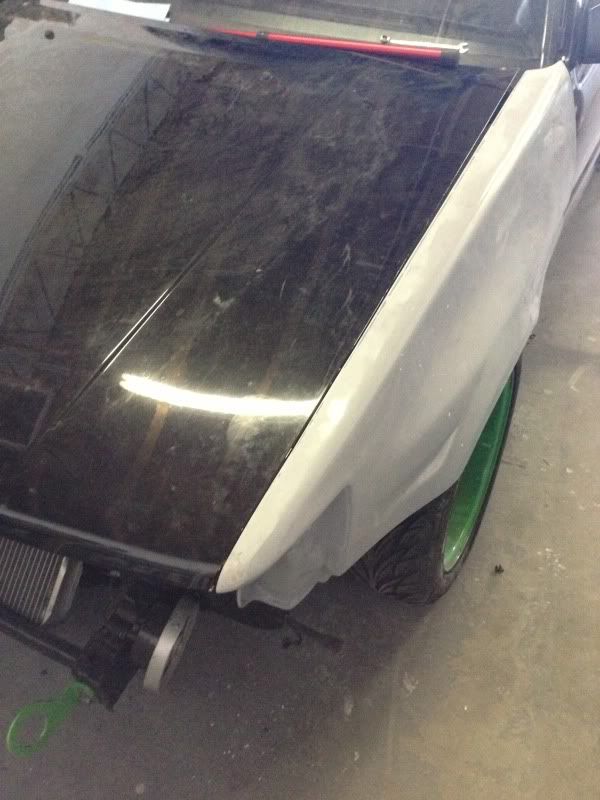
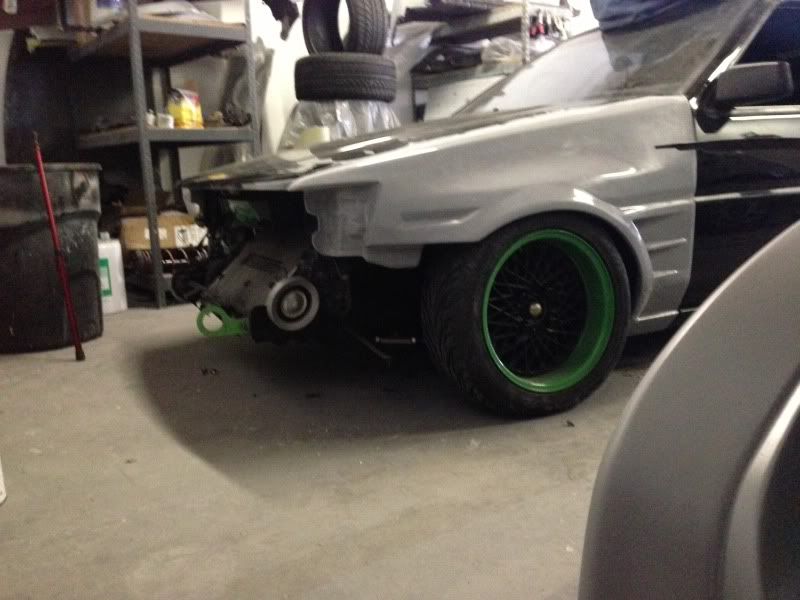
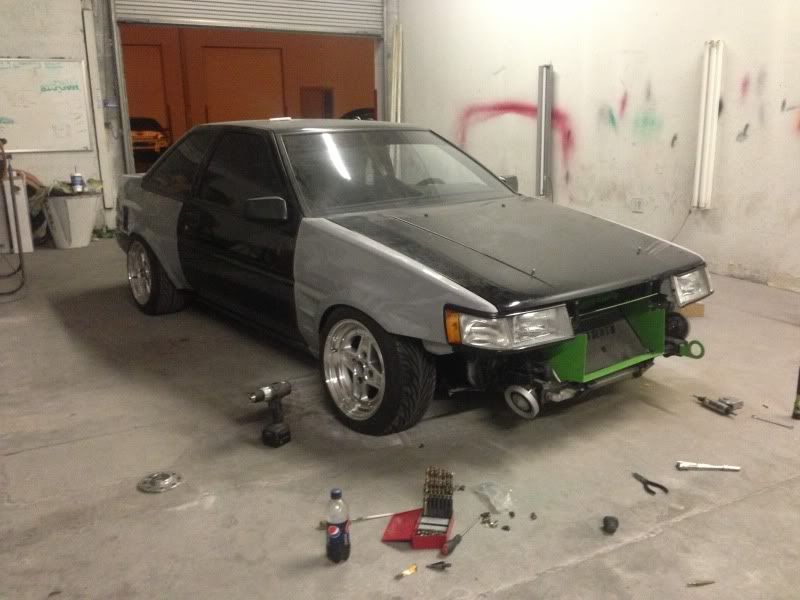
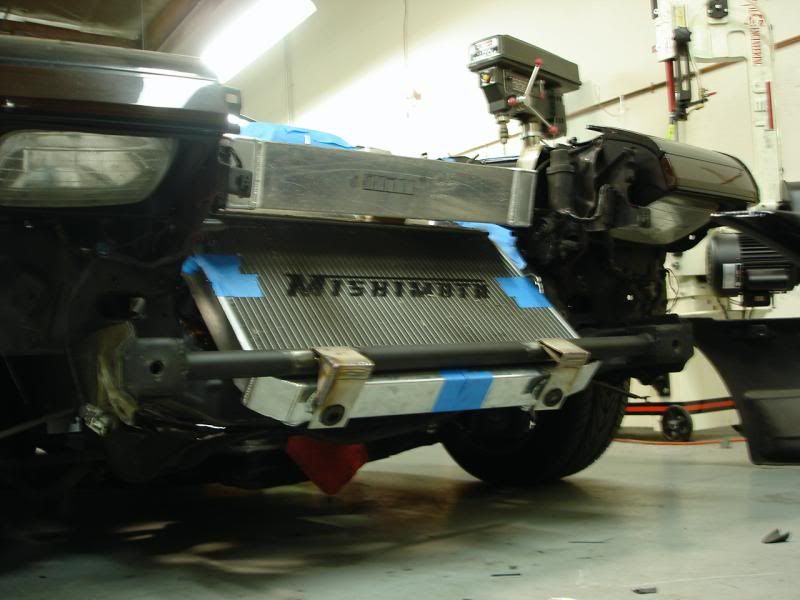
i cut out the core support, it was tough to do mentally. now there is no going back
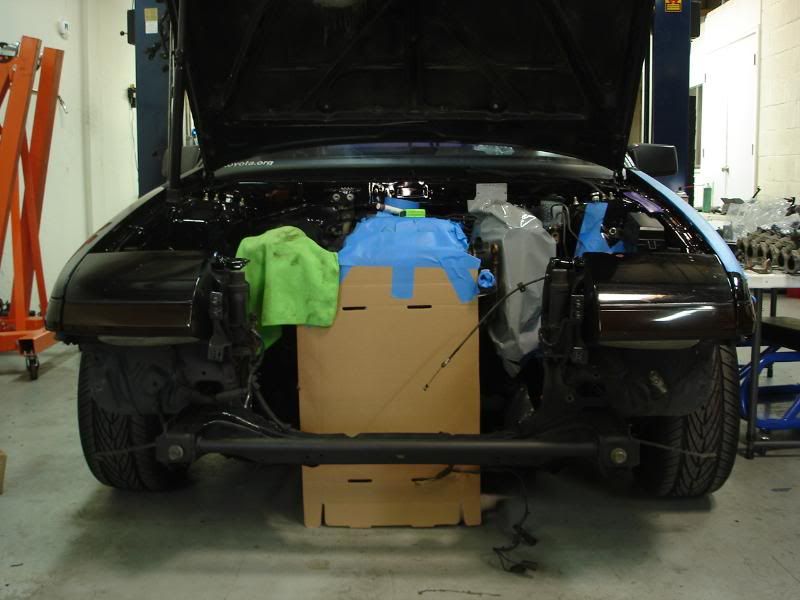
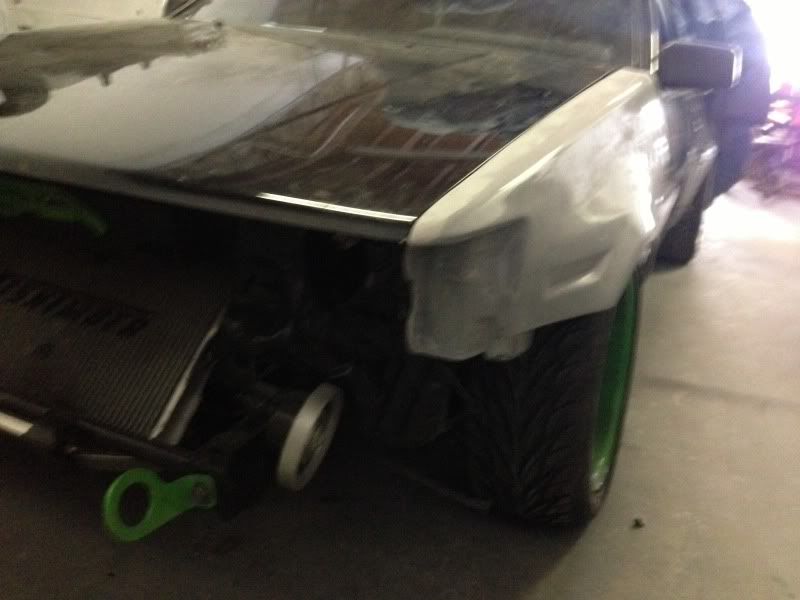
then i cut out some little end caps and aaron welded them on. this step isn't done, we are gonna put a back plate on as well because this is where we are gonna mount the intercooler.
raw
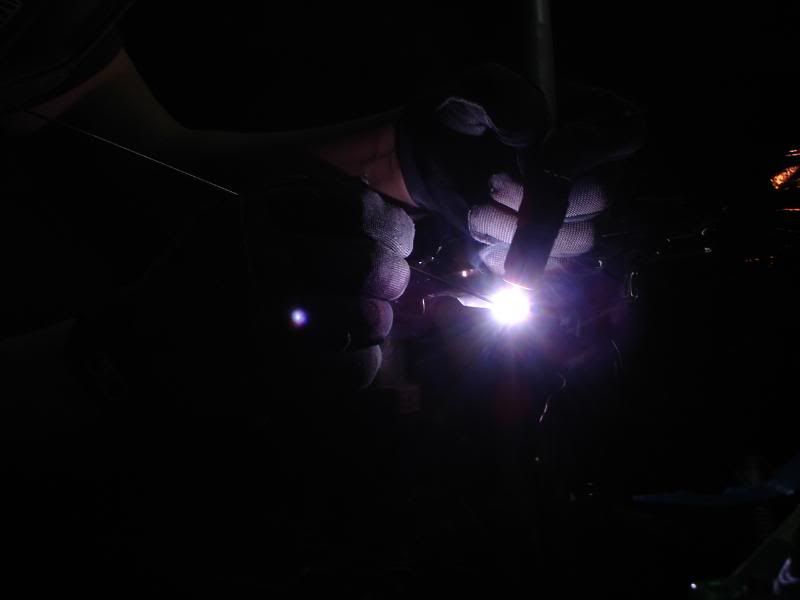
welding
plate

the only thing that sucks about this, is that i am going to need more painting done.
then i fabbed up a lil dump tube and welded a lil bit of it then handed it over to aaron to make sure it didn't end up looking like crap
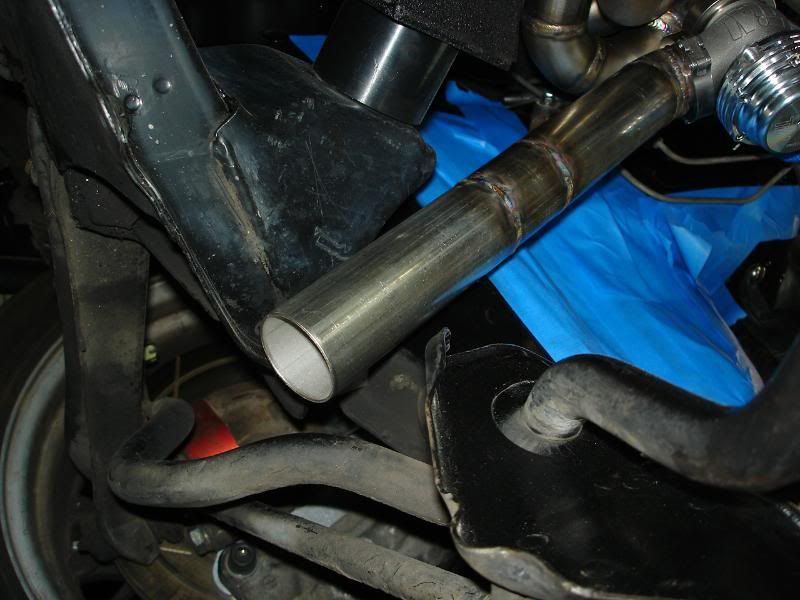
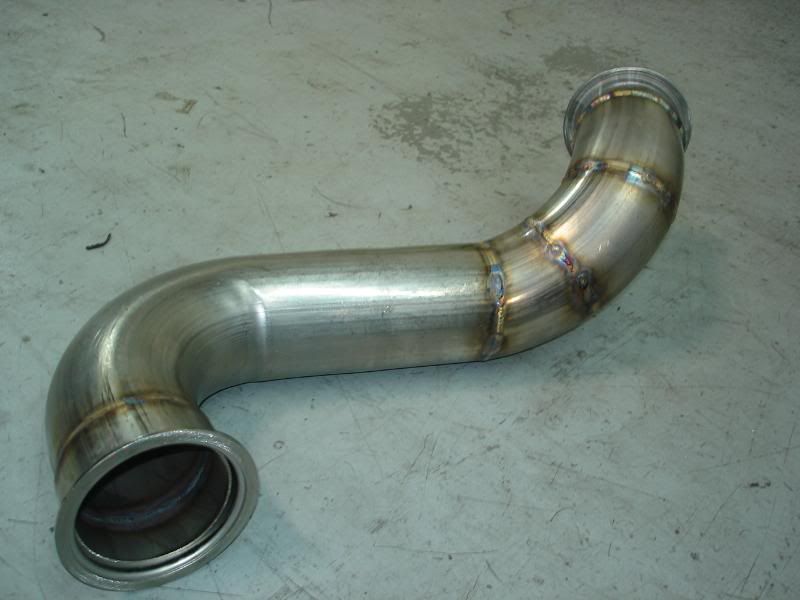
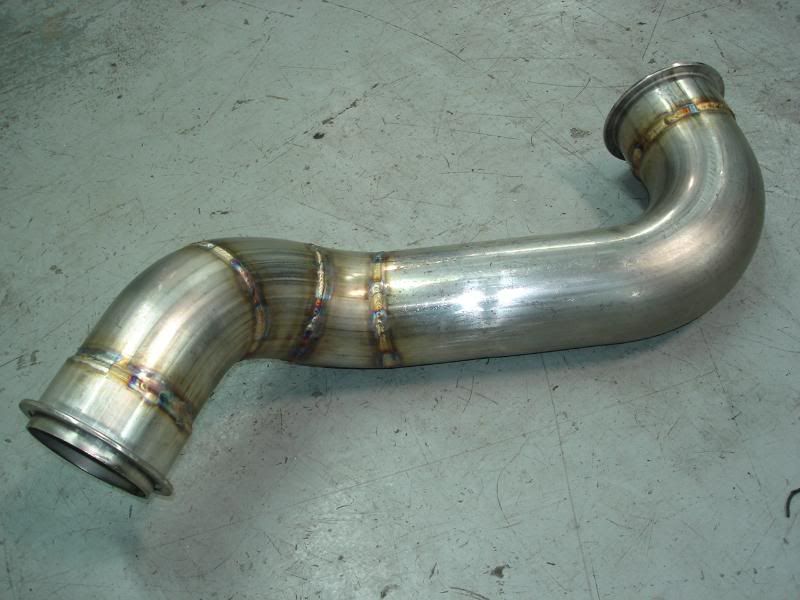
3 inch downpipe
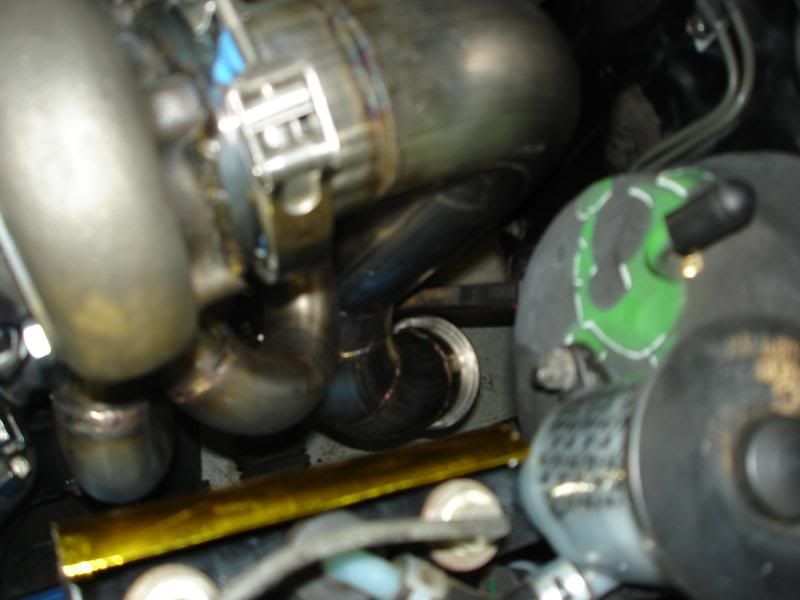
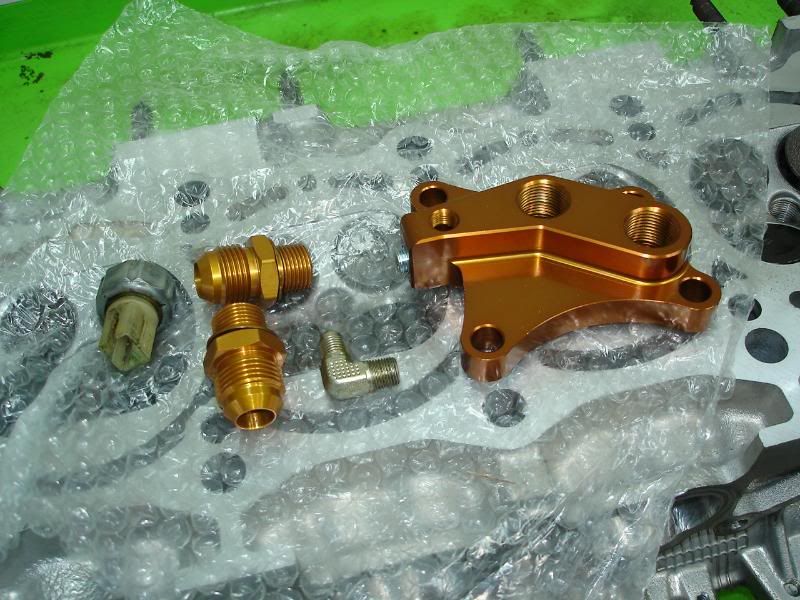
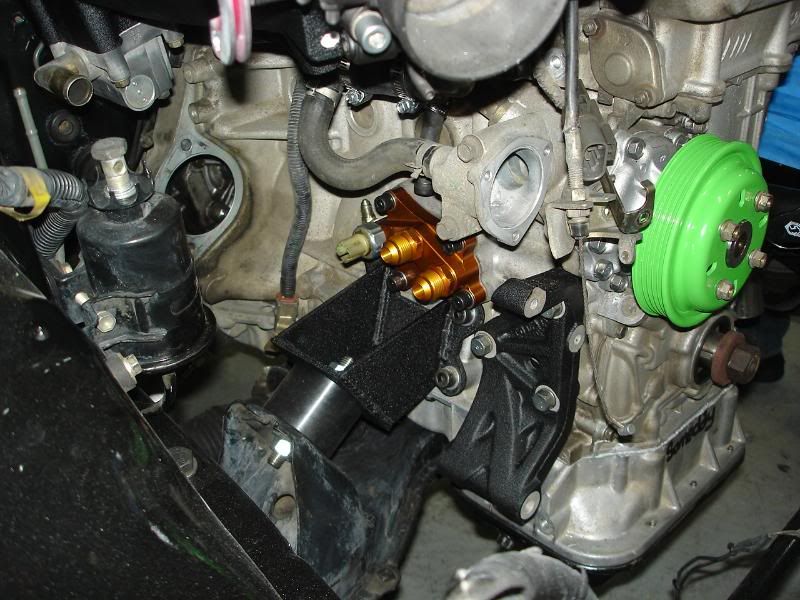
i also fabbed up a little heat shield for the master
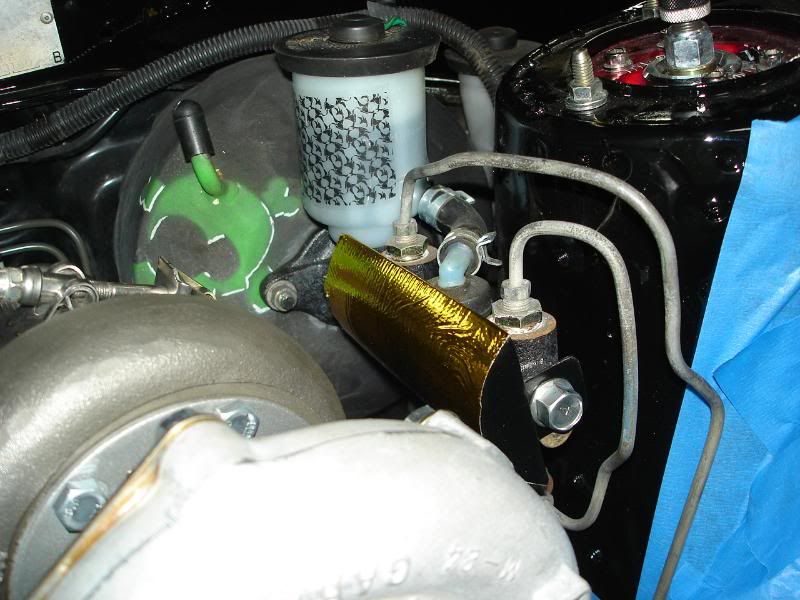
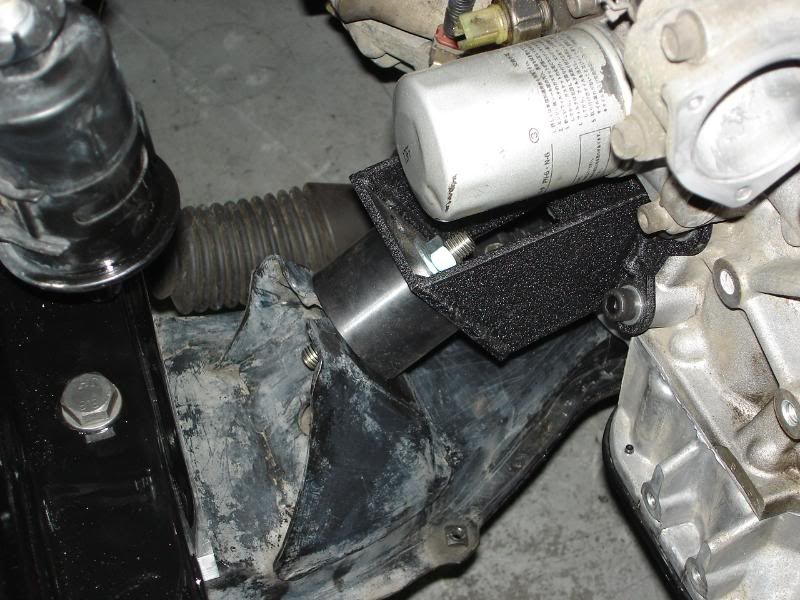
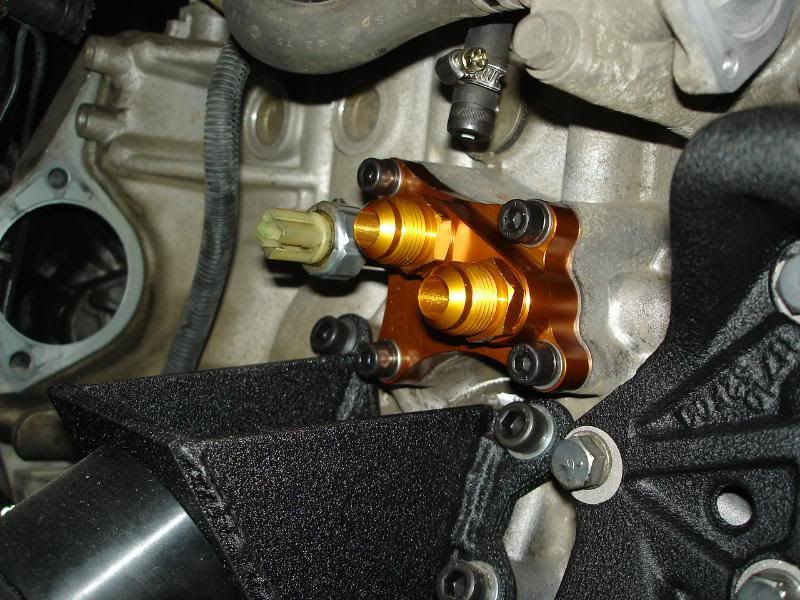
i got my stance oil filter relocation block. it's a nice piece, except for the hardware they provide, c'mon guys you could have put washers and lock washers in there. so i used my own hardware because once i added the washer and lock washer the hardware was too short
haven't had alot of time to work on this lately. too much paying work, that's kind of a good thing tho.
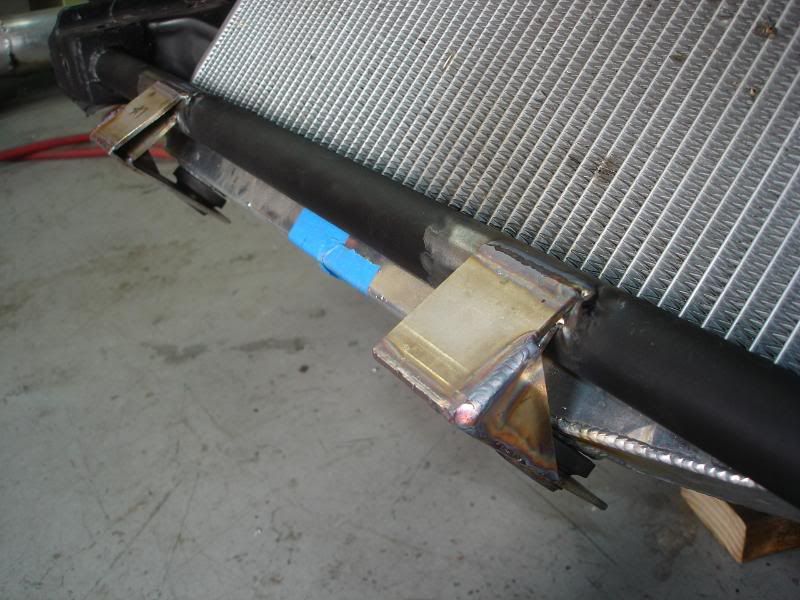
got the lower radiator supports done tho.
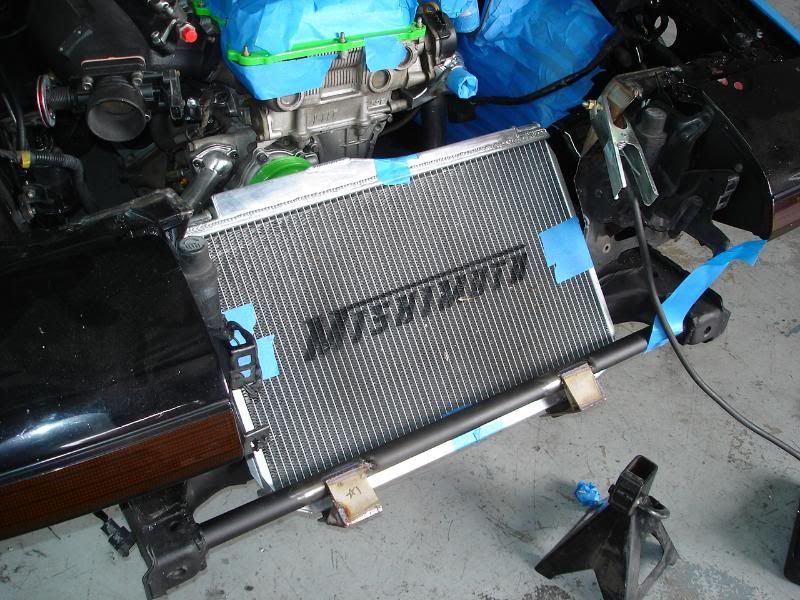
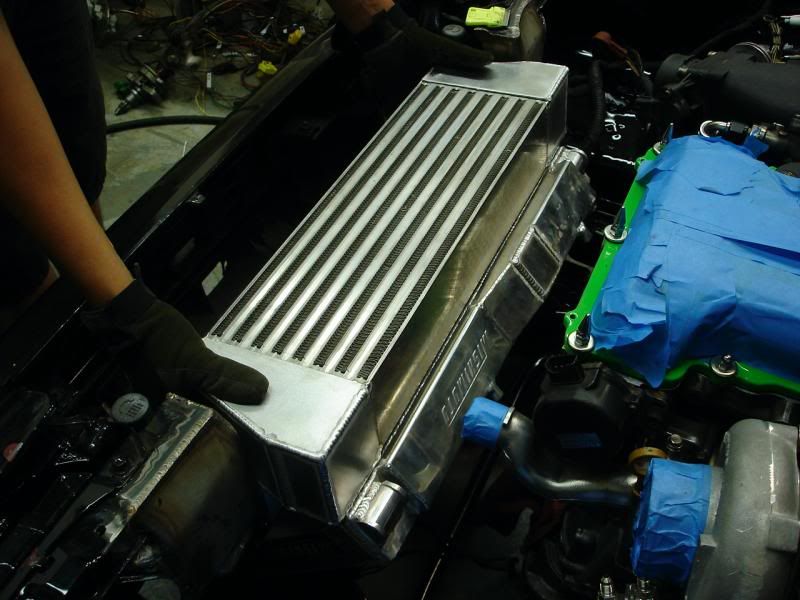
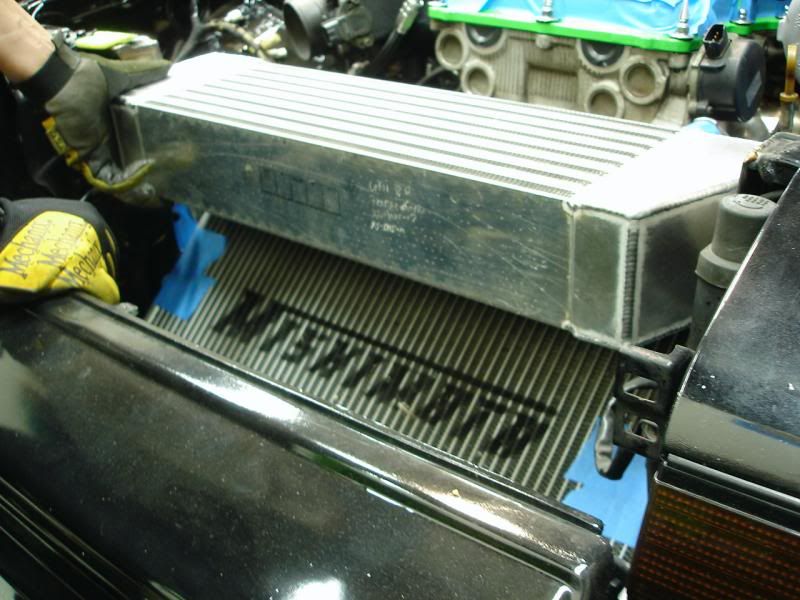
time to start mocking up the intercooler so we can mate them together
the reason i am not doing hardly any of the welding:
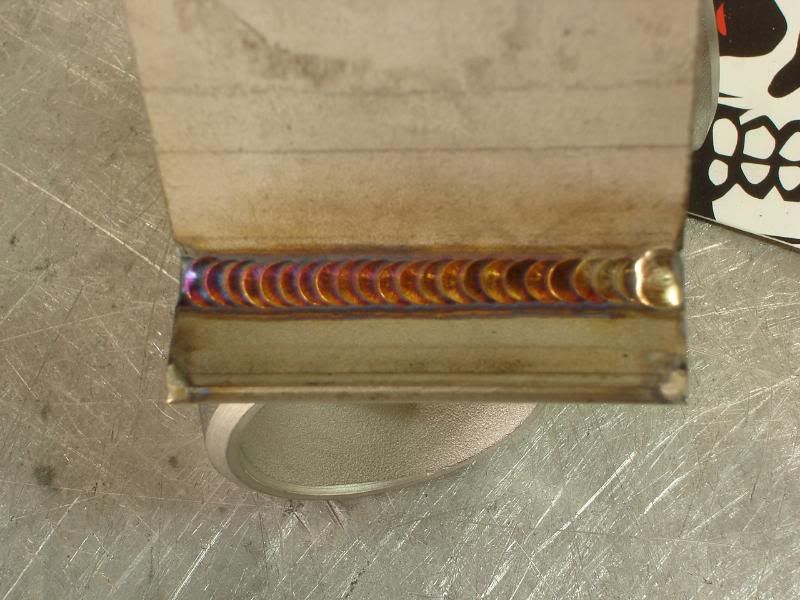
my tig welds:
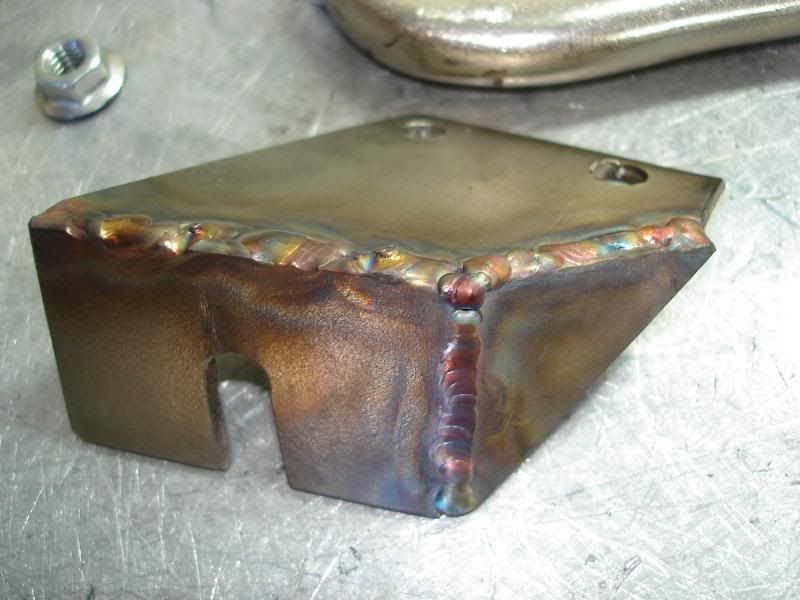
aarons tig welds:
granted he's been doing it for ten years and i have never really done it at all, but i am starting to learn a bit more. i figure i might do some more of the welding that won't be seen on the car, like the bottom of my throttle cable bracket (pictured). i'll have him weld the top so it looks pretty.
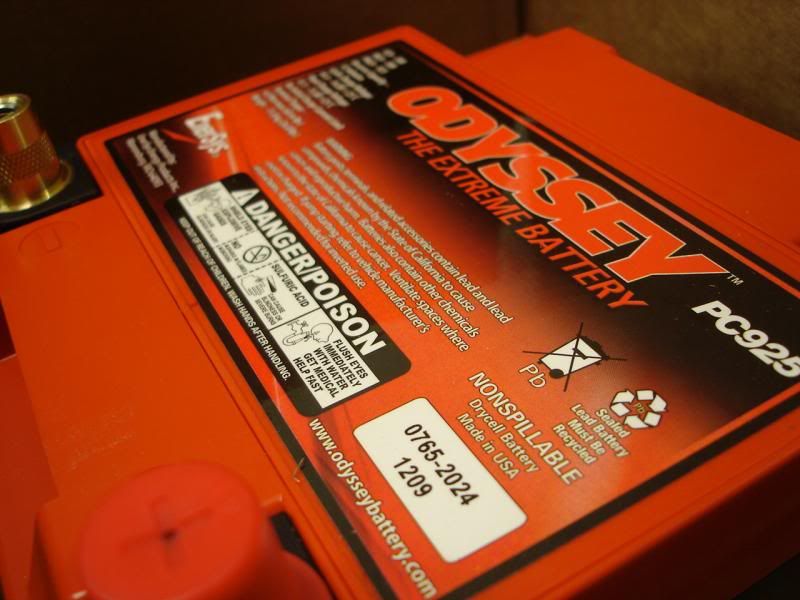
bought a battery
odyssey 925, its bigger than the normal odyssey, but i may want to run a small stereo.
finally got all my fuel line material from the baller of bolts
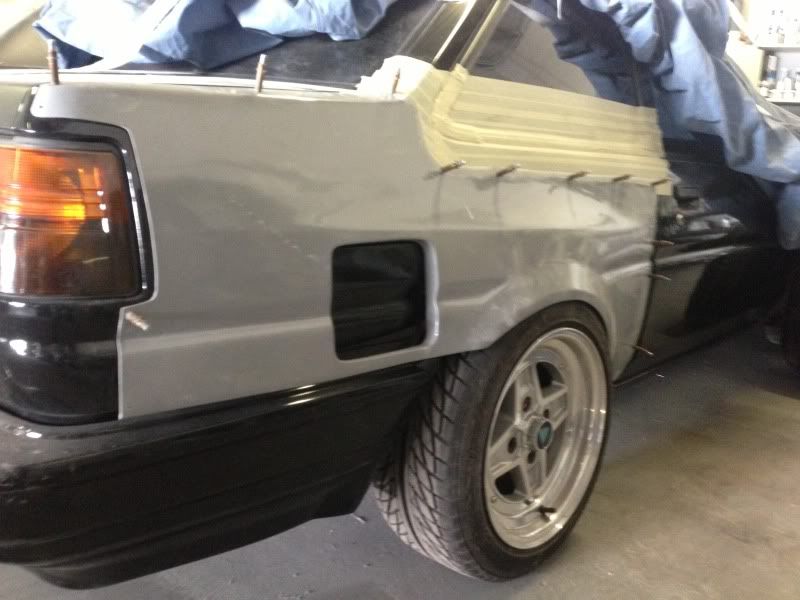
i like the silver/black.
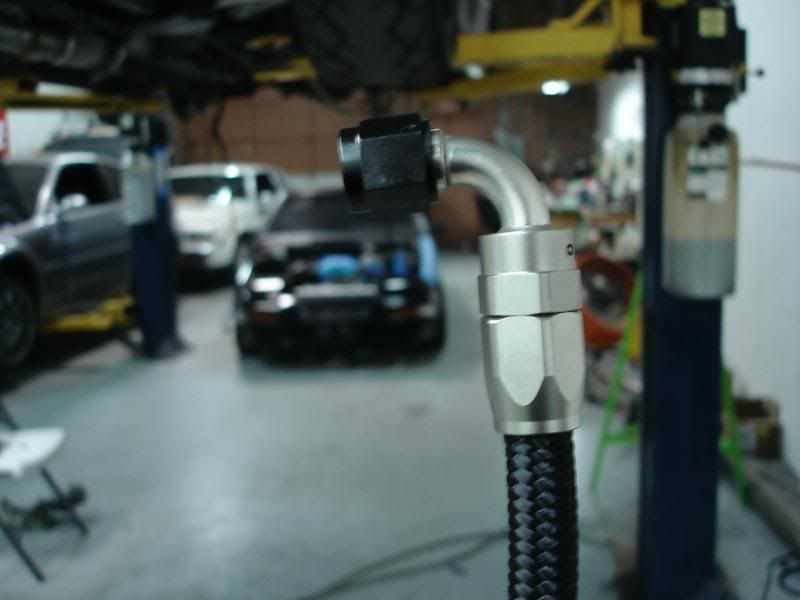

somehow i forgot to take a pic of the fpr all finished, oh well.
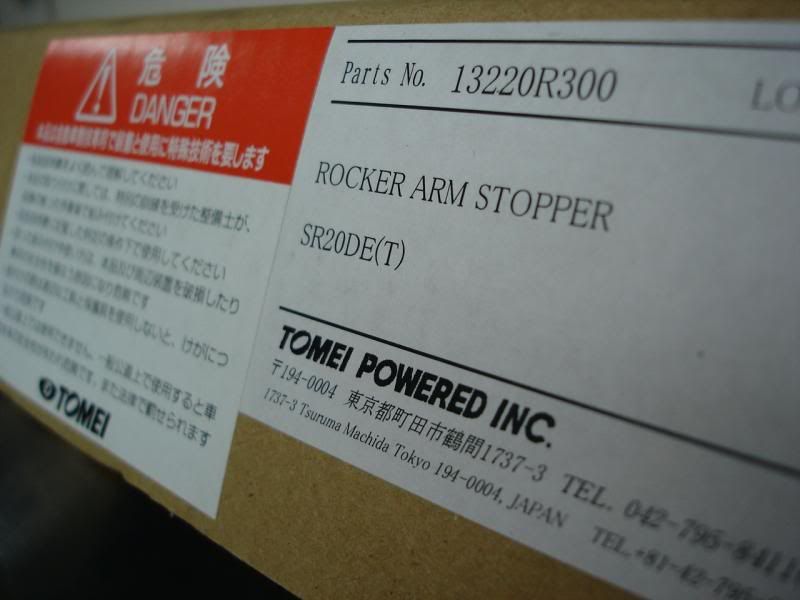
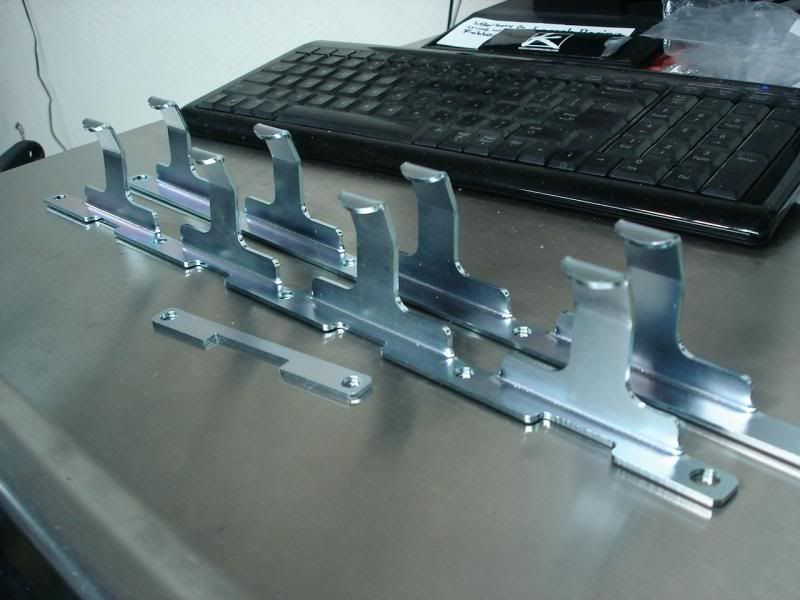
the only internal improvements i made are a set of tomei rocker arm stoppers, they were very easy to install.
jdm yo
the players
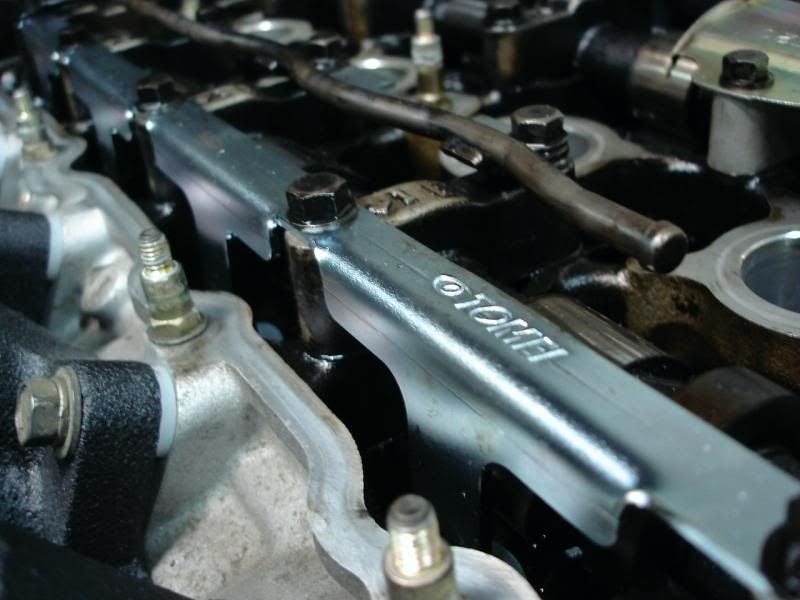
in thier new home
sealed up the top end with all ne gaskets, gromets and punk rock nuts
what is this pile of parts for?
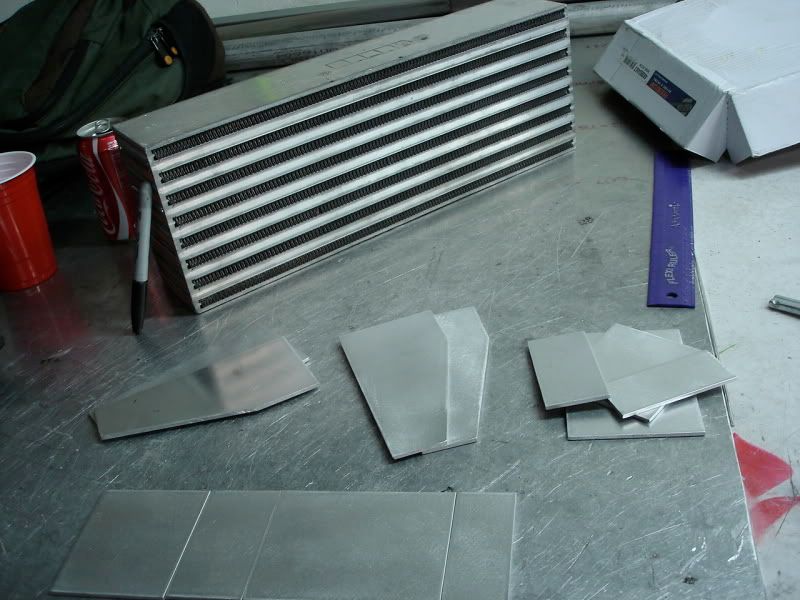
baby shoes!
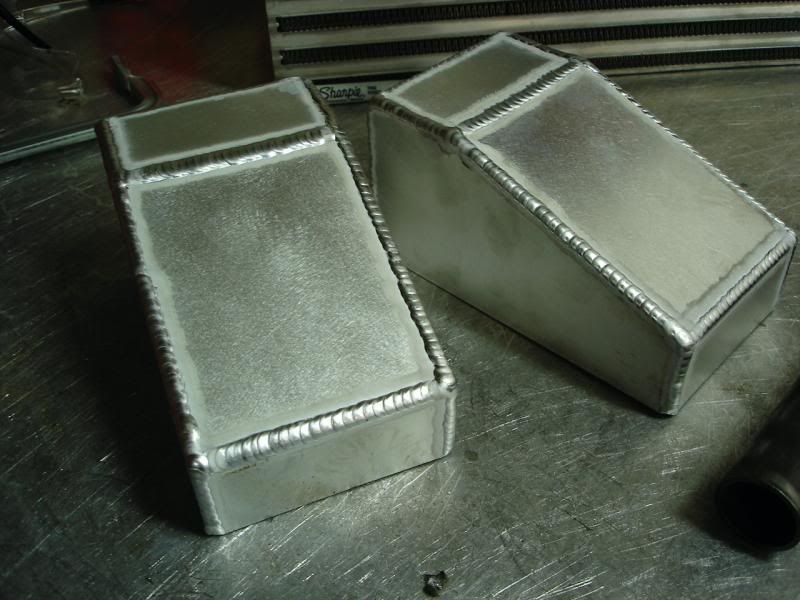
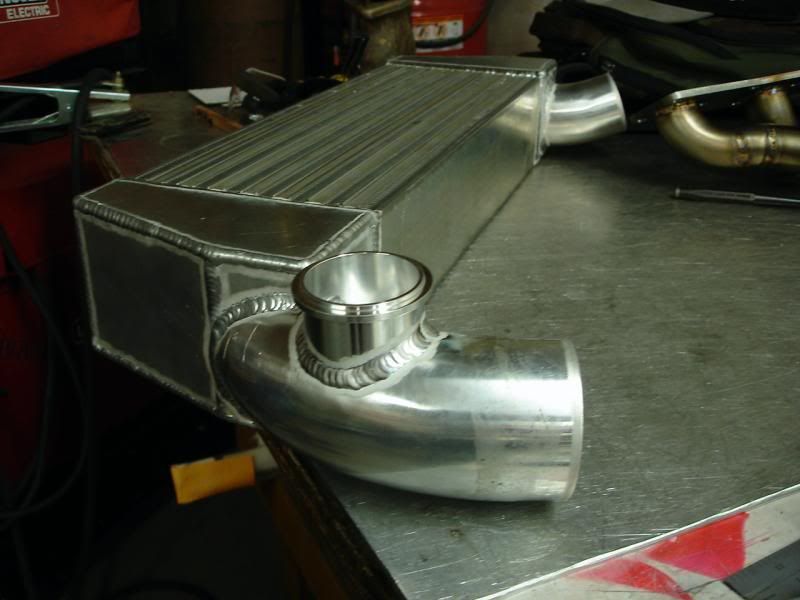
or... just intercooler end tanks.
here they are welded up being and test fitting for placement
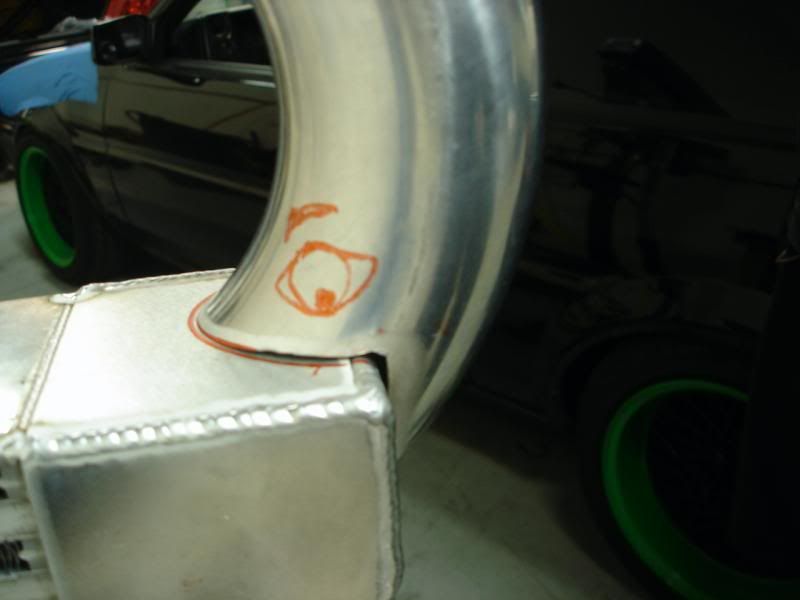
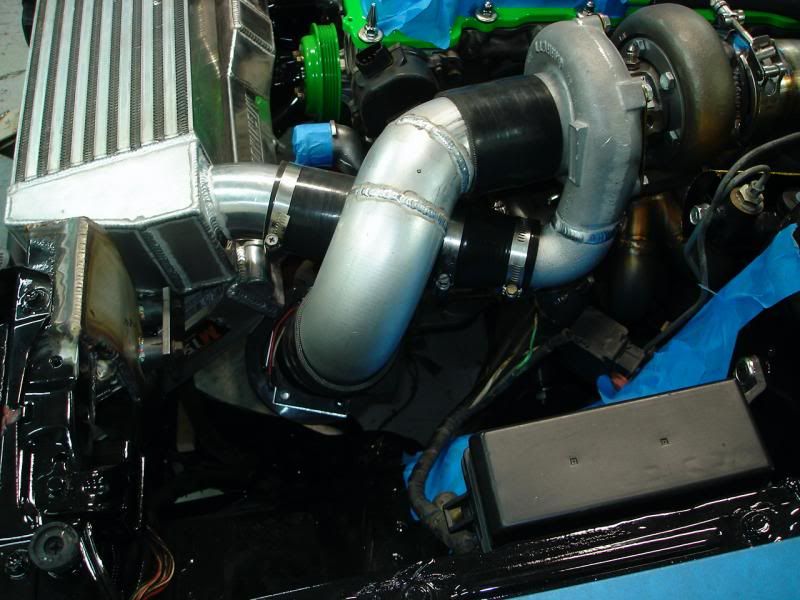
the beginning of the cold side pipe
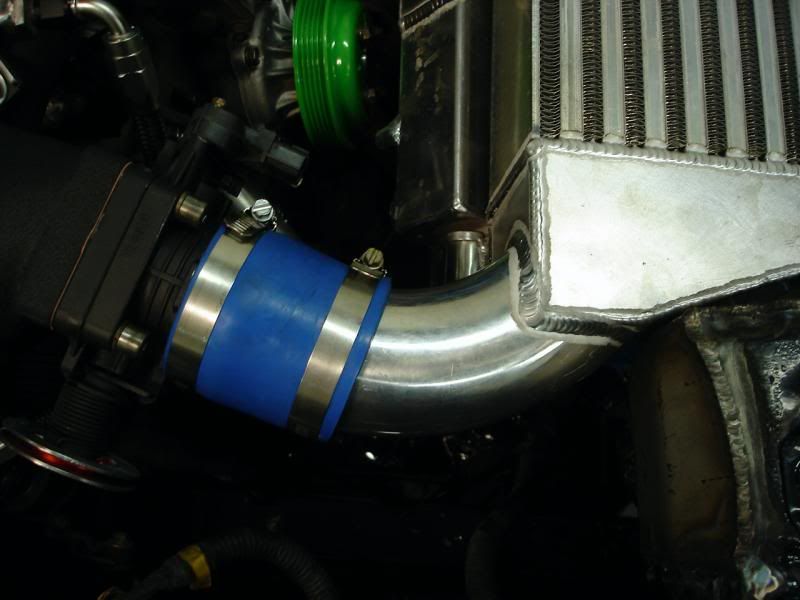
welded on and mocked in place with an ugly blue silicone
hot side pipe done

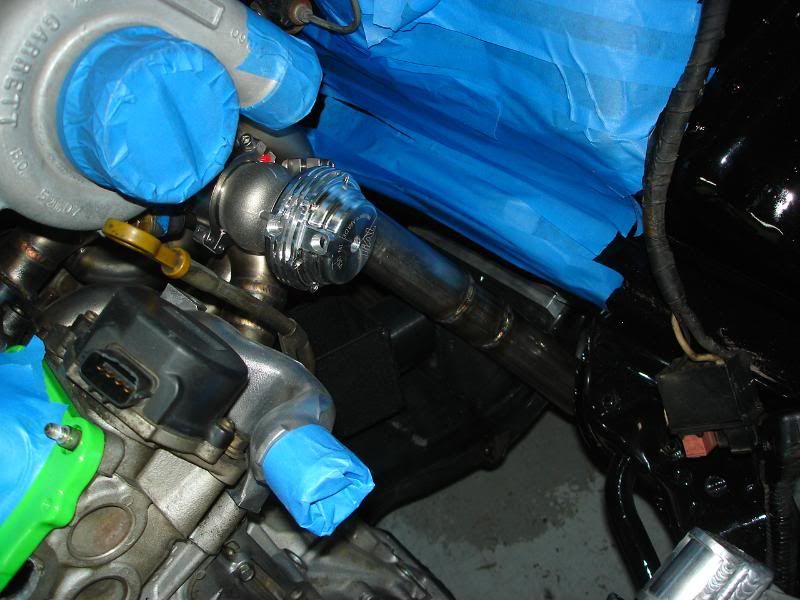
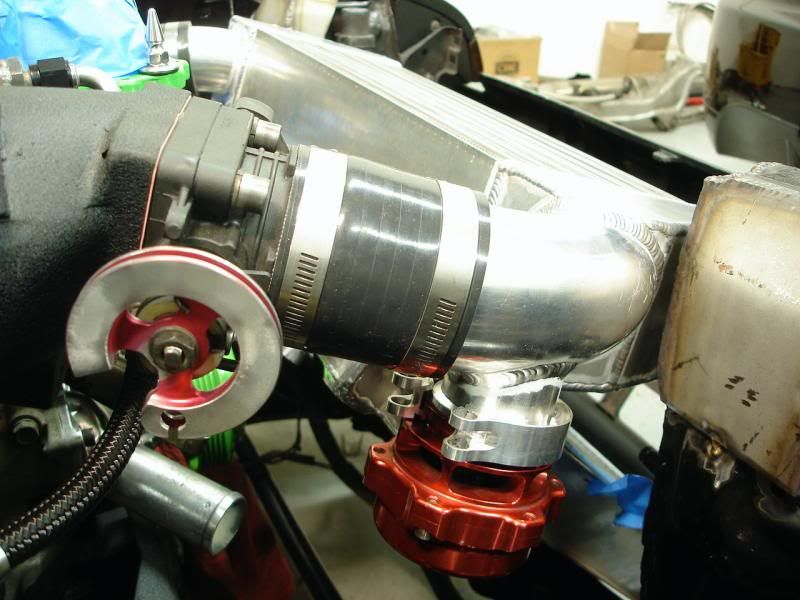
time to figure out the bov, not much room with the short pipes but it fits snugly on the cold side
here it is hiding underneath. the red is just for mock up, i'll be buying a black one.
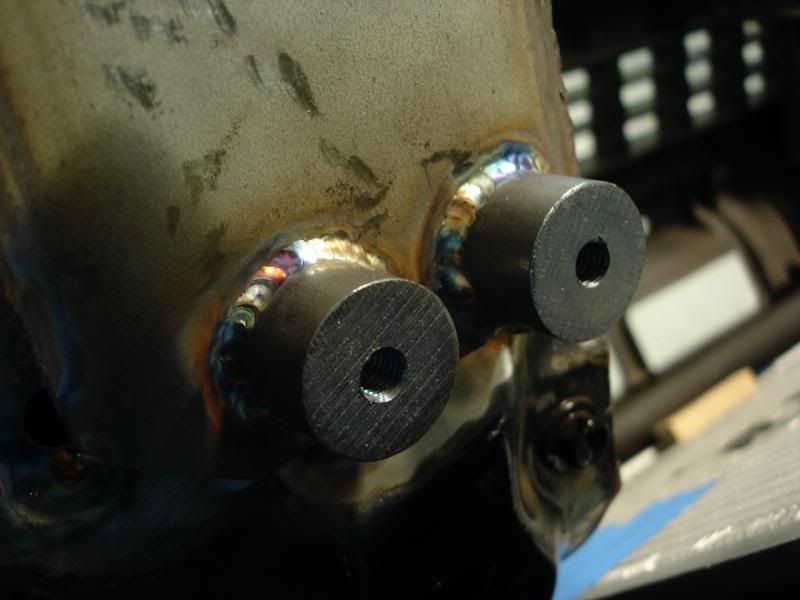
finally, some bracketry to hold the intercooler in place.
start with some home made bosses welded to the radiator core plates
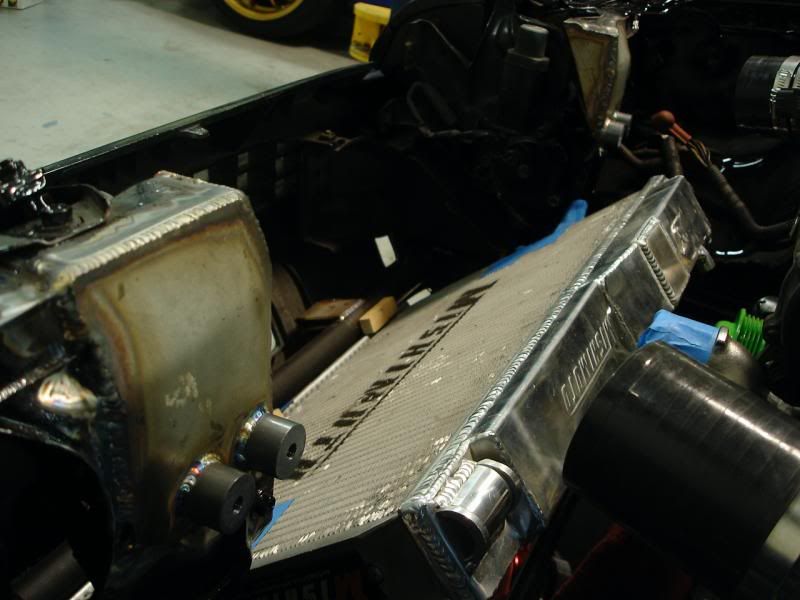
here is the top sode of the bracket
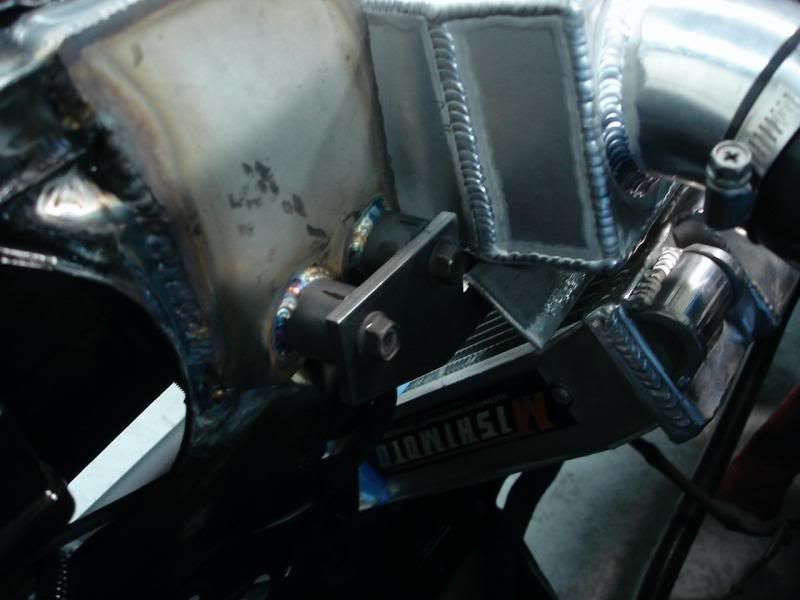
and how it looks from underneath.
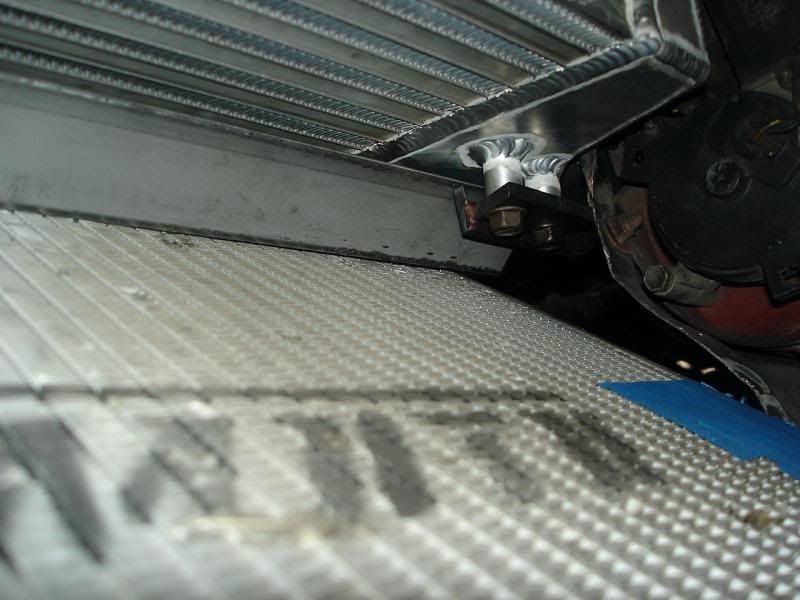
i like it because when you look at it from the front, it looks like the intercooler is not supported
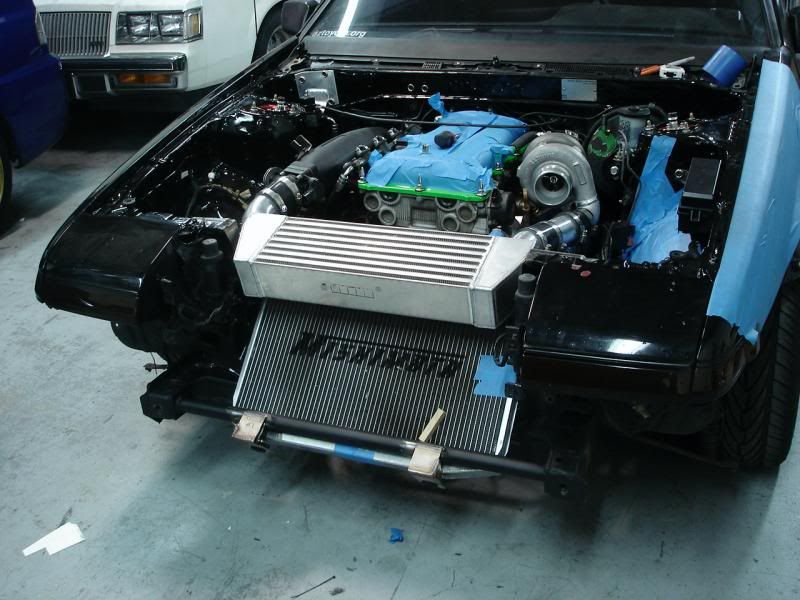
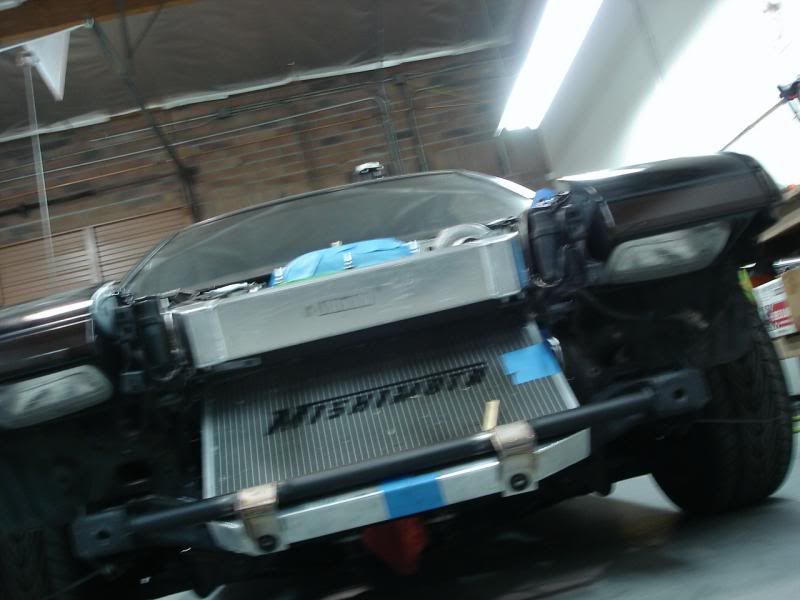
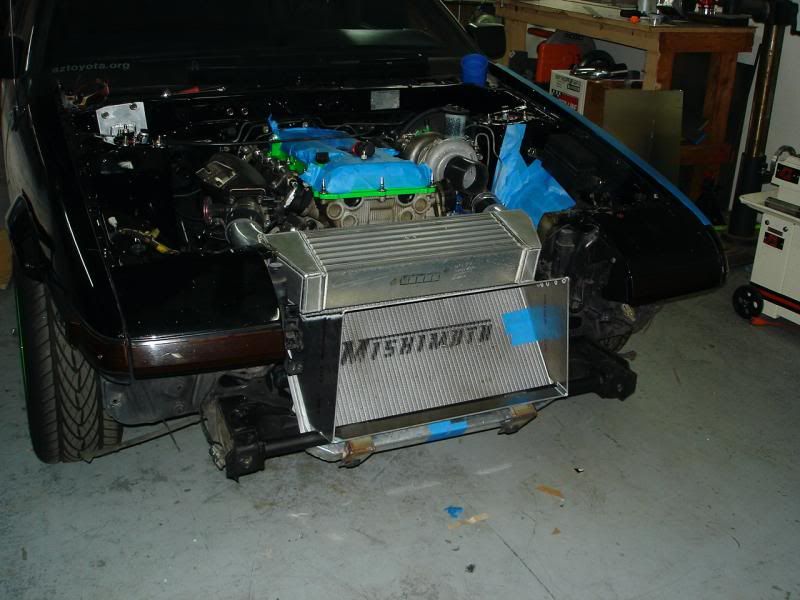
here are some "done" pics. i still need to make all the shrouding for it tho.
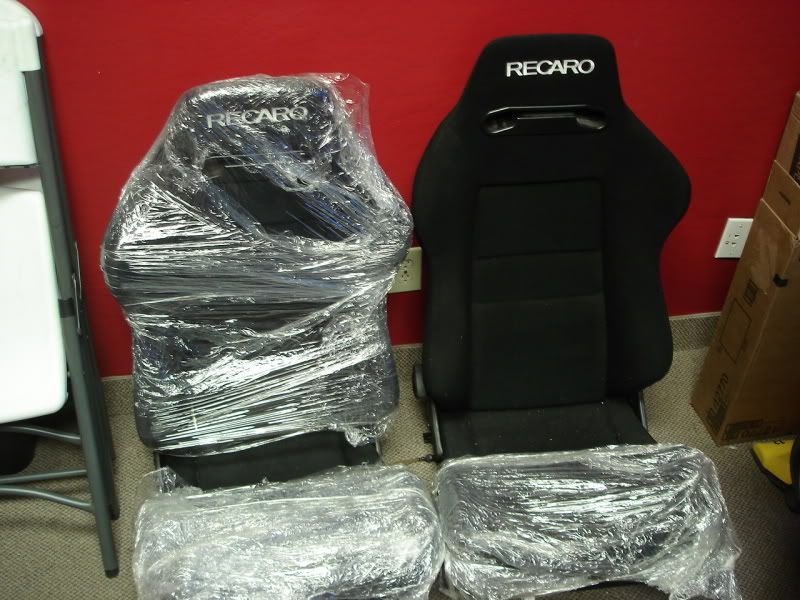
bought some recaros for my pleasure
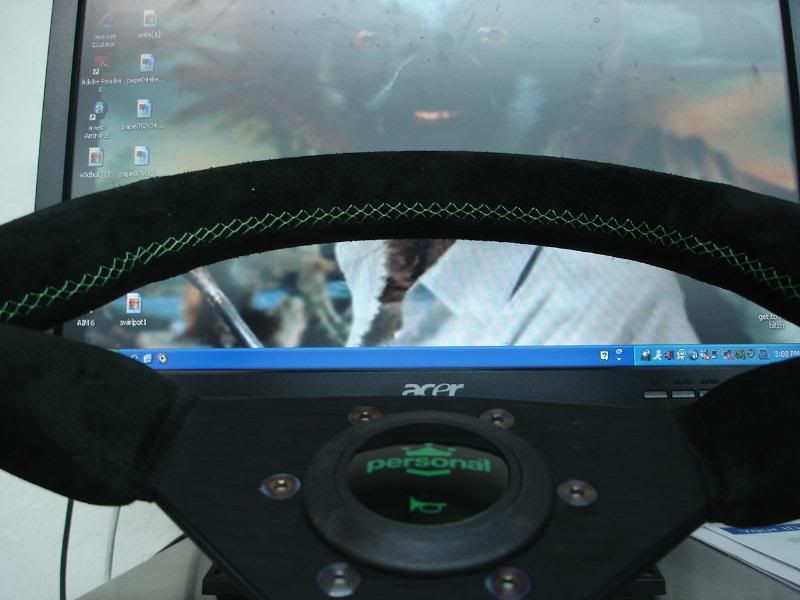
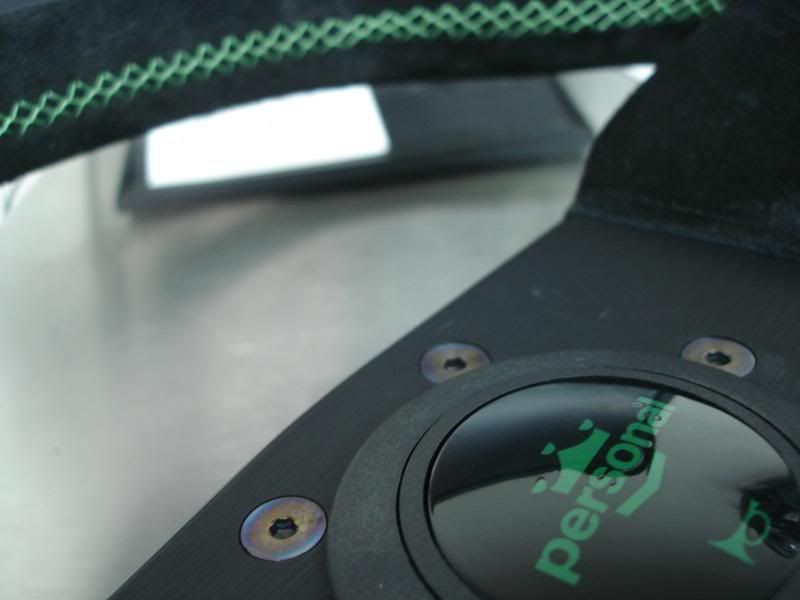
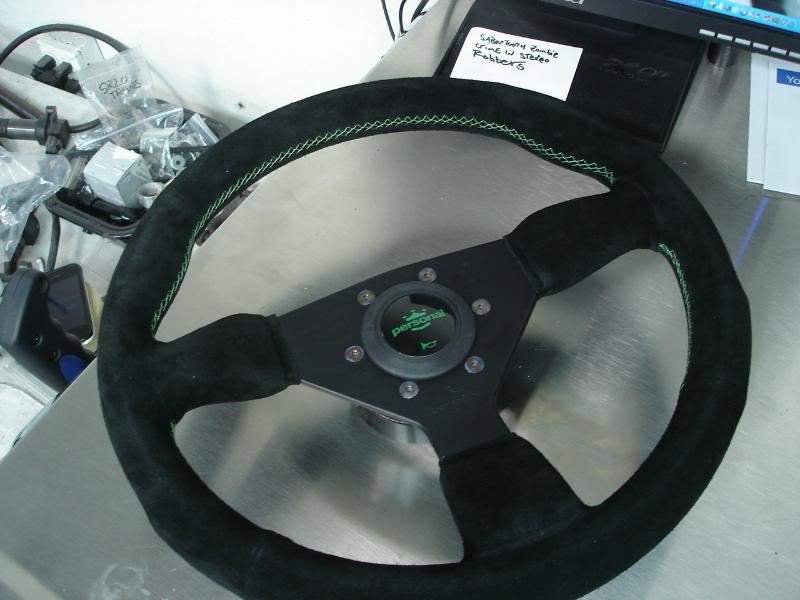
and because i can't stop myself from wasting money on stupid ****, i bought a personal steering wheel... it has GREEN stitching!
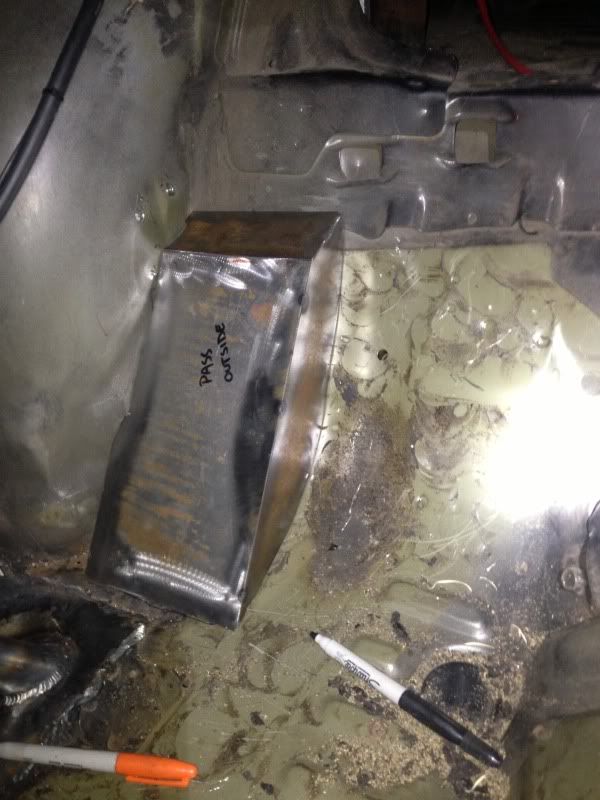
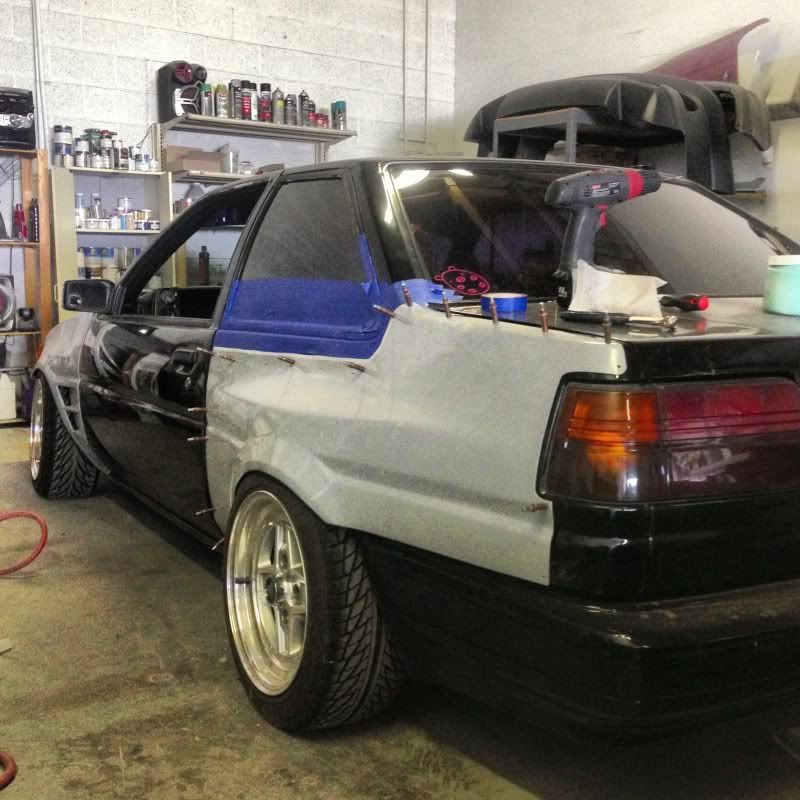
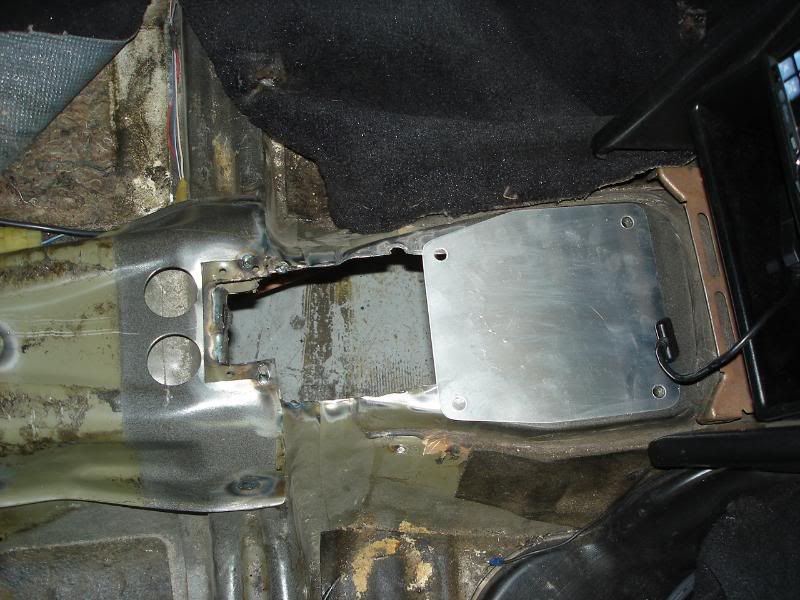
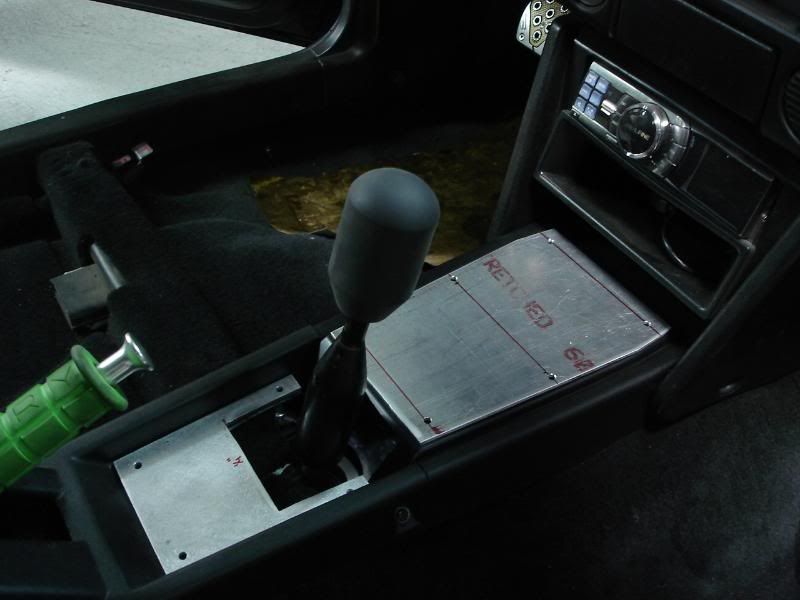
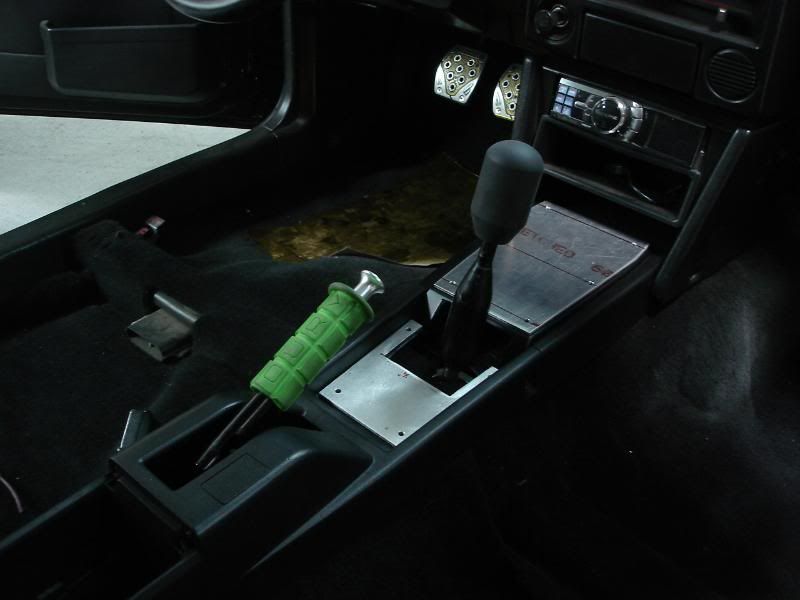
and lastly started making some beauty plates to cover my butchered trans tunnel
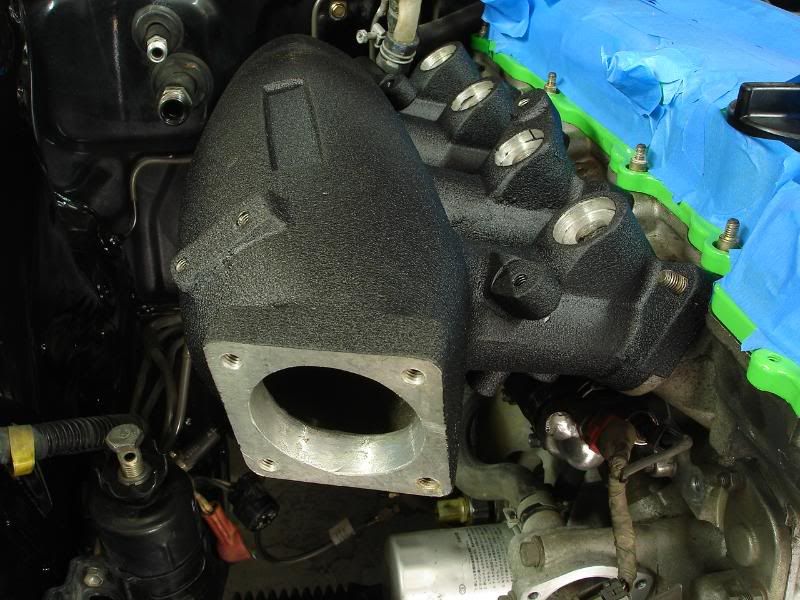
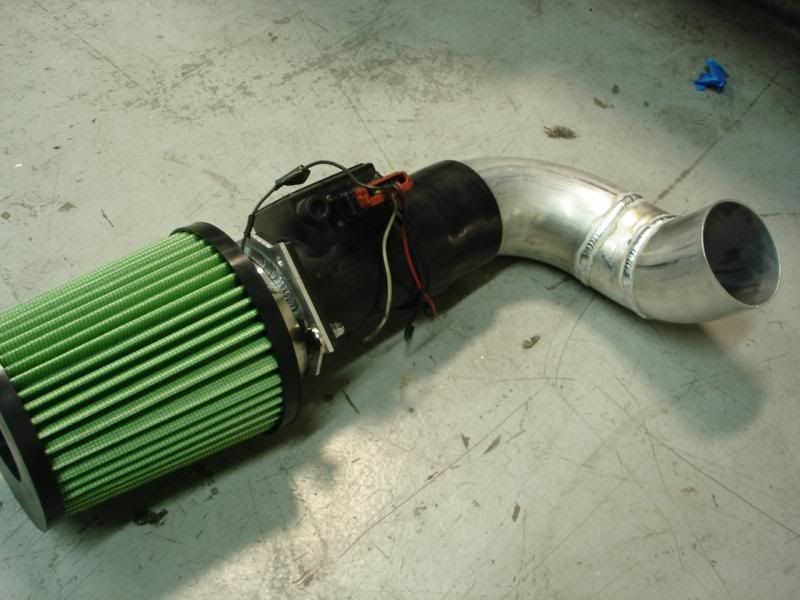
this is the intake i will use to get the car started and driving, i plan on switching to a map based engine management system as quickly as possible, so i just needed a temporary intake that uses the maf.
the final intake will pretty much look the same tho.
here it is
installed
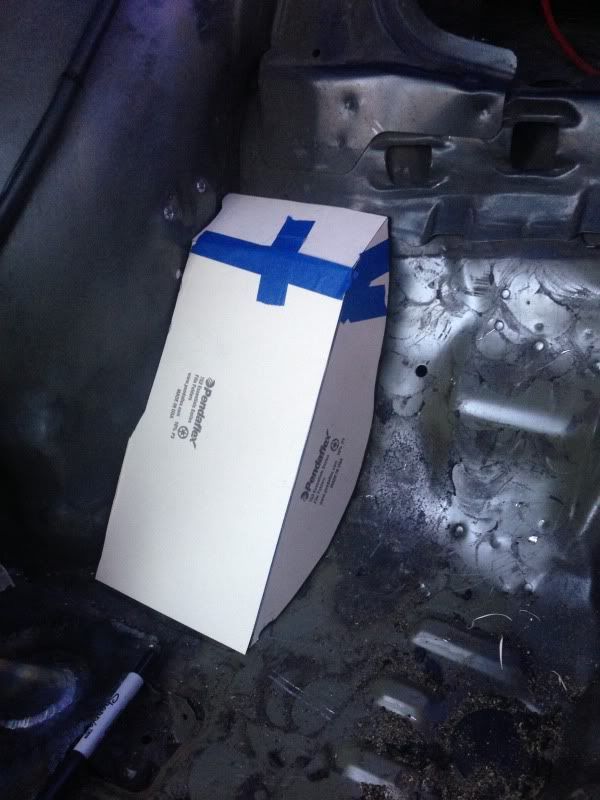
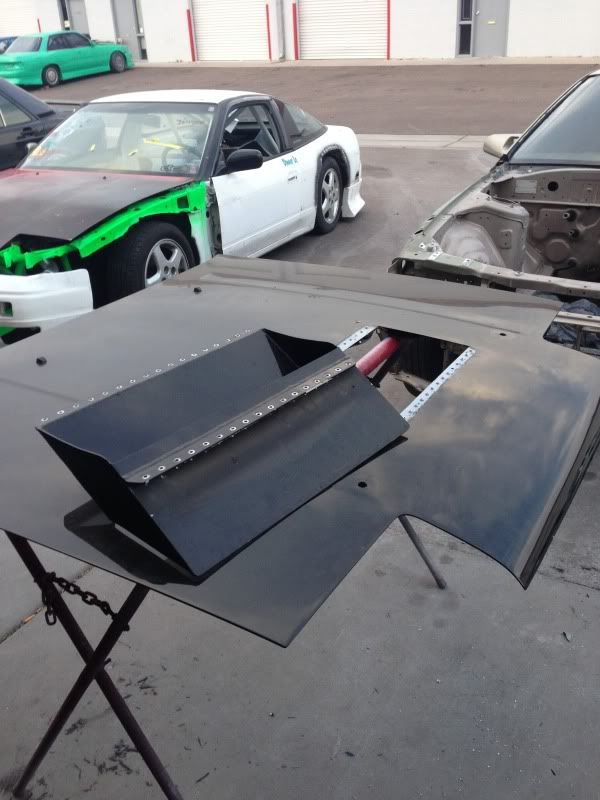
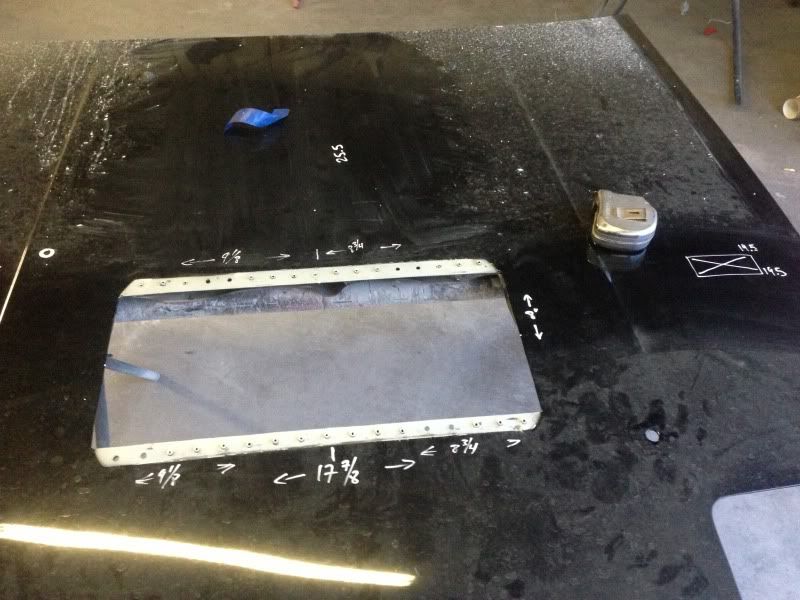
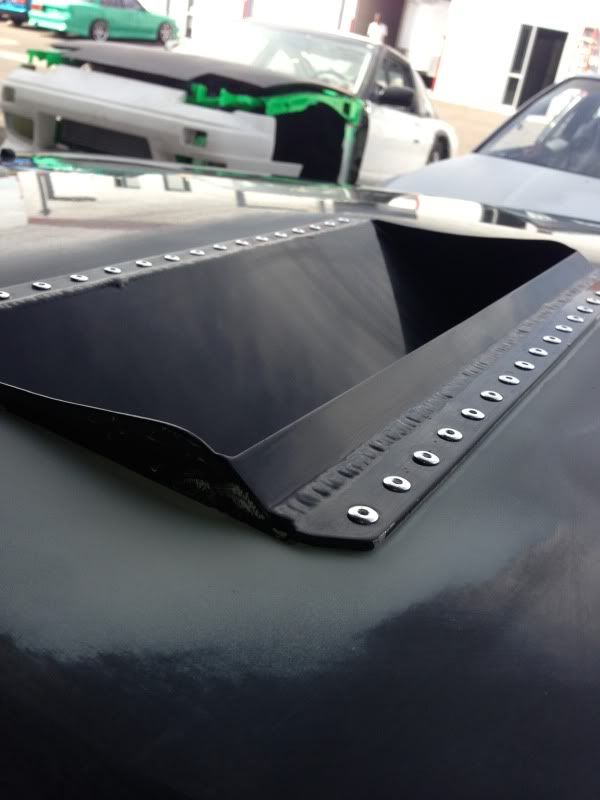
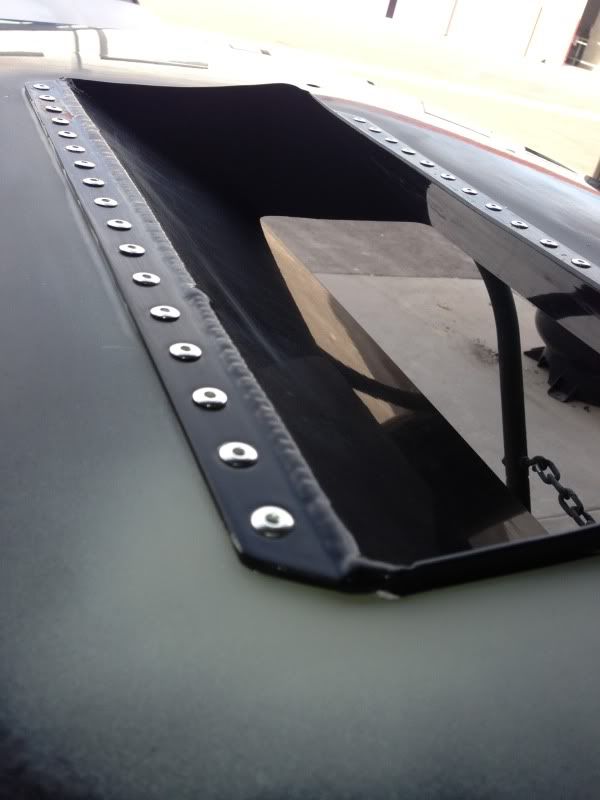
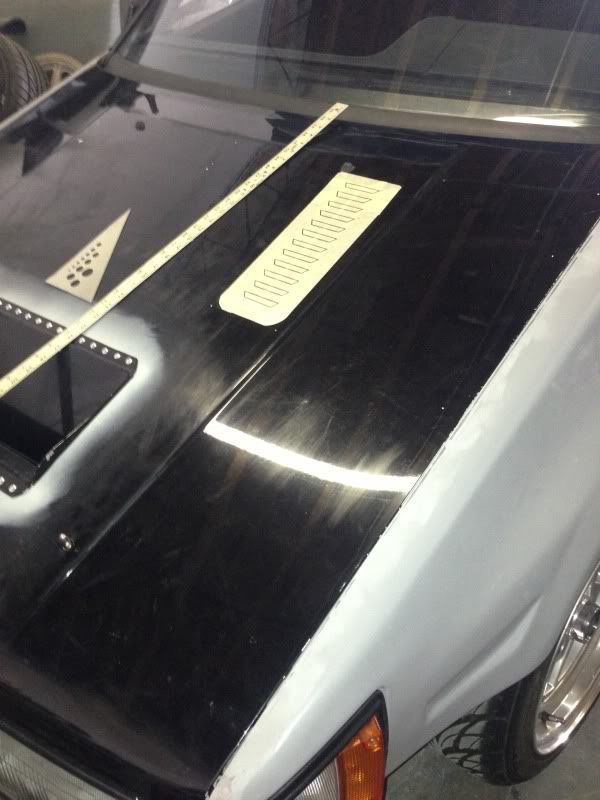
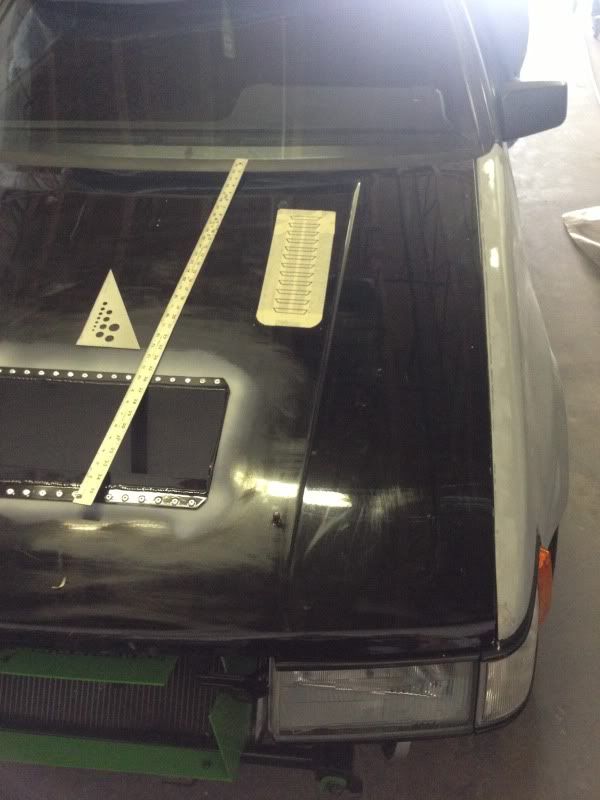
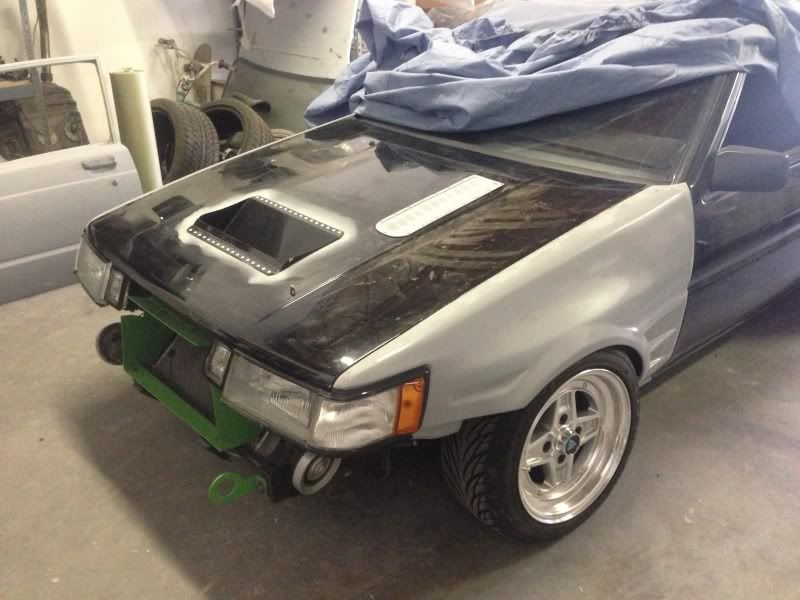
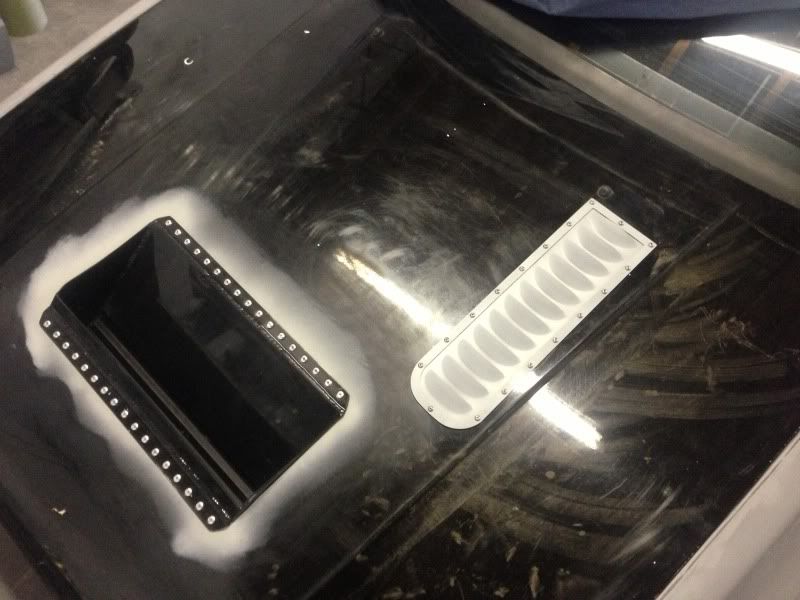
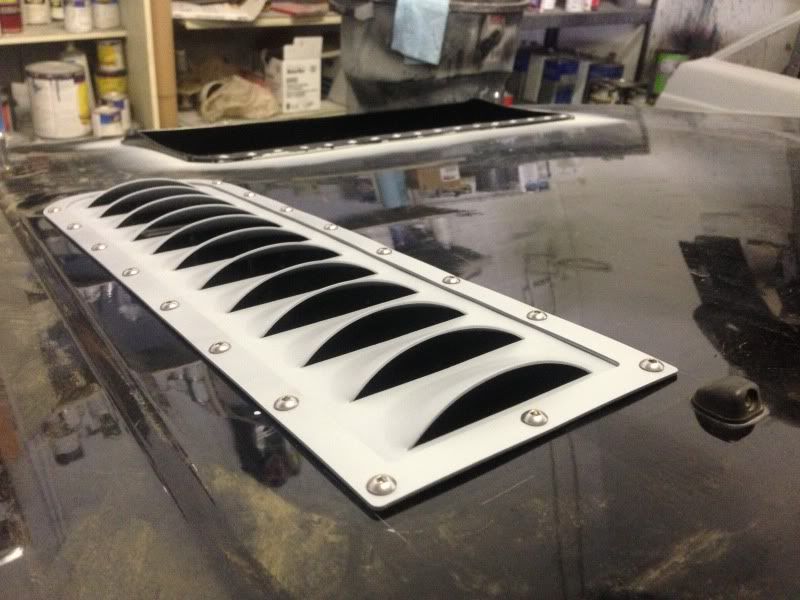
got crafty with some cardboard, cut out some simple shapes. then i bought an extremely expensive piece of aluminum and cut out the same shapes
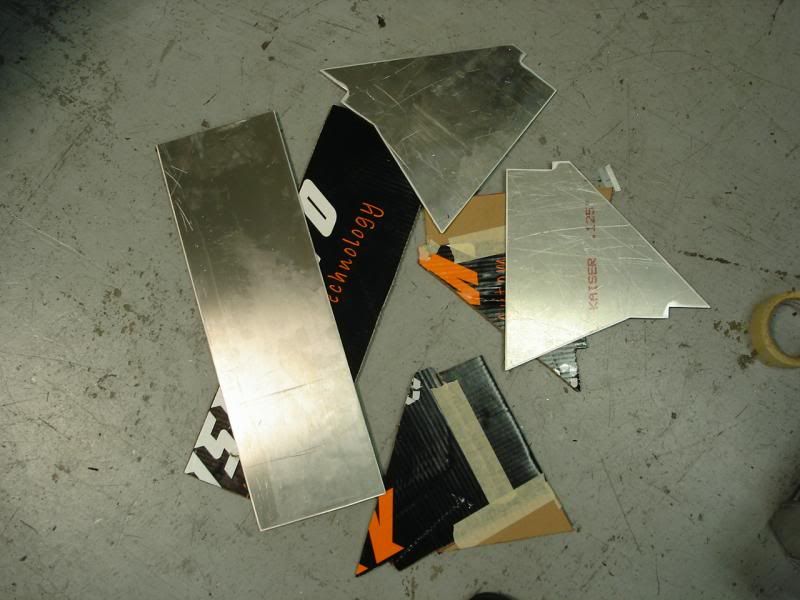
taped the shapes together in a pleasant way
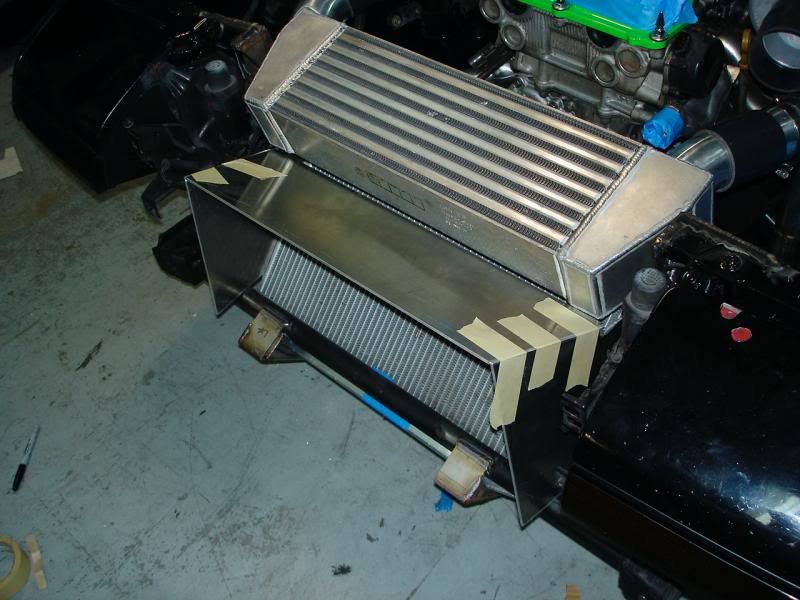
then aaron welded them up for me
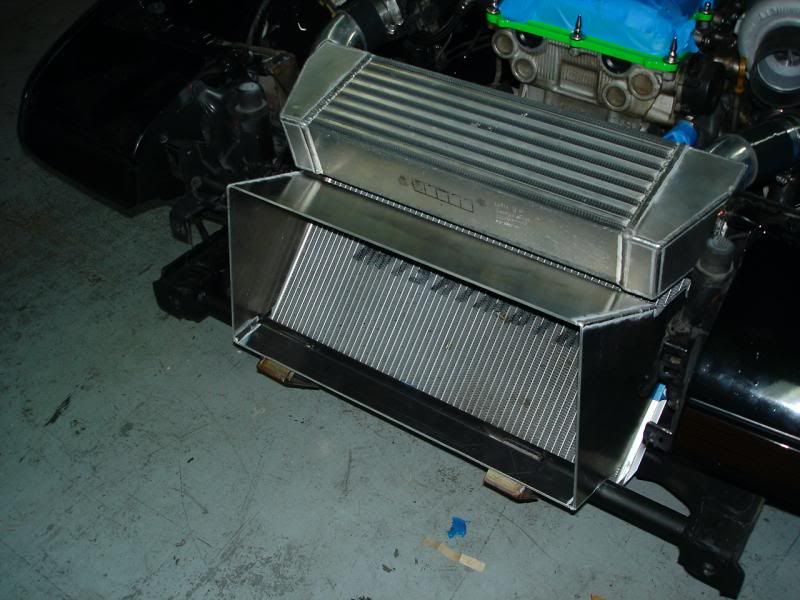
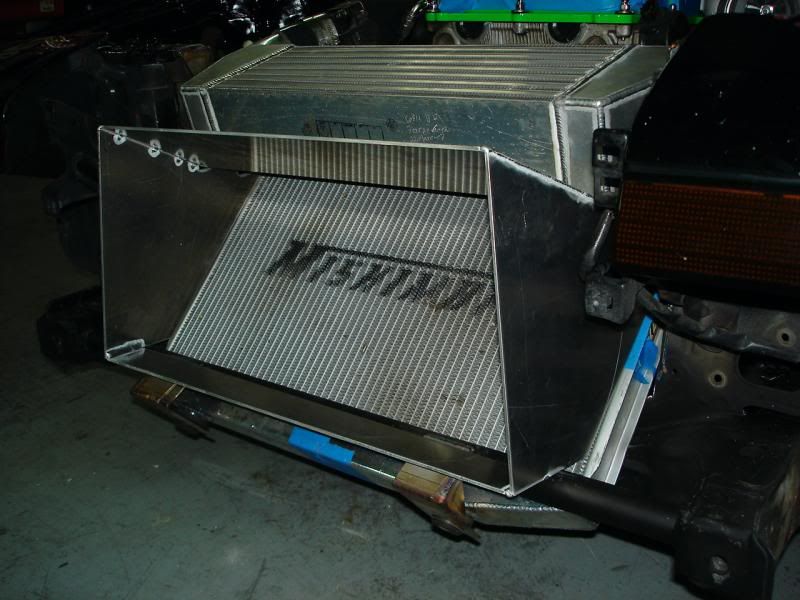
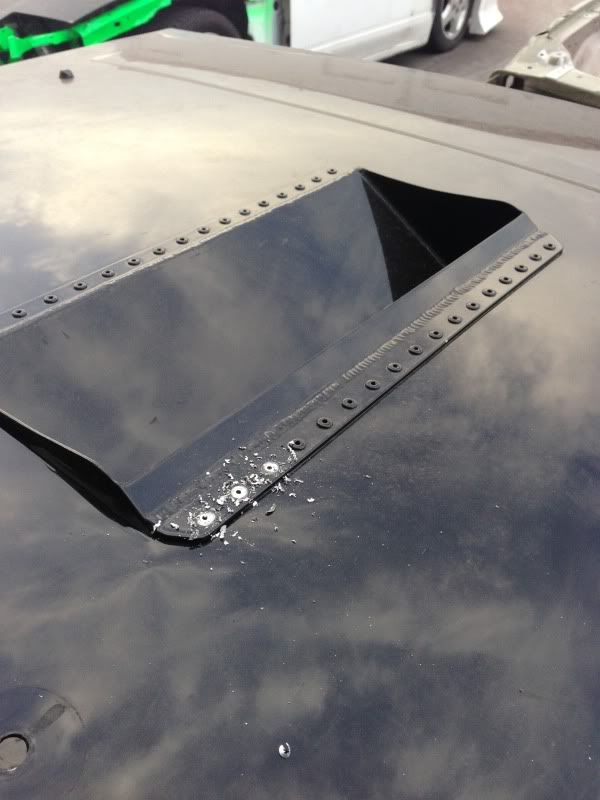
ducks, man... ducks