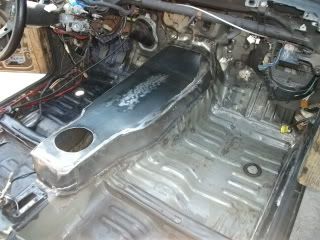
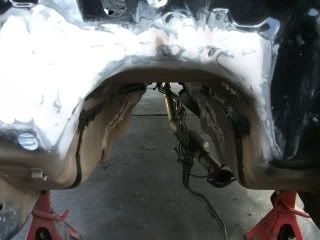
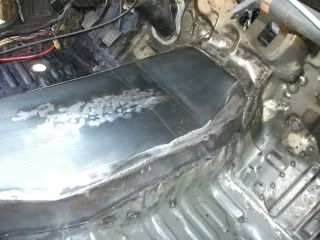
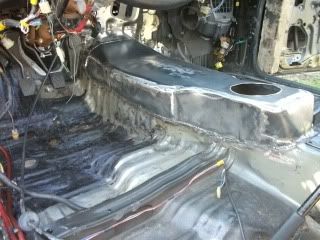
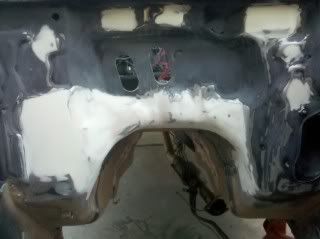
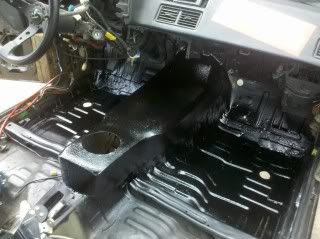
Been doing some fund raising and getting things together to finish the car. Traded my old daily truck for a s13 coupe promptly sold it too my friend Chris Nihezzy and got to finishing up and ordering some parts and my harness redo. Got to finalize my welding up the rust holes and new panels and finished that all up in a Hippo brand bedliner material. Looks good and blends it all together well, still alot more work to go, also bought my paint for the engine bay. Its the 2011 Scion TC "cement" color itll make the bay look more industrial and will be easy to touch up than the black. Traded some work also and got a -20 AN fittings for my radiator and coolant elbow and had them welded this weekend. Not much longer to go till it starts, cant wait to hear it run and feel the power it delivers.
Small update, been working on stuff for others to keep this thing moving in the right direction.
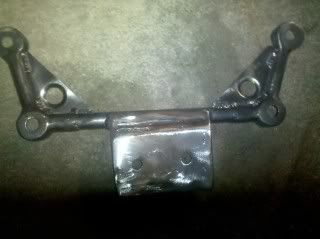
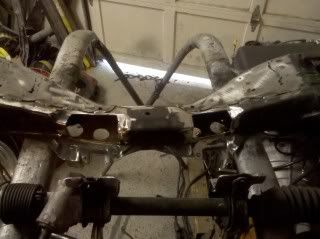
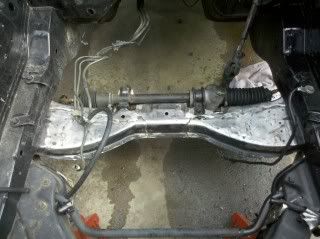
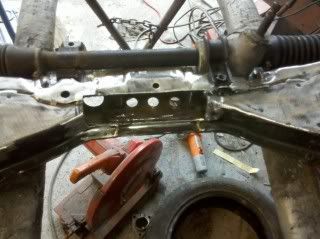
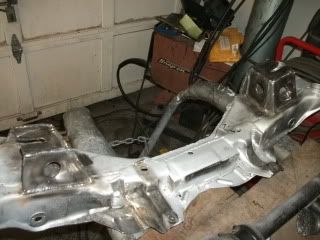
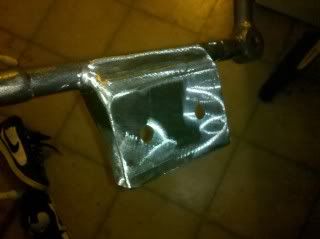
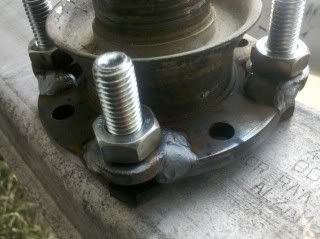
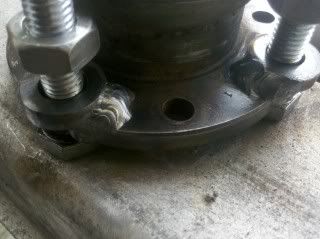
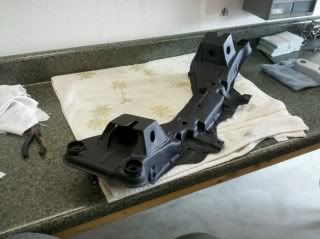
had alil time and added gussets to the tranny crossmemeber
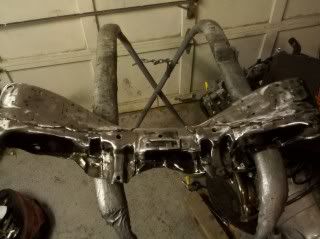
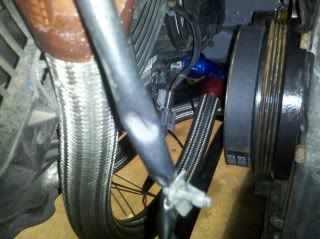
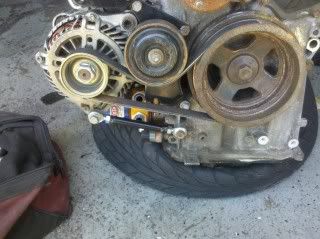
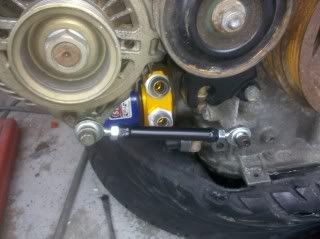
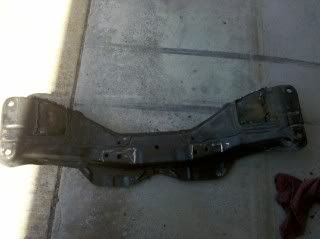
dropped the crossmembers off at J&J powdercoating yesterday, the older couple there couldnt be nicer to me and there work is topnotch, to bad Im going black wrinkle, wont showcase there quality of prep. Got the right sized belt for running only an alternator and installed it, a 6 rib Vbelt at 32inchs fits perfect.
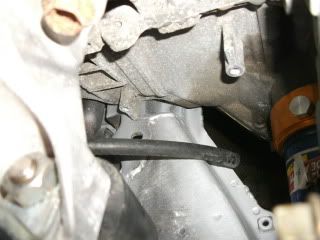
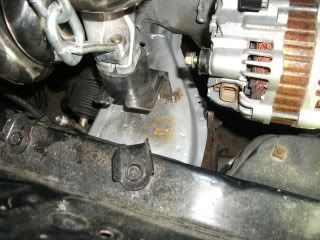
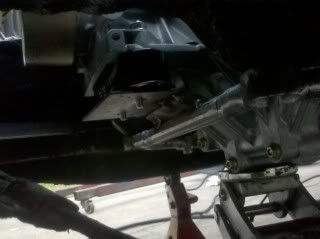
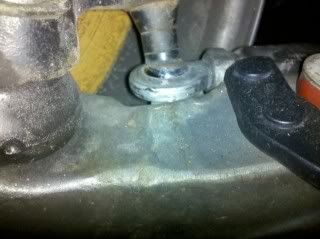
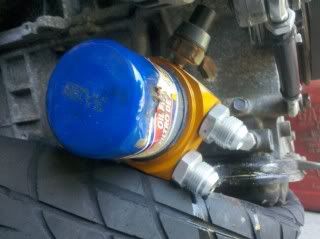
swapped my plug for one of the fittings on the oil sandwich plate so i could clock the hoes for the oil cooler down.
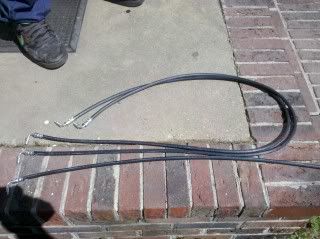
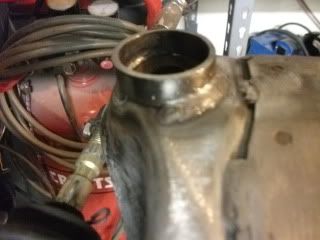
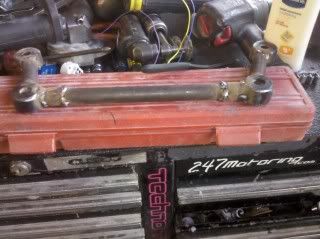
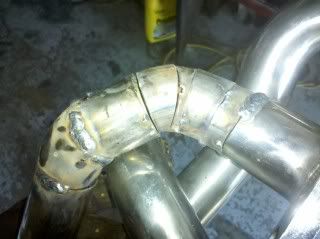
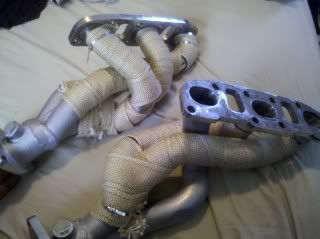
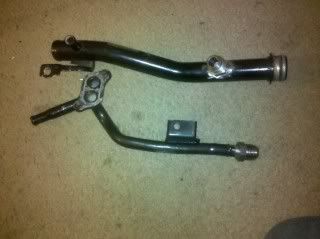
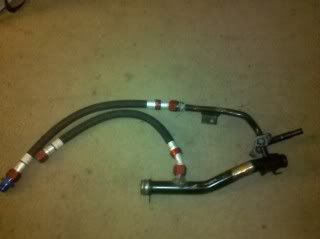
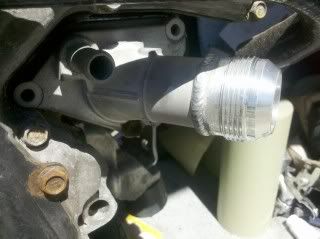
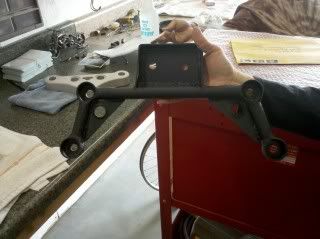
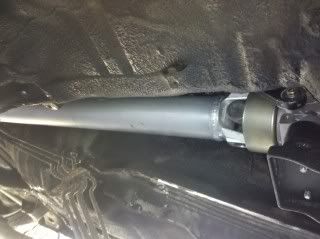
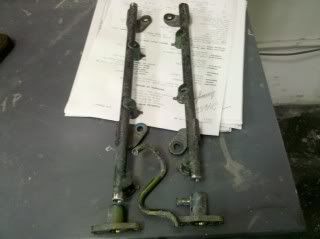
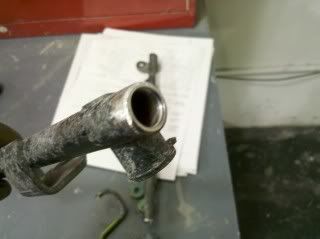
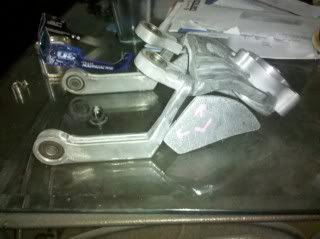
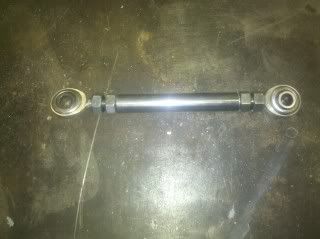
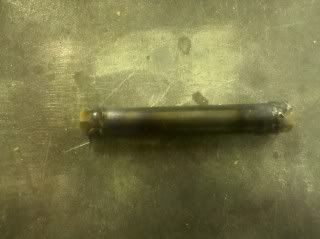
waiting on my new spacers for the hiem tocomein and then its time to fab up the new LCAs. got my new -20 ends welded onto my water neck and radiator now too!
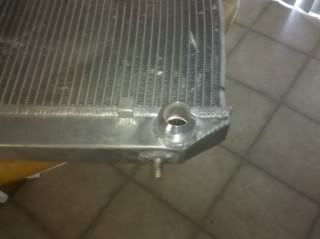
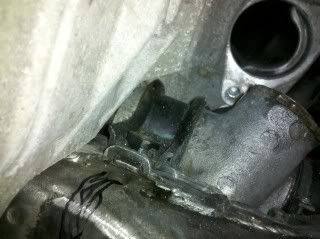
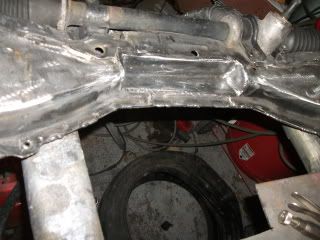
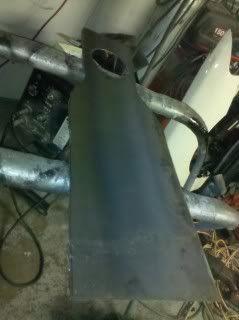
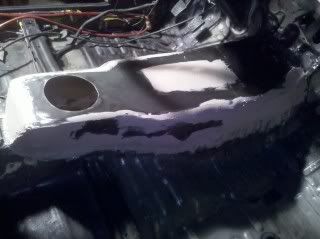
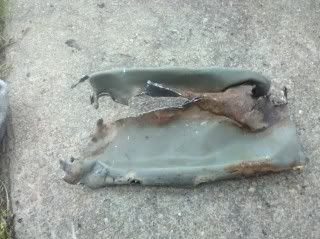
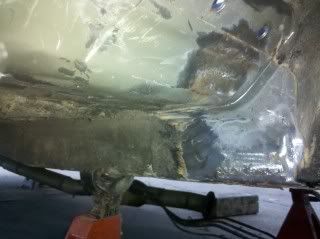
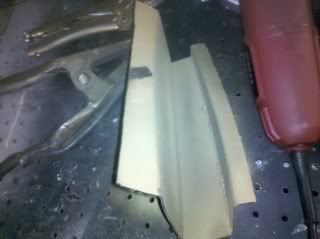
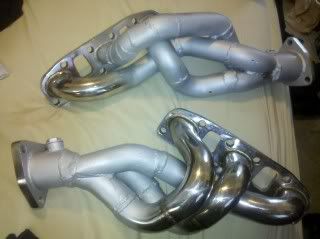
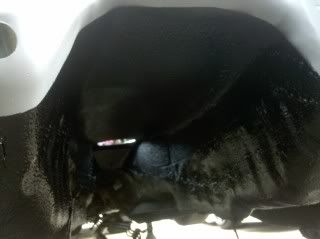
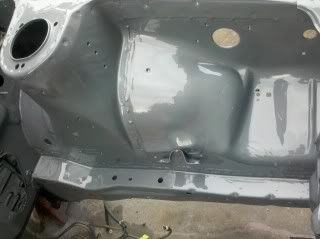
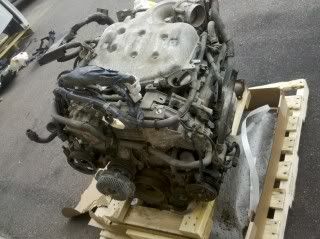
went from this
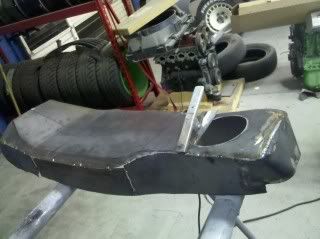
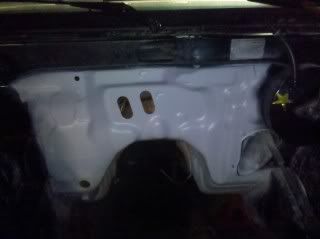
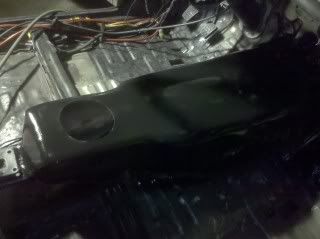
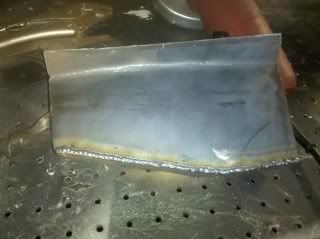
to this with alil filler and prime, painting it tomorrow.
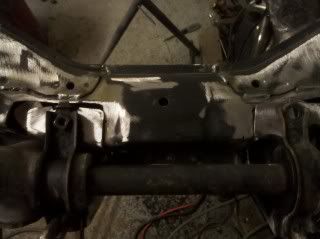
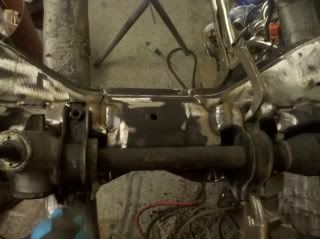
Got my crossmembers back, got them done in black wrinkle and they look really great J&J powdercoating did a awesome job!
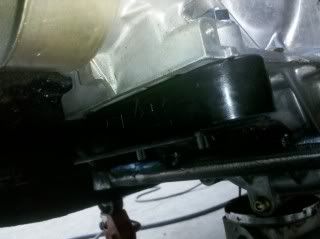
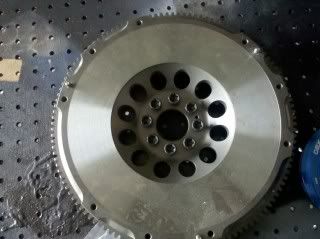
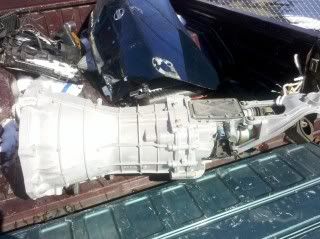
Also installed my 6 puck clutch and got the tranny back one with all the new bolts, need to order starter bolts soon. Pics on the clutch installed didnt go through but here the flywheel lol.
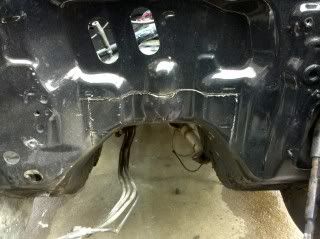
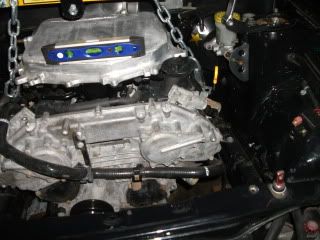
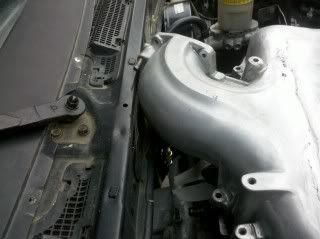
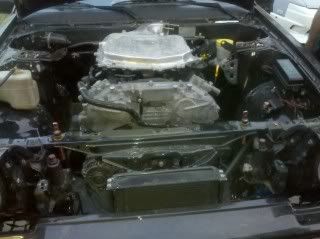
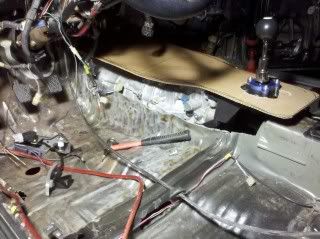
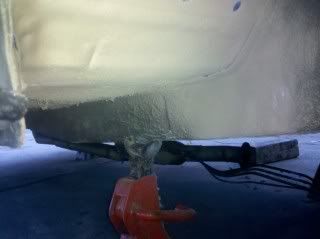
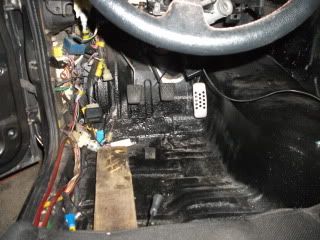
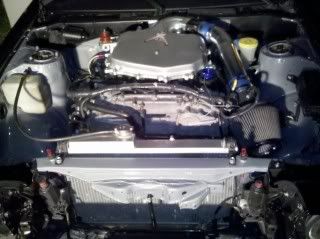
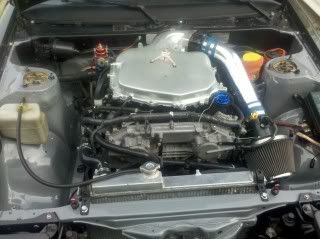
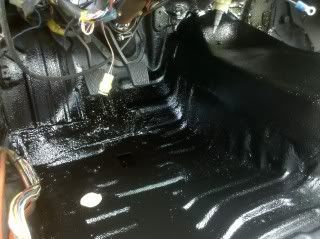
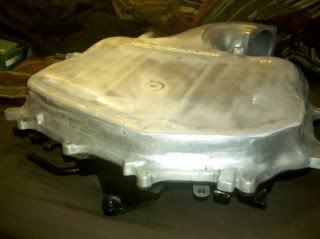
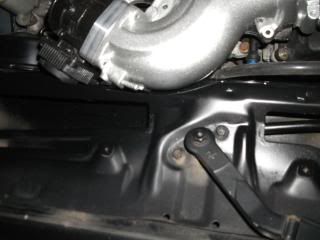
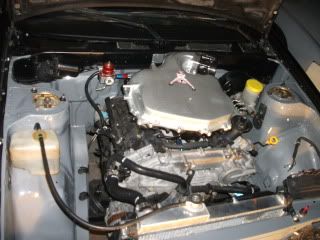
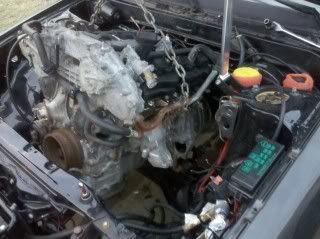
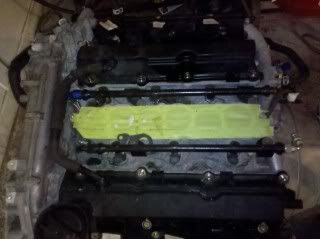
I modded the front coresupport for ease of motor install and painted the enigne bay.
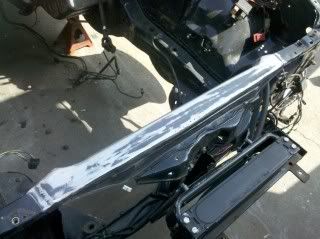
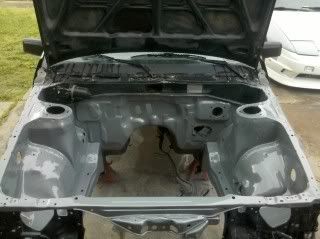
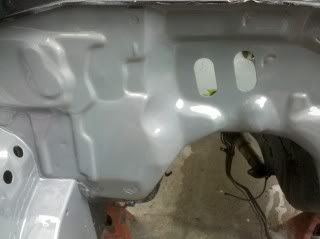
fire wall looks alot better than factory.
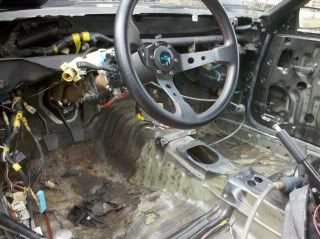
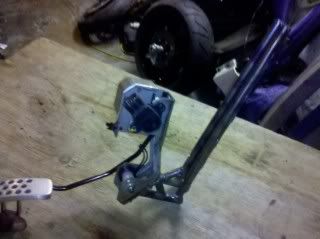
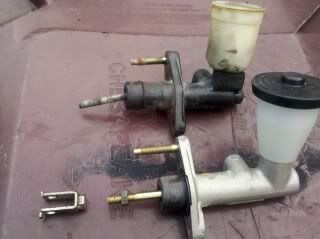
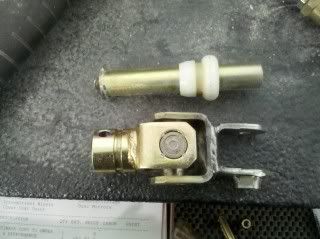
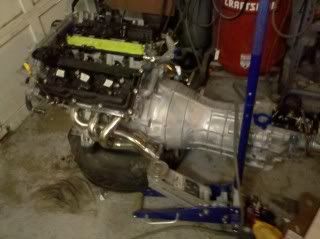
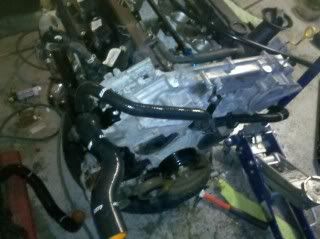
motor is back in hooking up all the hoses and trying to get the fuel system right. So got a new clutch master, it was the wrong one but i decided to keep it cause it fits the firewall mount but was too short to reach the pedal. I made an extender for it and it works great, best part of it is its aluminum and is much lighter.
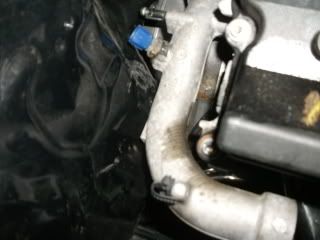
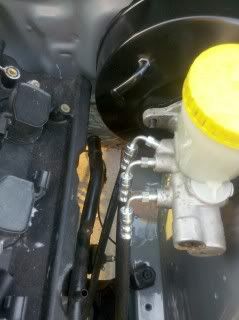
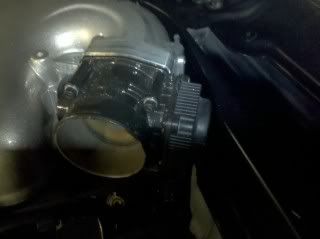
update! rotated the vac. nipple on the booster for a cleaner install, cleaned up well and looks good repainted. cheack that valve cover too booster fitment!! :cj:

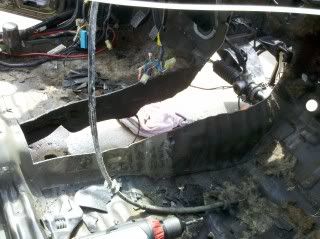
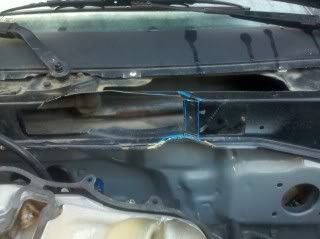
cut the fire wall up for the upper intake fitment, going to make a nice bolt on filler panel to close the gap.
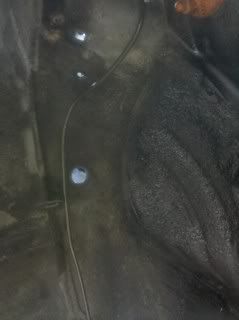
ran a new brake line for the slave, so much cleaner just need to tie it down now.
5/26/11
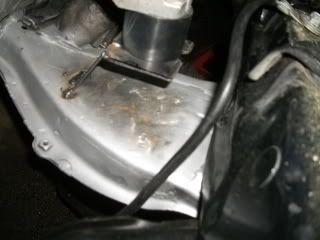
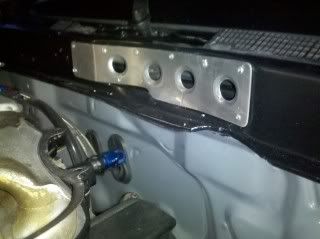
Finished modding the cowl and getting ready for a bolt in filler panel.
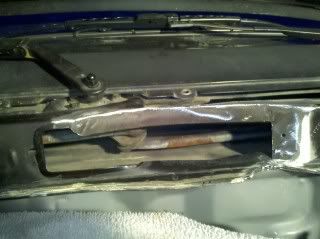

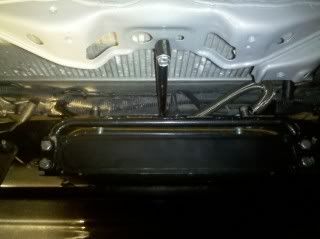
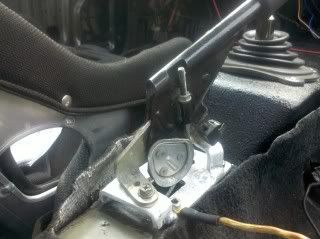
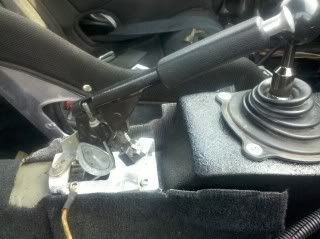
had to drill holes for access to the top of the shifter.

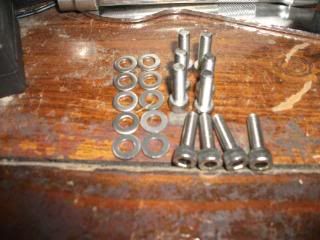
stainless hex bolts for the headlights, got the Dresupbolts.com kit for the fenders so trying to match it up.
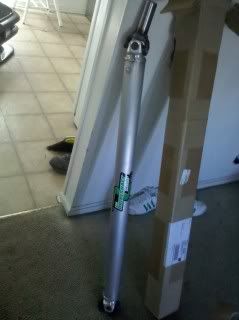
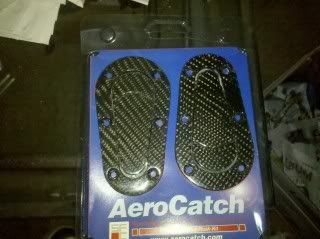
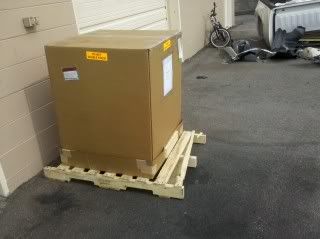
almost the last piece to the puzzle is here and fits great.
Did not like the gap where I notched the firewall so I made this bosstown fillerpanel.
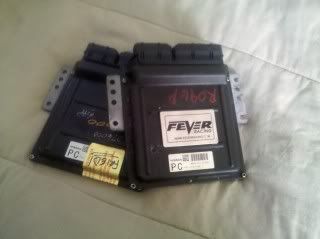
harness comes back from Zfever soon and should make my deadline of June 5th.

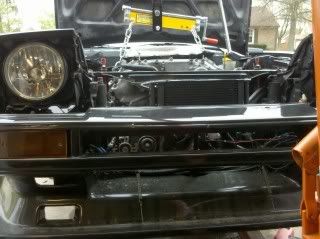
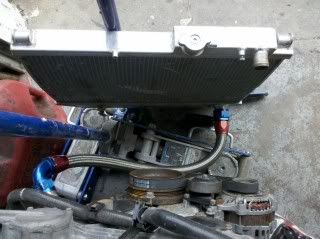
radiator in for good now, made new aluminum brackets to hold it down, and have alil friend to keep the motor company :b:


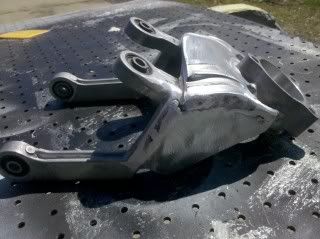

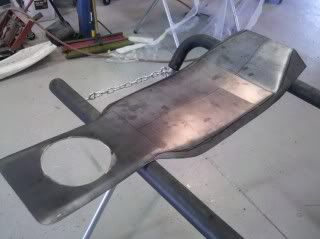
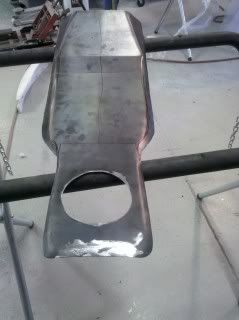
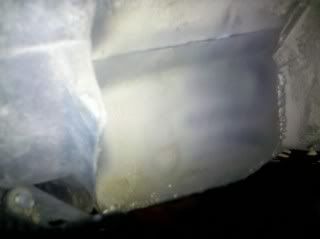
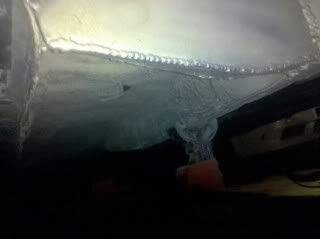
 dirty and freshly plasma cut.