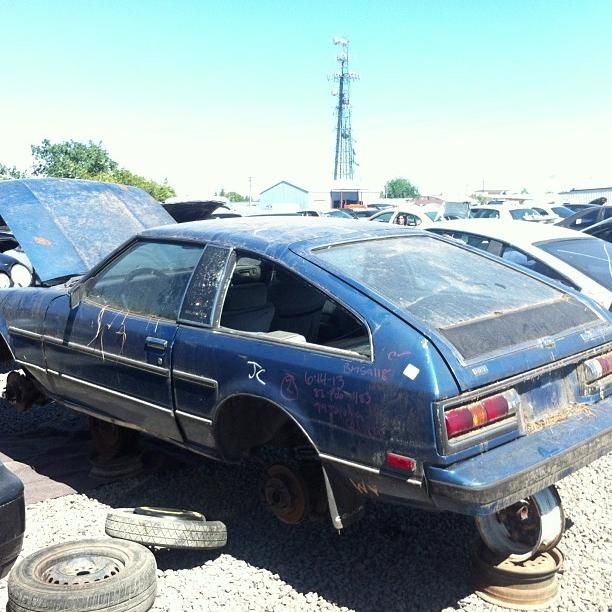
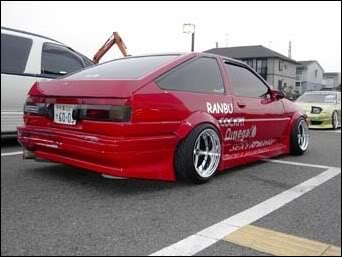
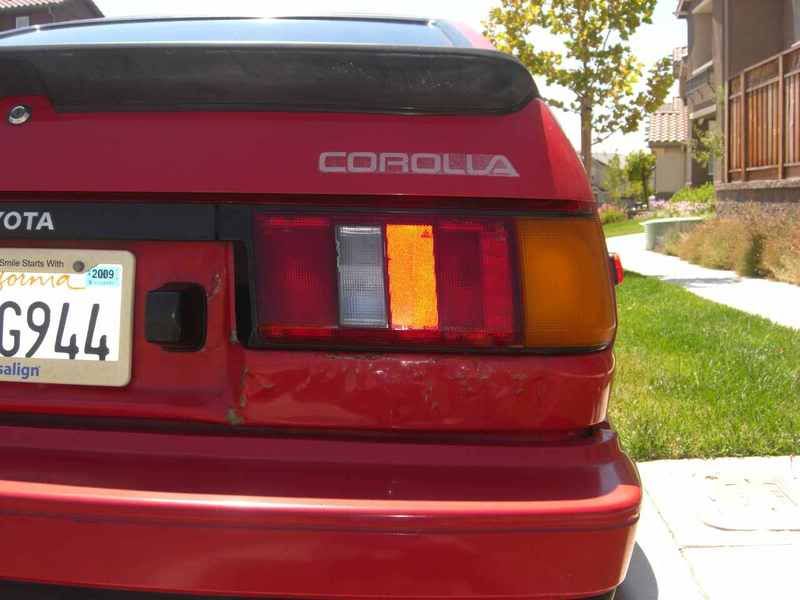
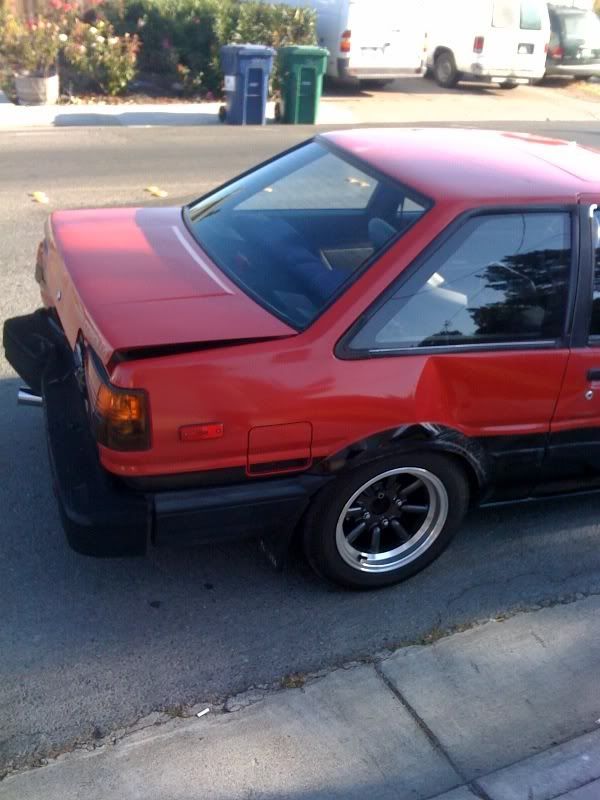
August 1st, 2008 I picked up my 1985 Toyota Corolla GT-S off the original owner for $1150. I found it on craigslist listed as a "TOYOTA CARROLA"


The car had 304,xxx miles, original paint, led windshield washer squirters, alarm, and keyless entry. I later found out on the drive home that it had 7 quarts of oil in the engine and then eventually developed a rod knock. So I swapped all my parts from my coupe which had been totaled from being rear ended.

Anyways heres the build in order (sorta). You'll notice I go from jdm back to usdm, then back to jdm, then usdm, and finally to where we are today cby front, jdm rear.

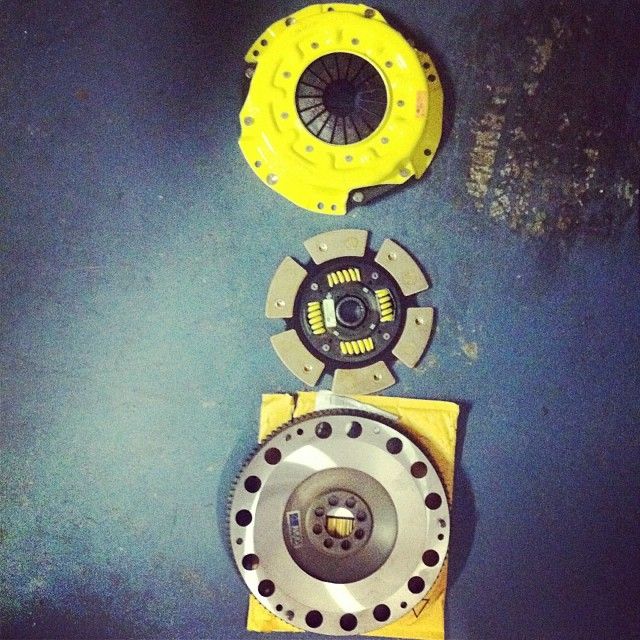
ACT 6 puck unsprung clutch installed in 2009. It's been on 3 engine's, through daily driving, and drift days (STILL IN THE CAR TO THIS DAY!)

Got some centerlines for it


Did the whole dry ice and acetone thing put back in the full interior after.


Bought a blacktop from a Canadian importer and it was junk

Got a silvertop from a local importer.


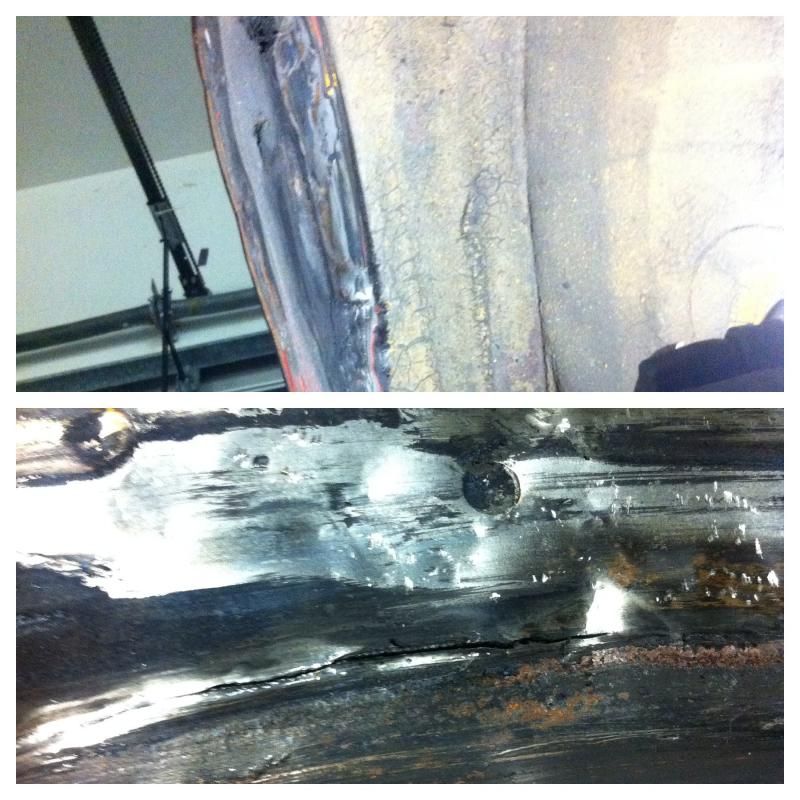
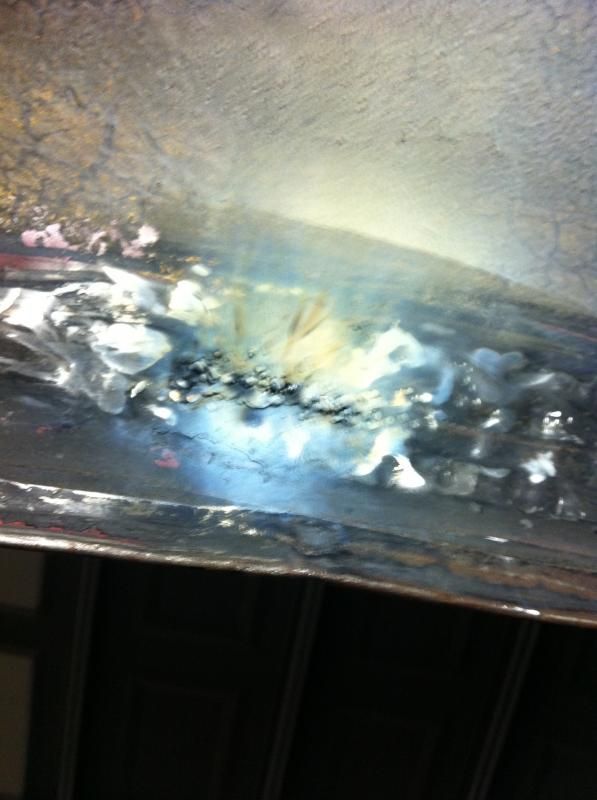
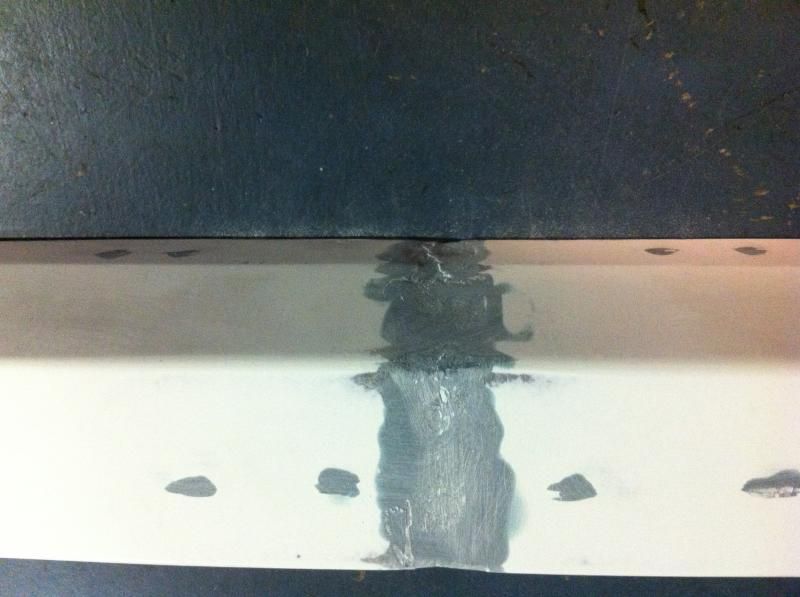
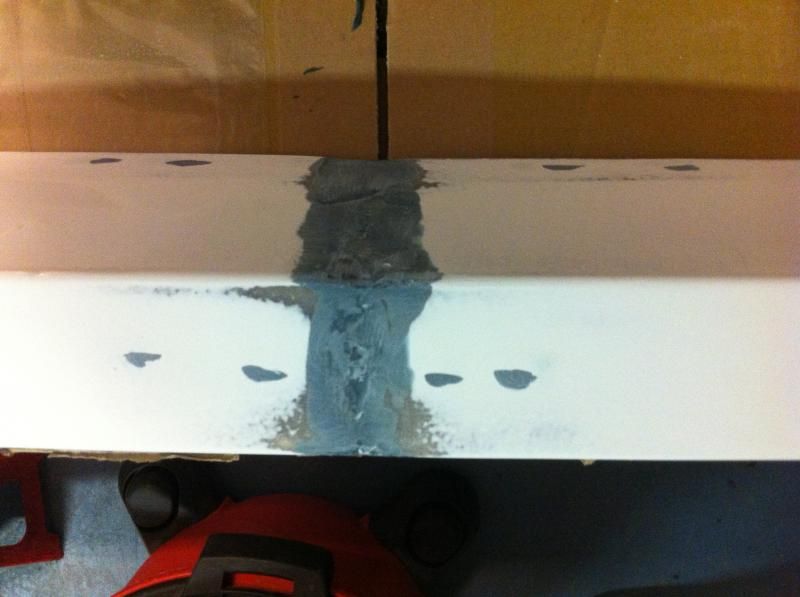
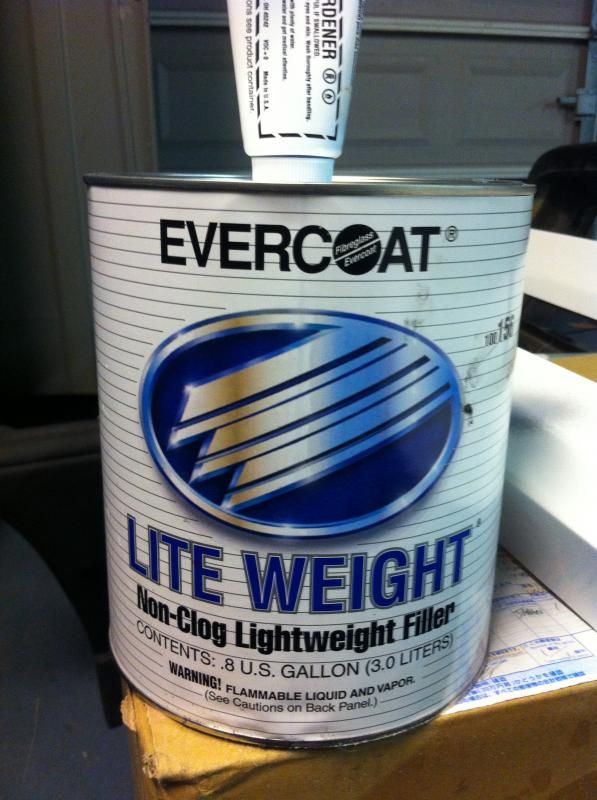
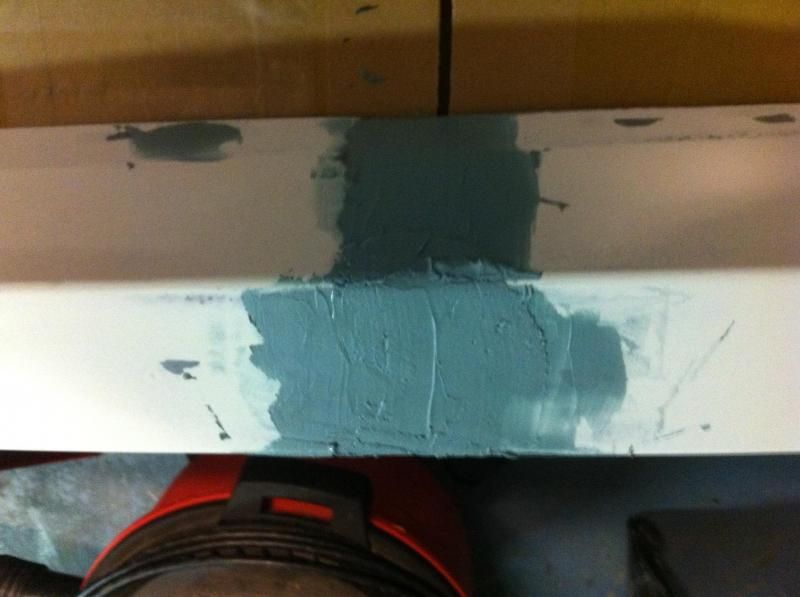
SS works waterline

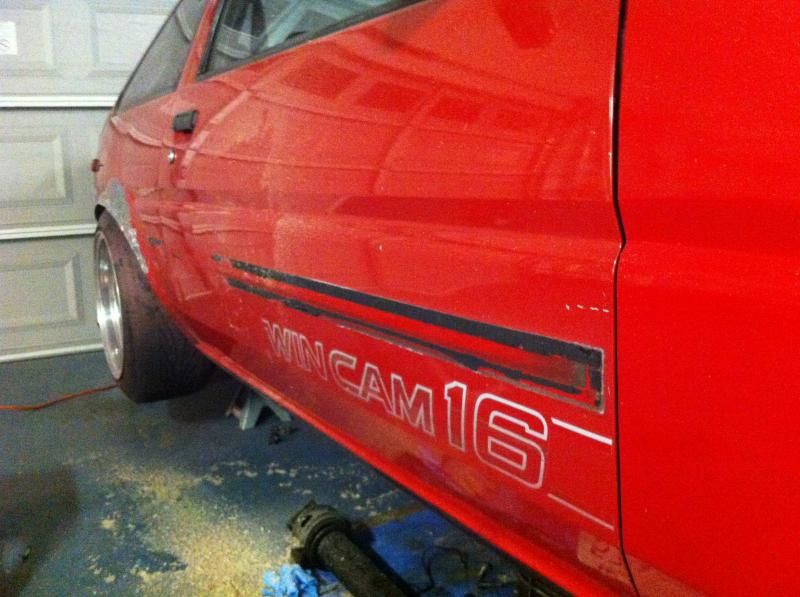
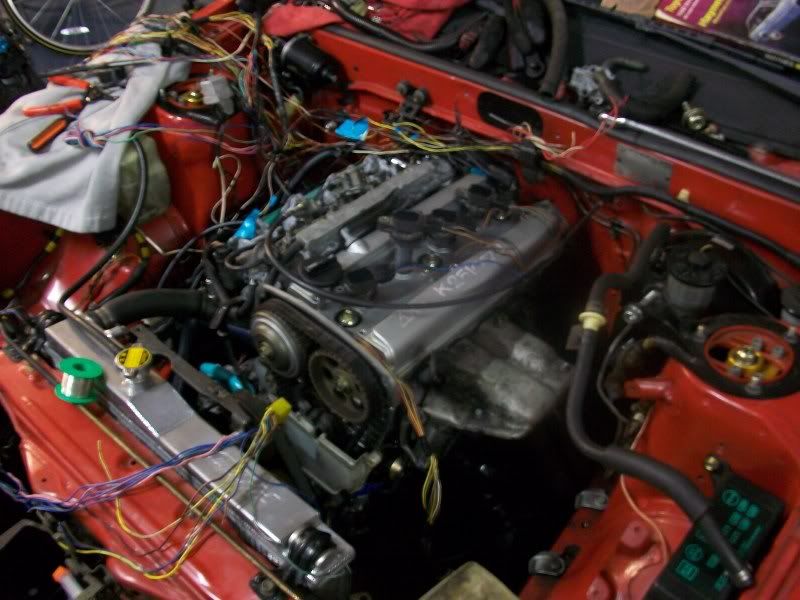
Pulled my 16 valve out.

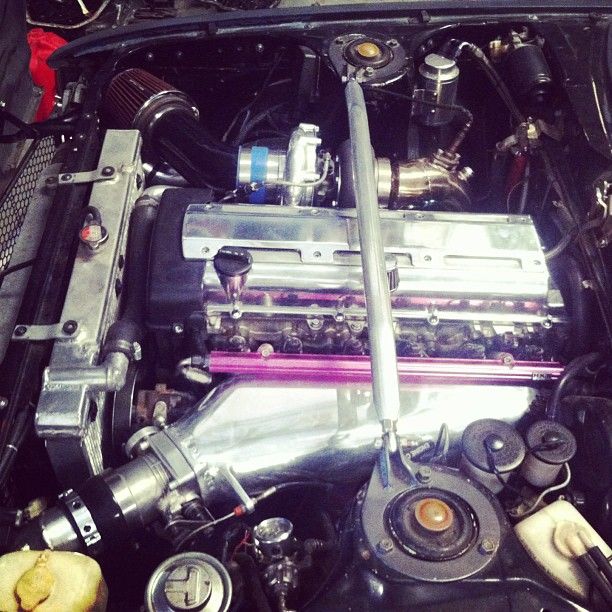
20 valve in getting wired
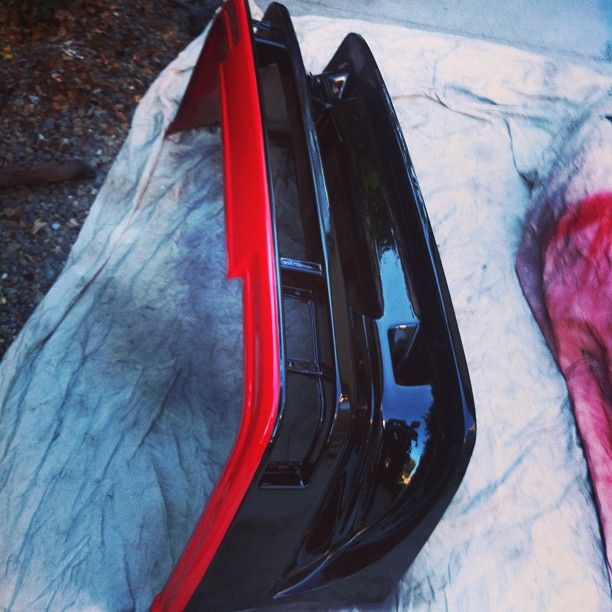
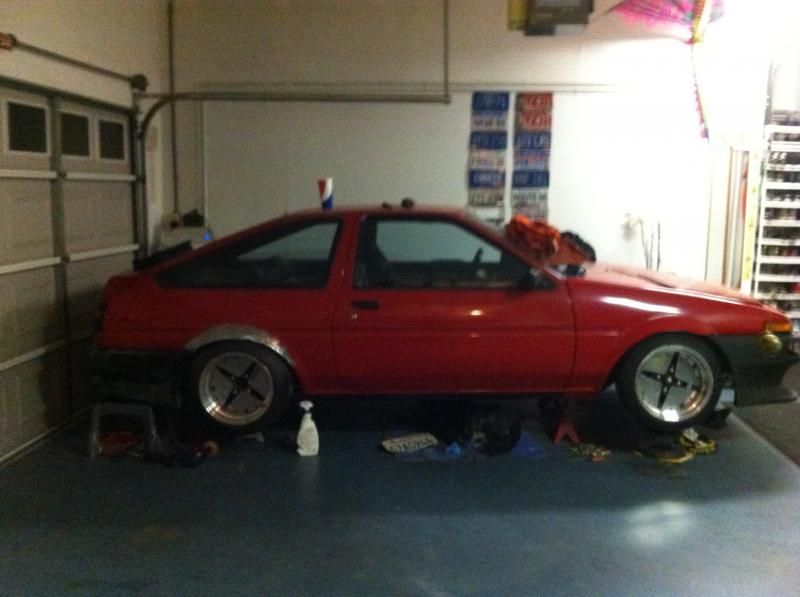
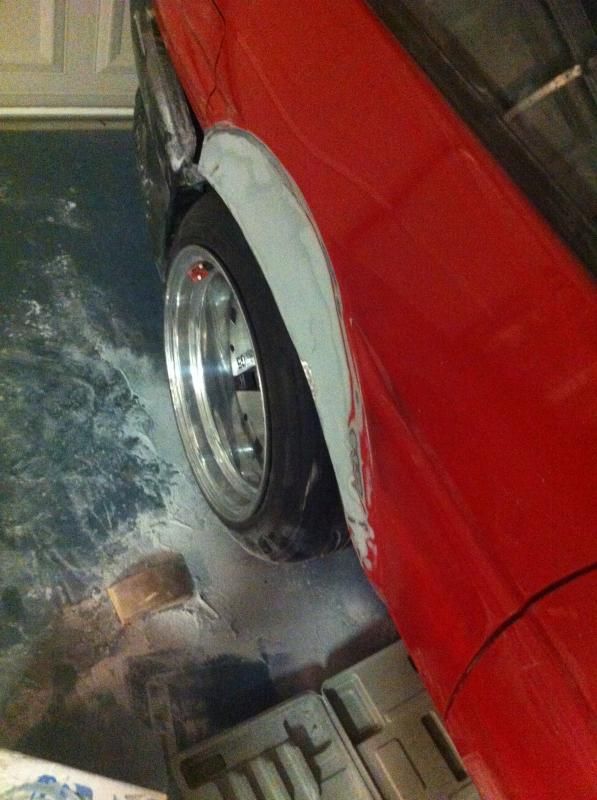
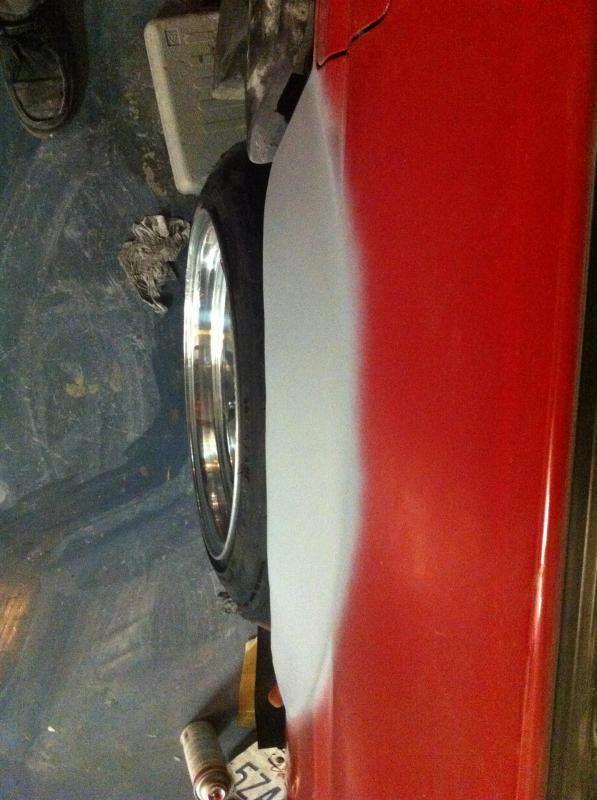
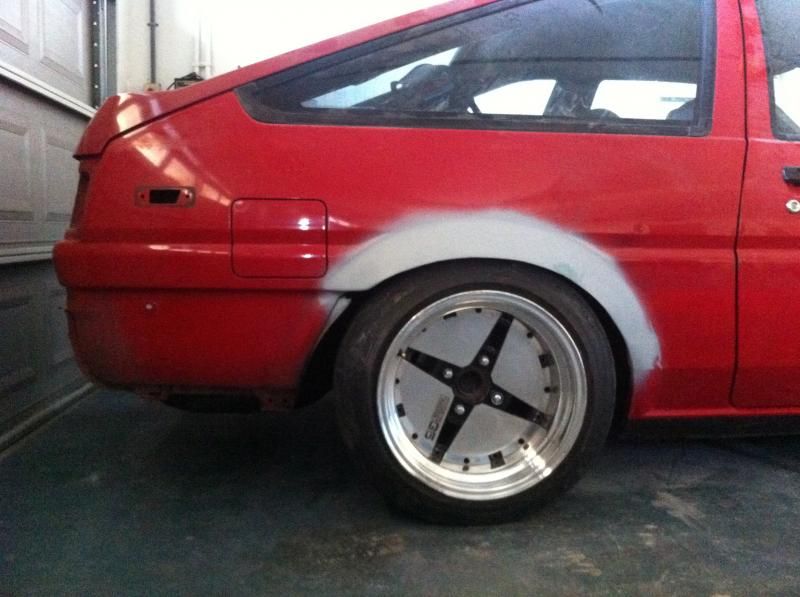
Got fender flares, jdm bumpers.

Decided I didn't like how it all looked. Sold the wheels, bumpers, and the kit I had and got some Hoshino G5's. Went drifting at Thunderhill


Cleaned the engine bay up.

Installed a dash cap.

Replaced my wornout kyb agx combo for stance, modified my obx exhaust


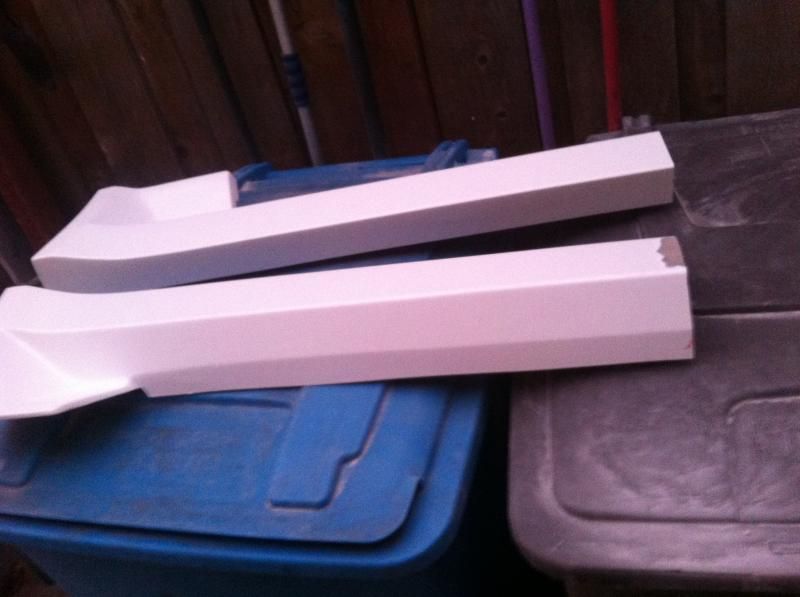
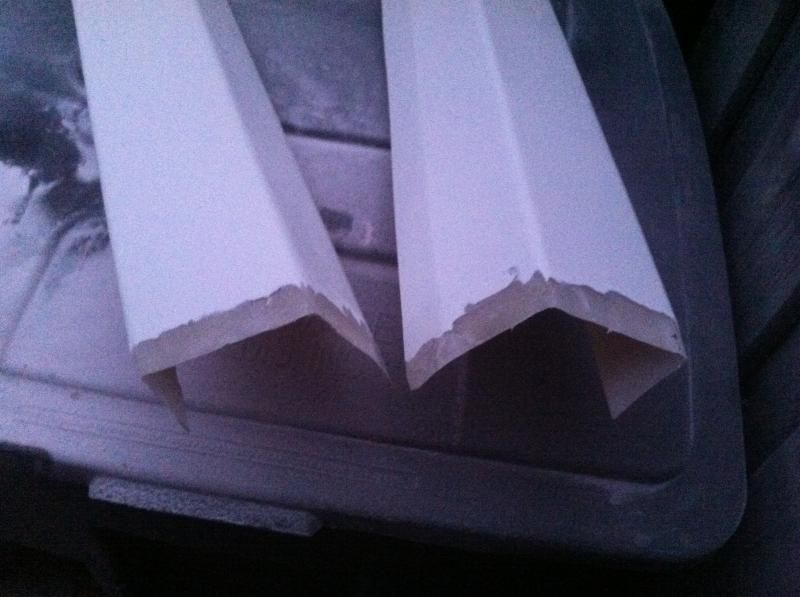
Traded my digital gauge cluster to a friend for work on some door bars

Drifting at the fatlace event 2010

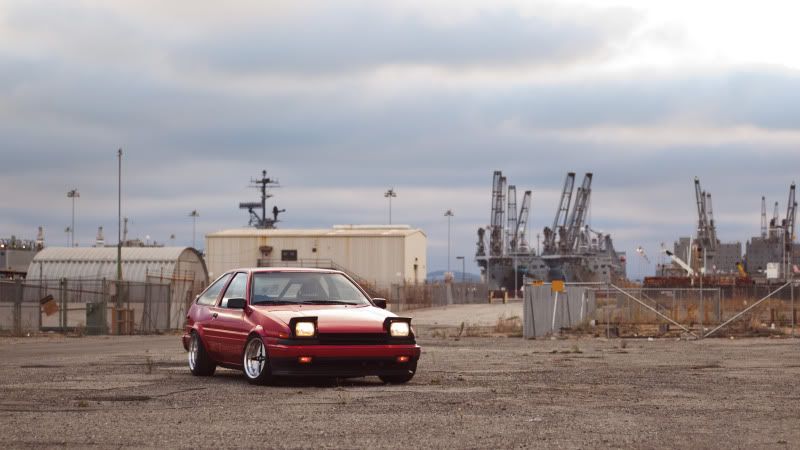
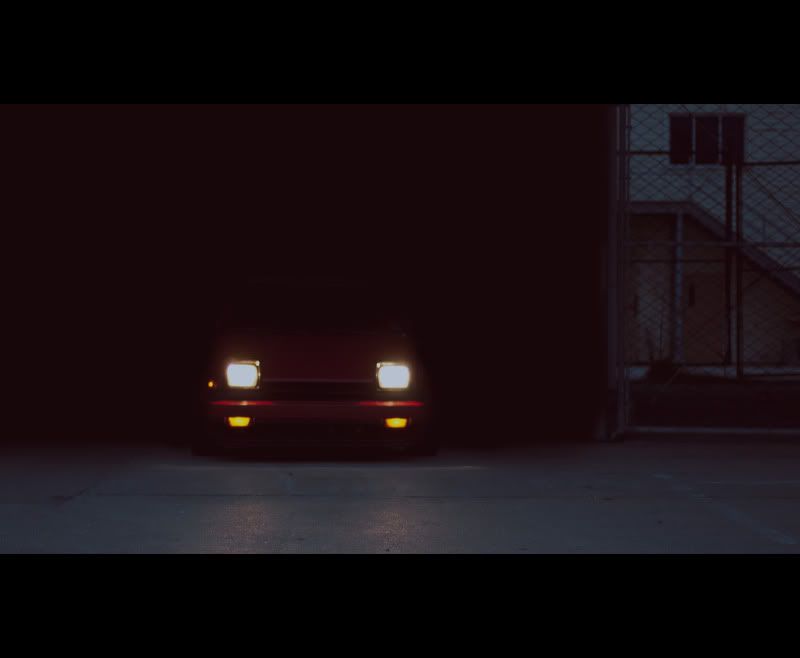
Jerry (jzxseven on here) took some amazing photos of my car at the old alameda naval base.


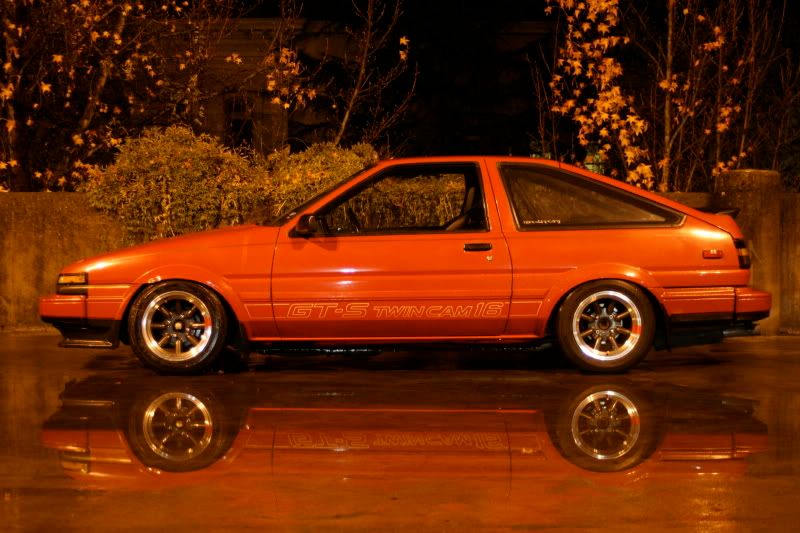
Went back to JDM.

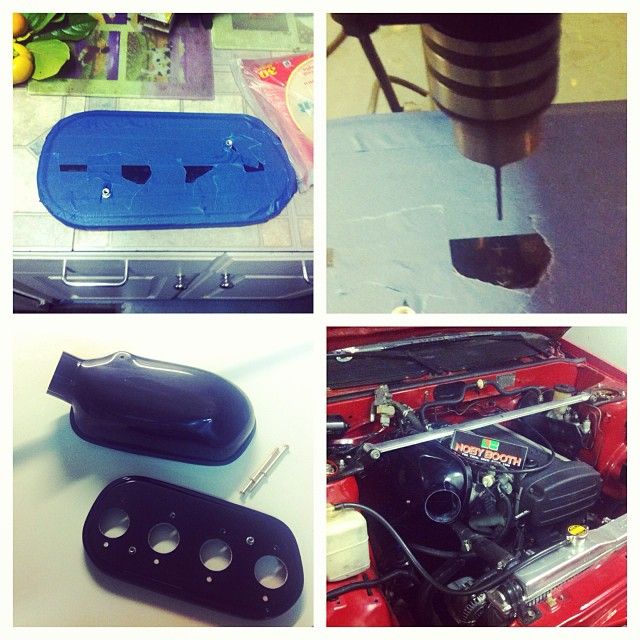
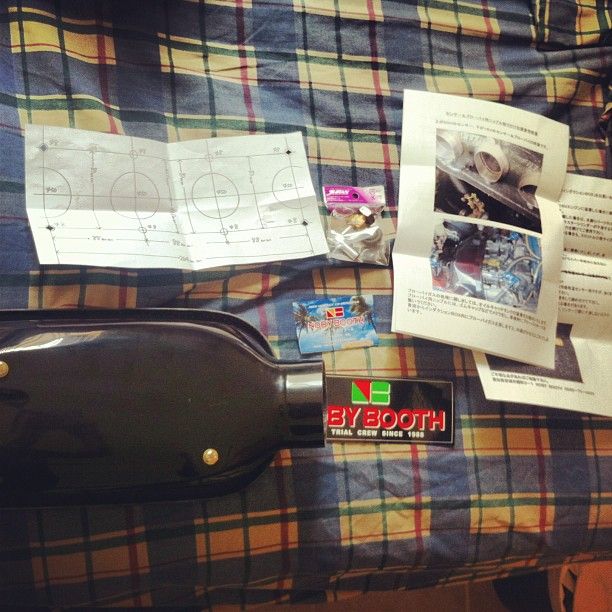
Got a rs-yasu induction box and sold it

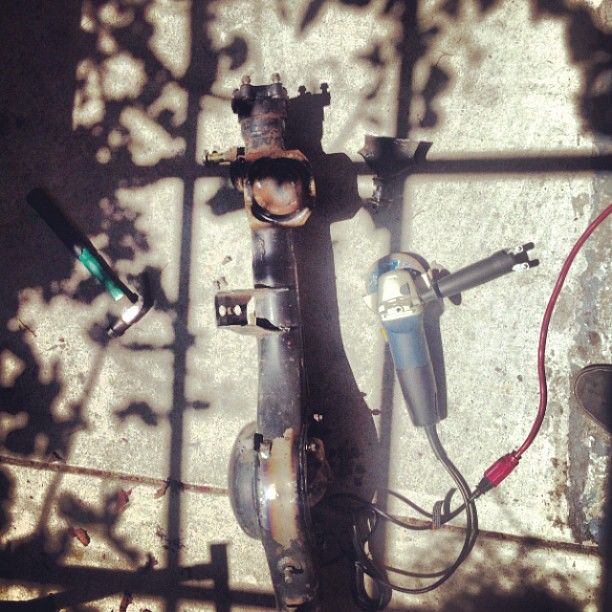
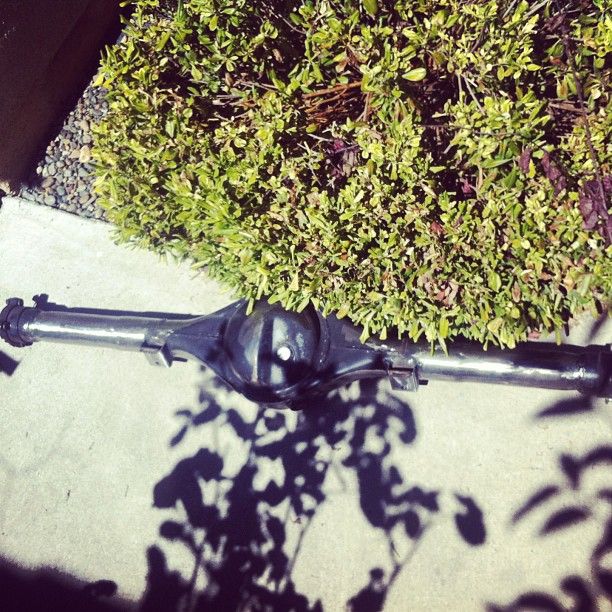
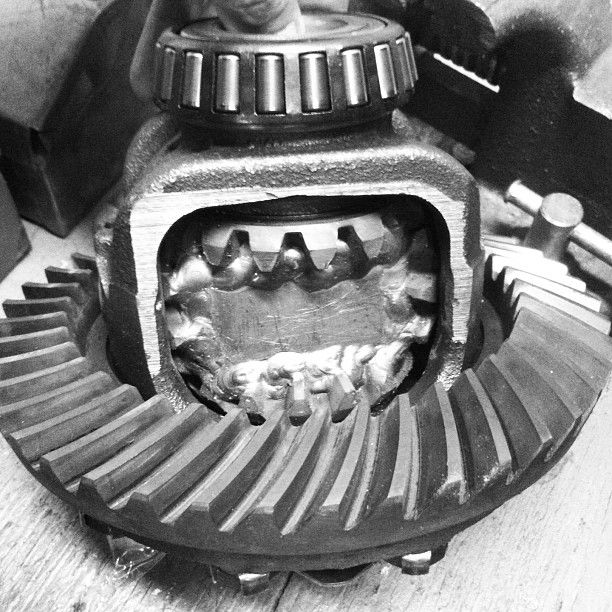
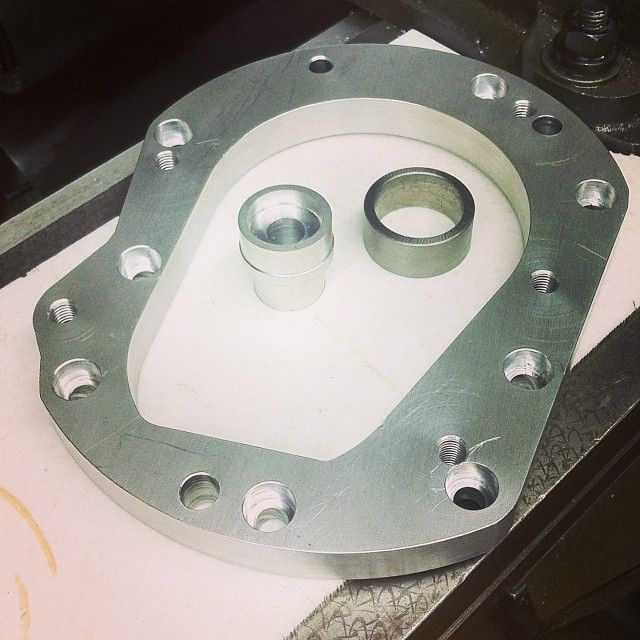
Built a spool and 4.77 ring and pinion

Back to usdm bumpers and drifted at asb 2011. Must go back to horse thief mile..


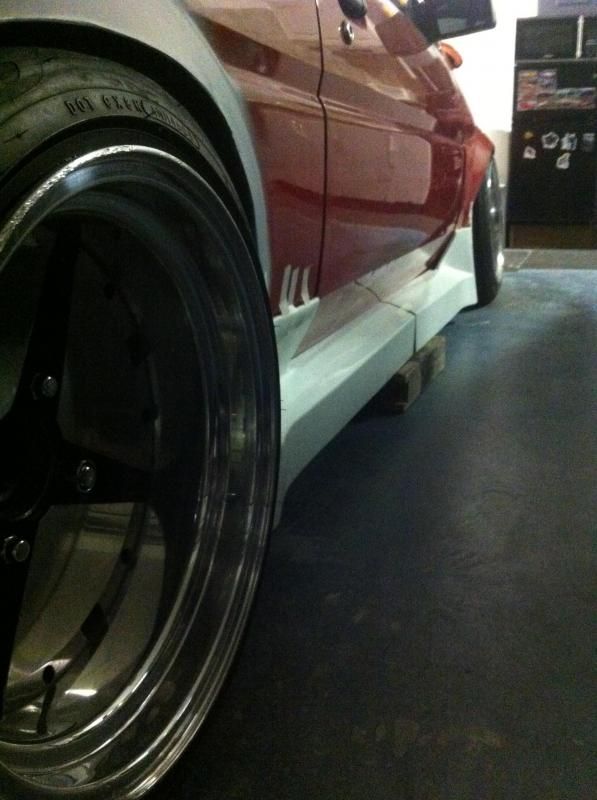
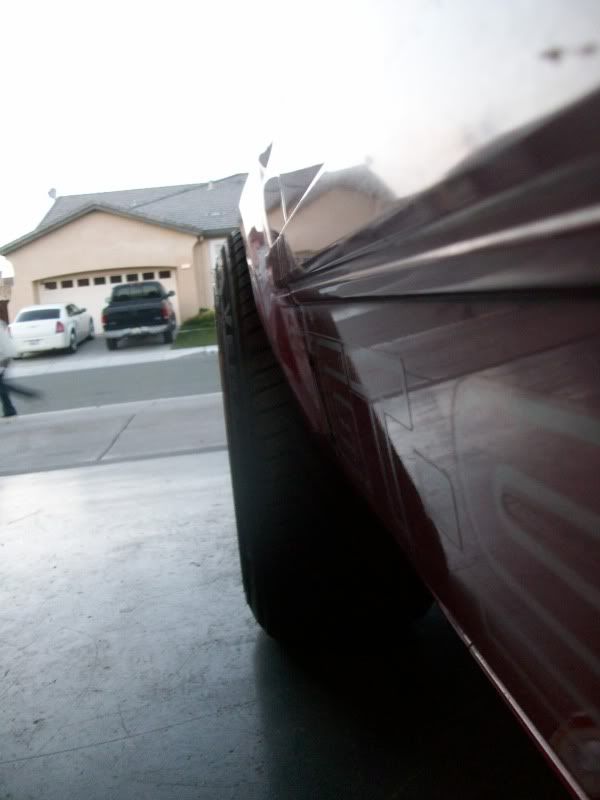
Had my 15x7.5 -1 turned into a 15x9 -22


Other events. Mostly sonoma drift (local track)


Crashed car street drifting, then crashed car at sonoma. Had to have my fronts rebarreled to a 15x8 -23 since they didn't do half size barrels (going 9 fronts and 10 soon).


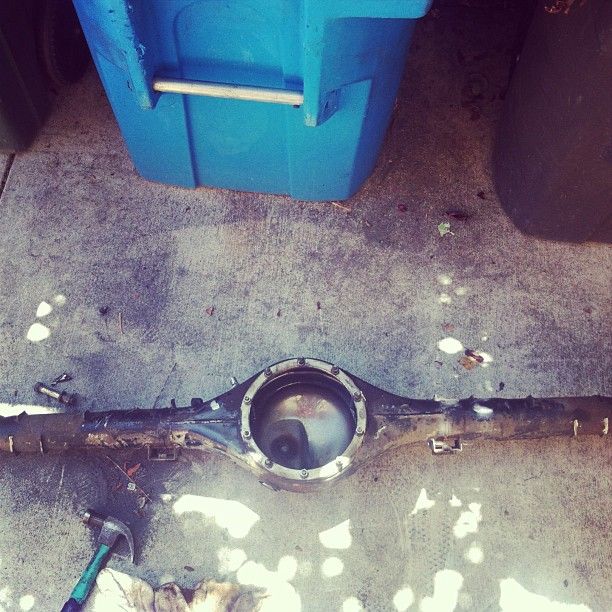
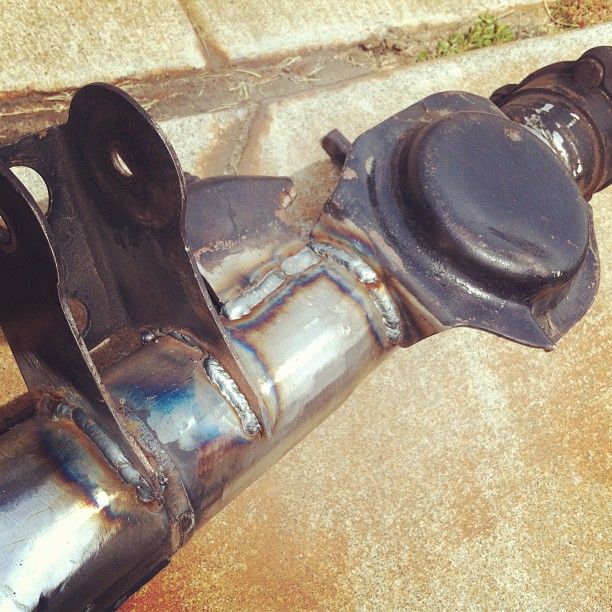
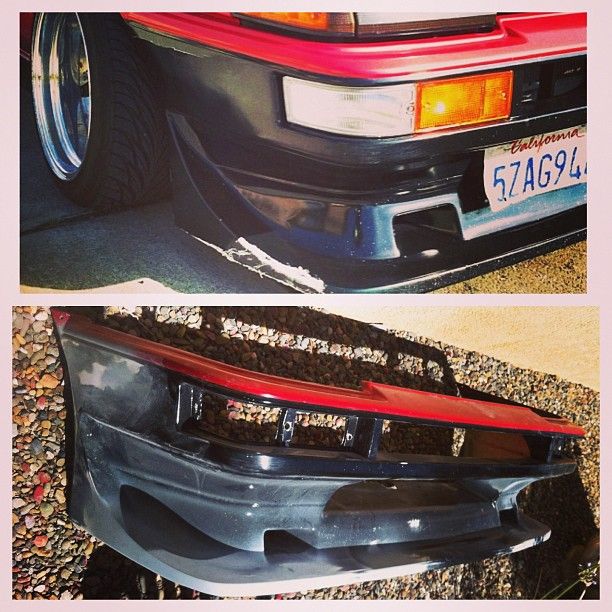
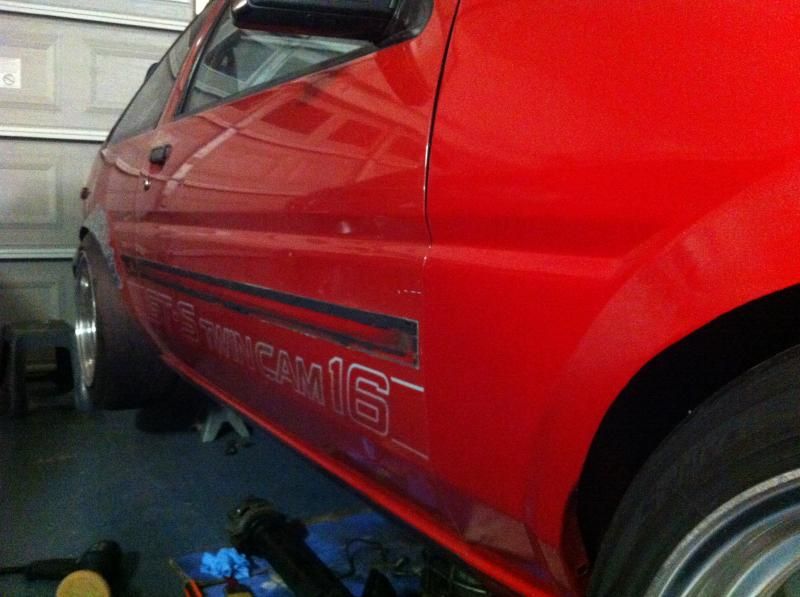
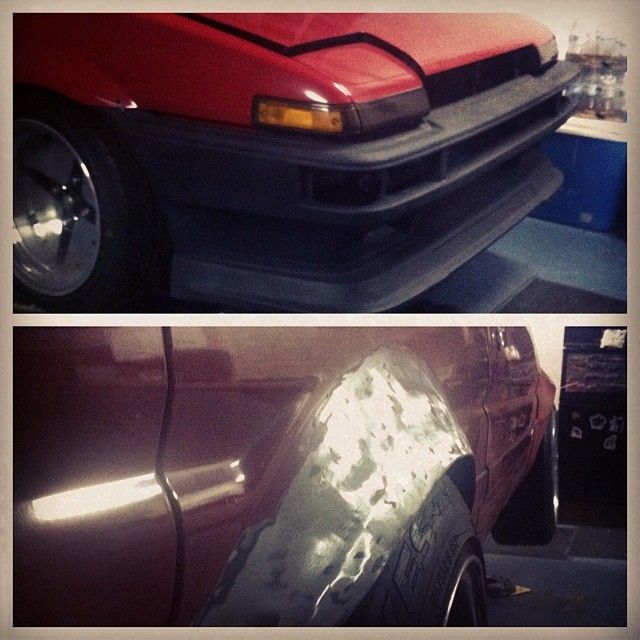
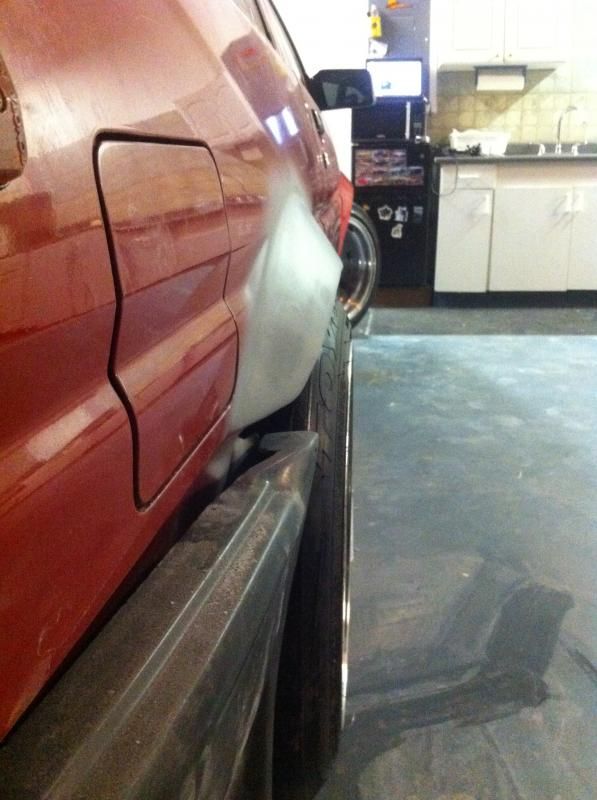
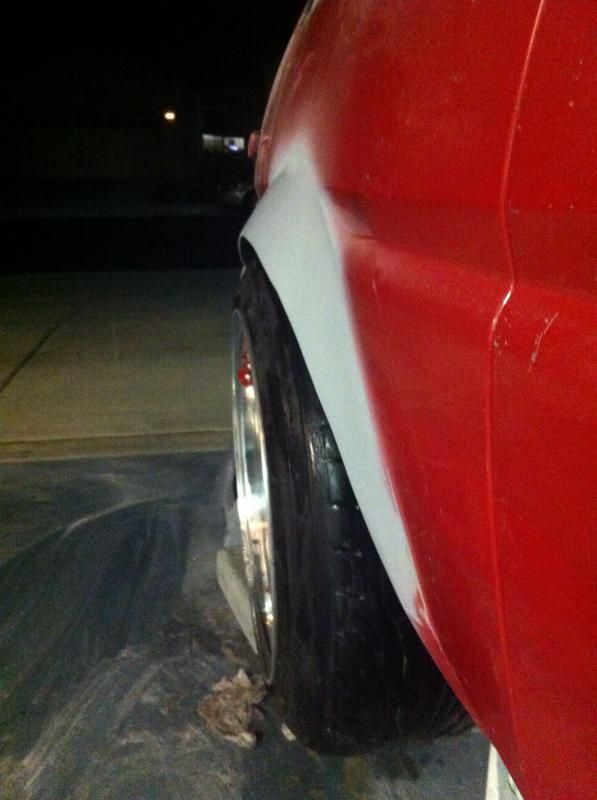
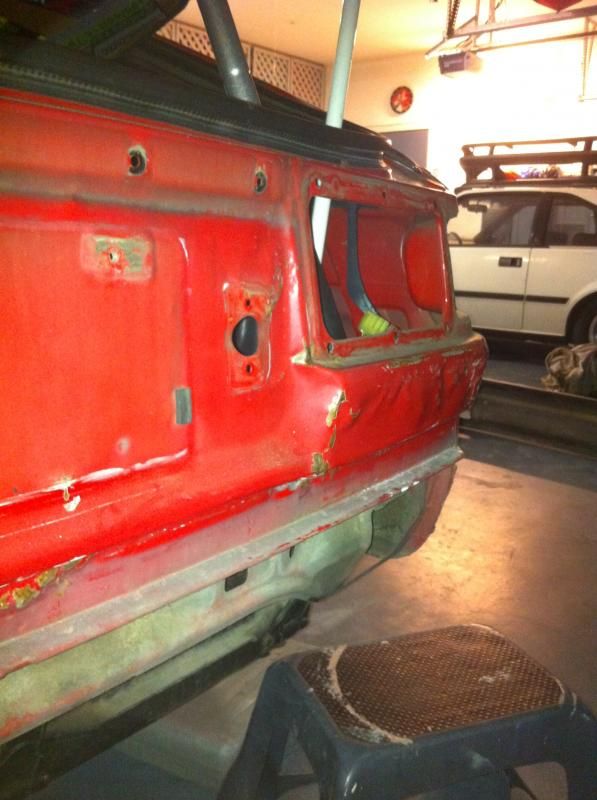
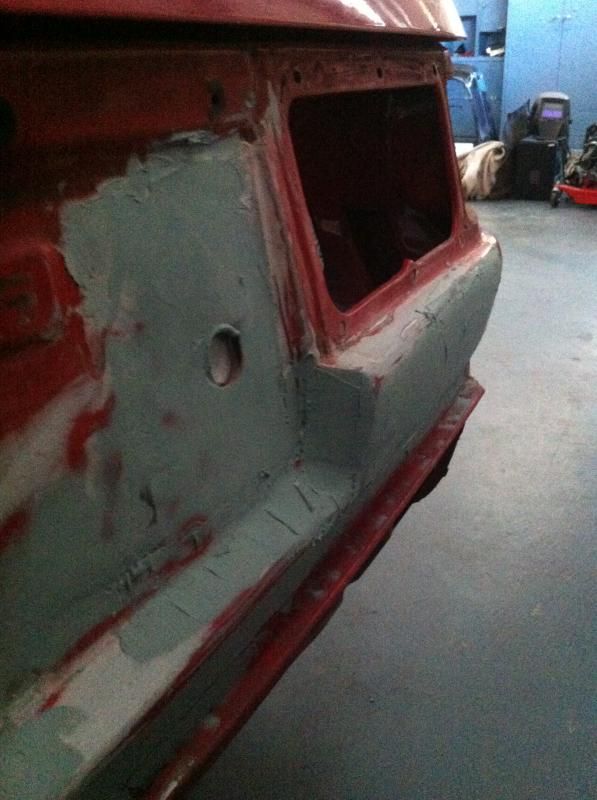
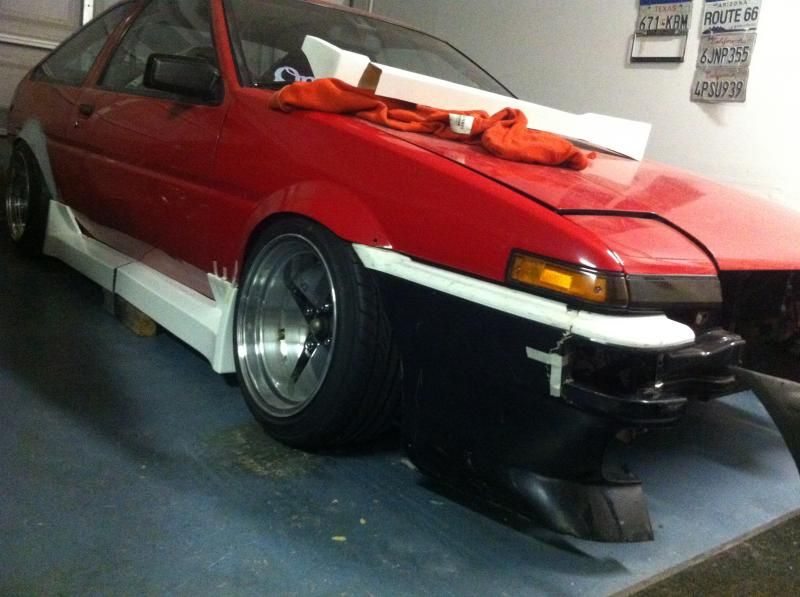
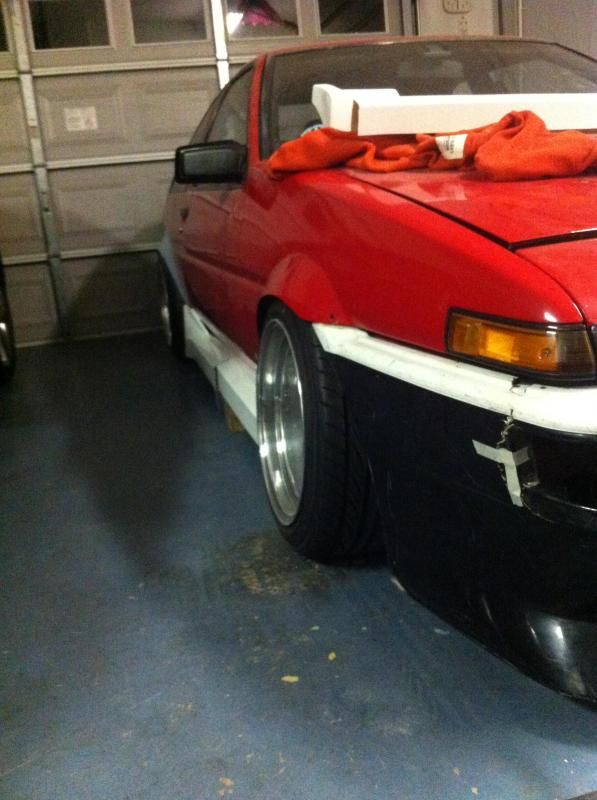
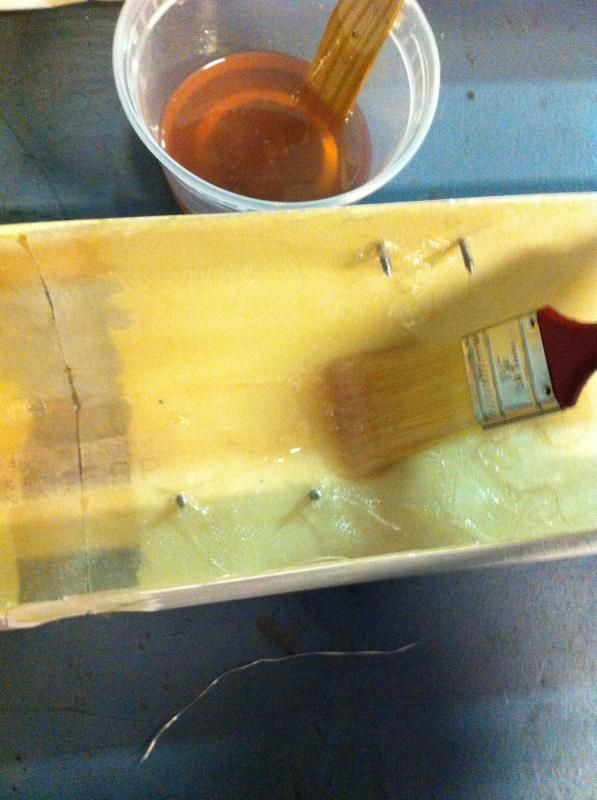
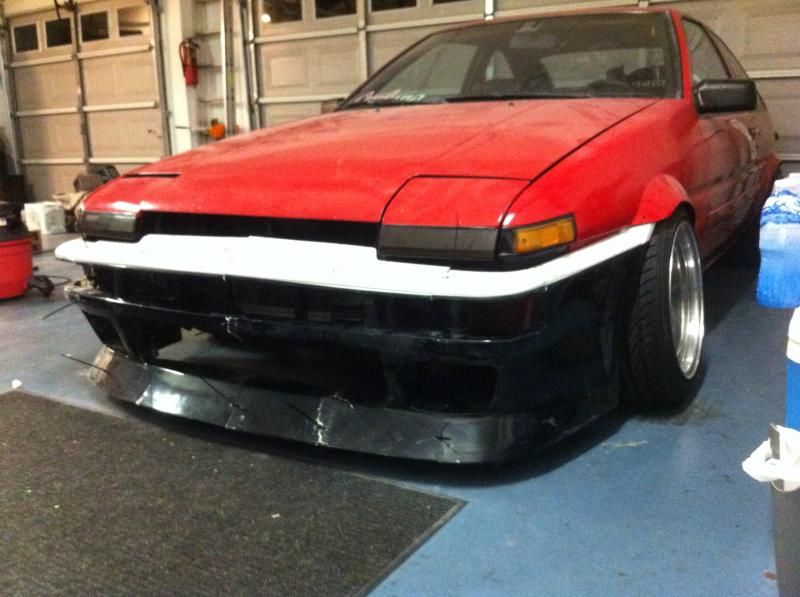
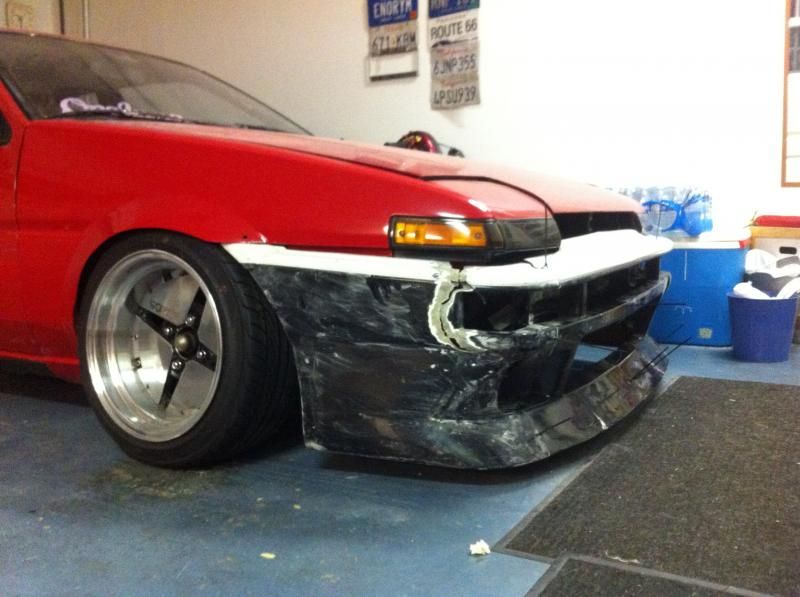
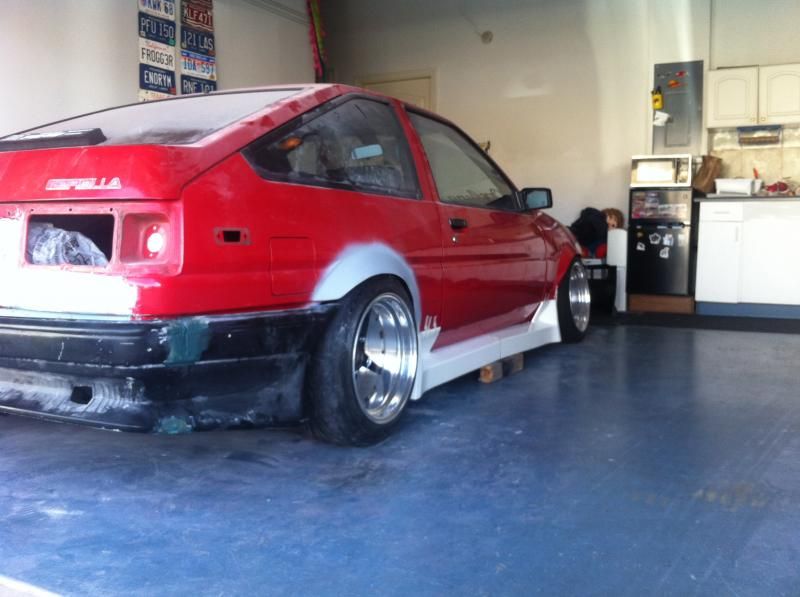
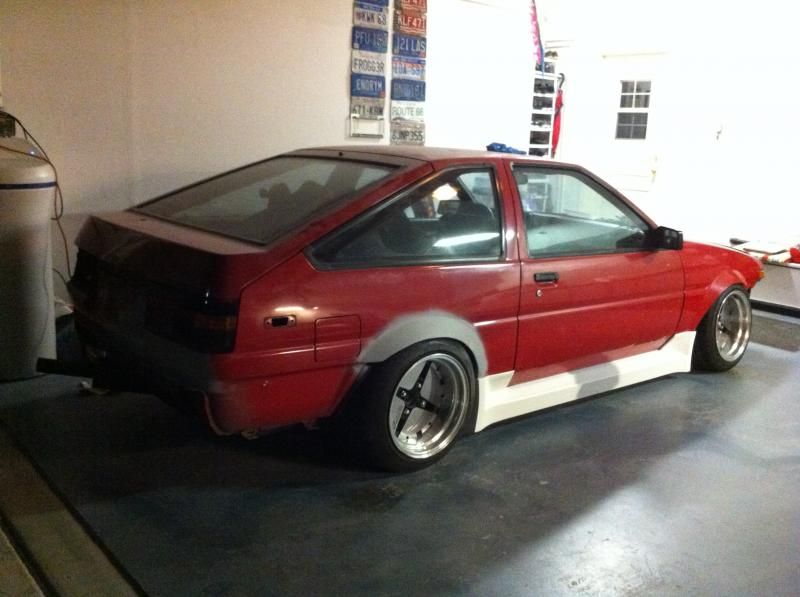
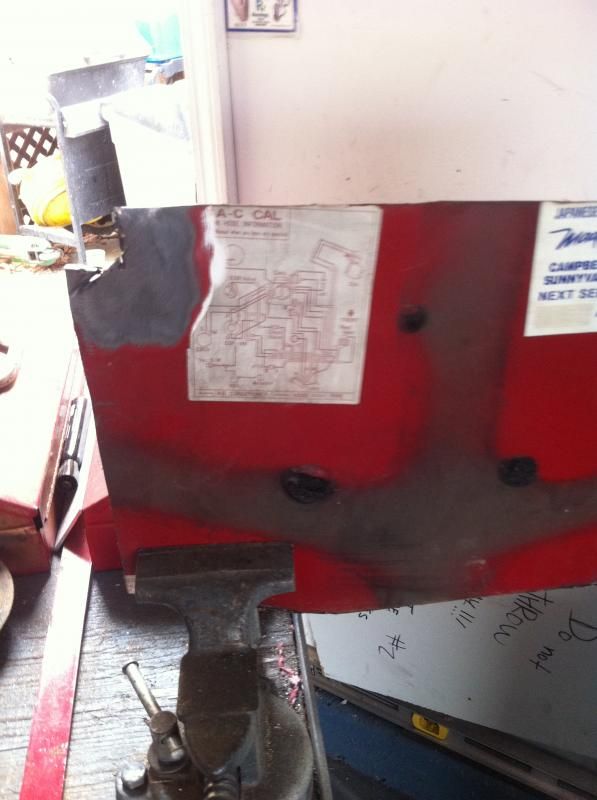
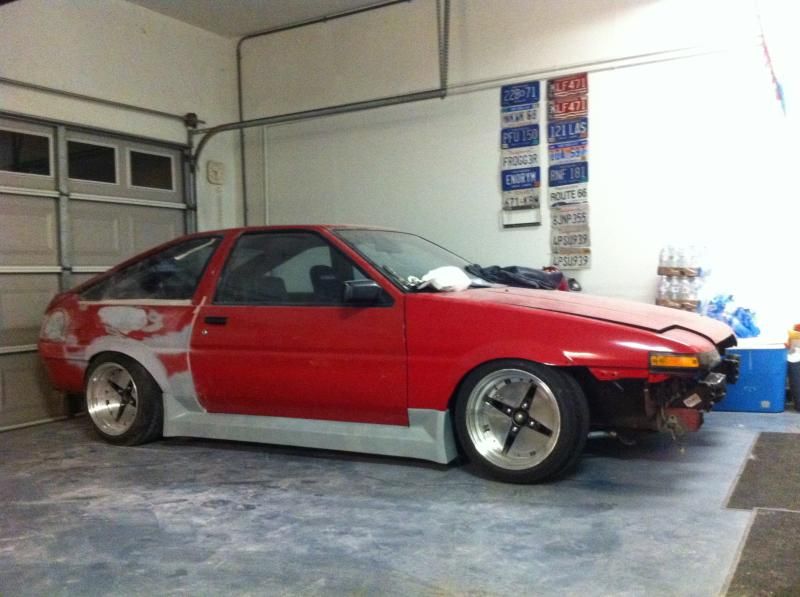
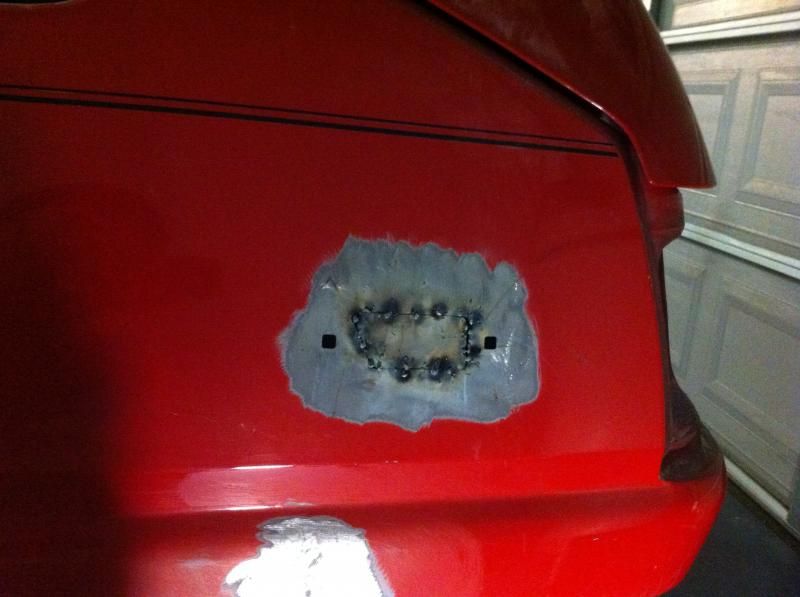
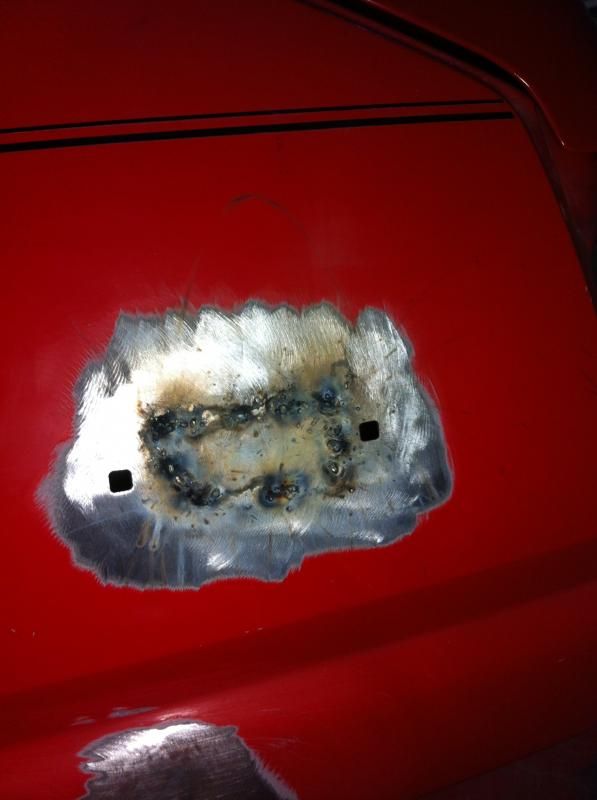
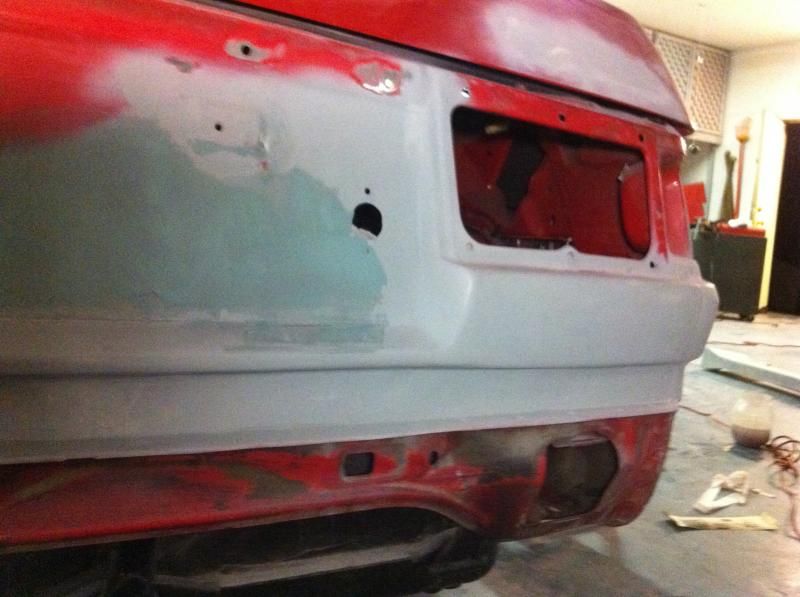
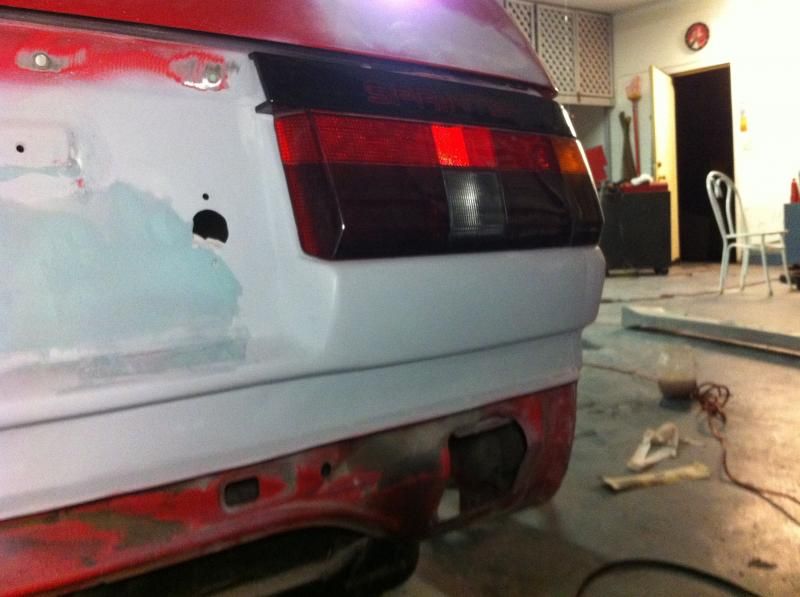
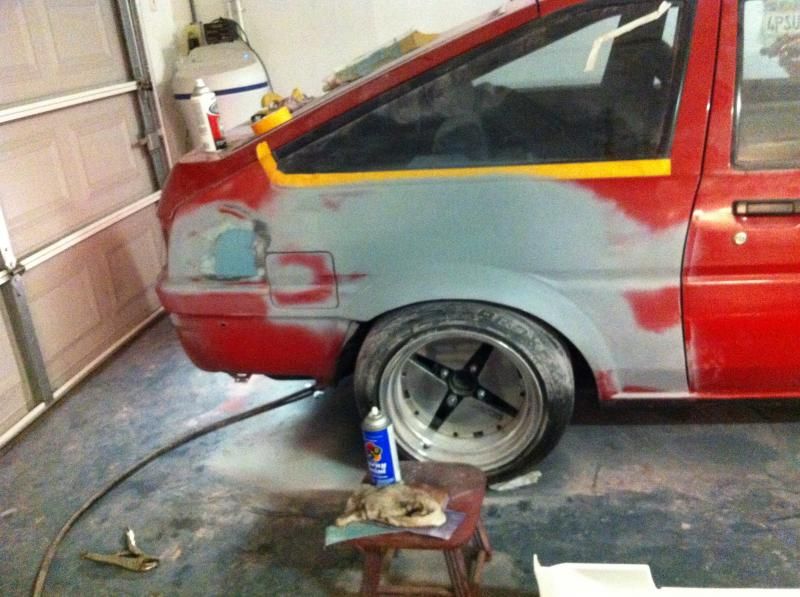
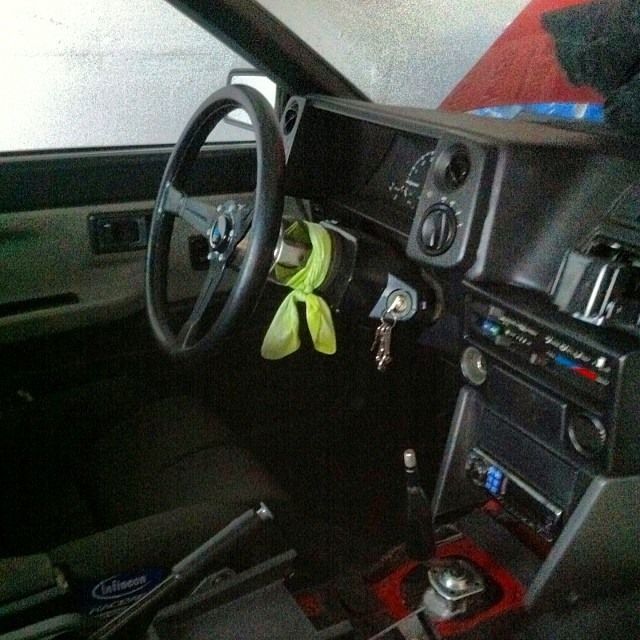
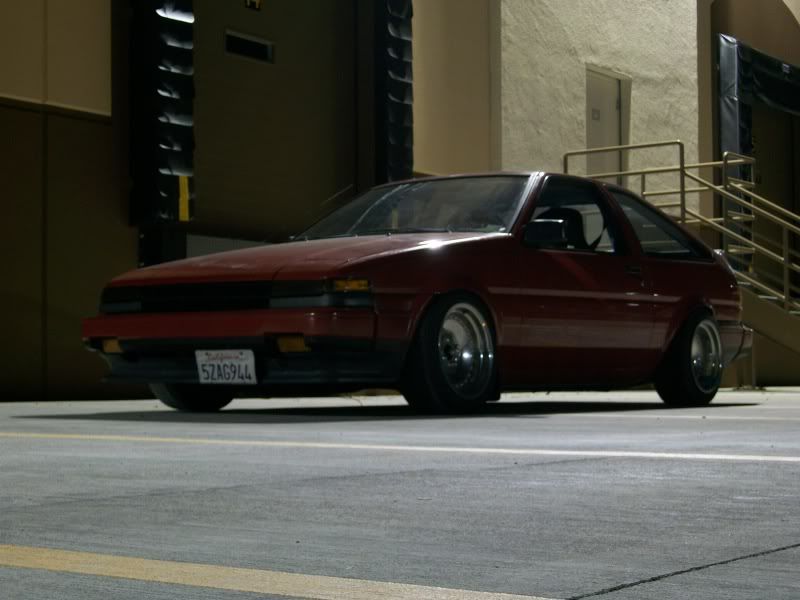
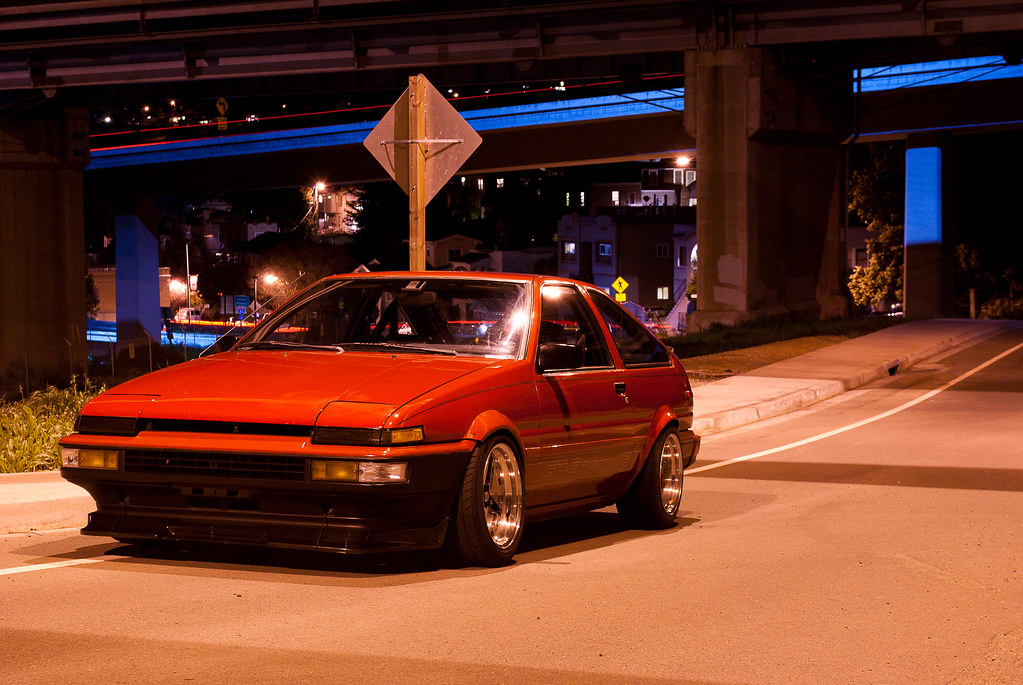
Redid front fenders with metal ones and got a cby front bumper from Gabe. New engine (blacktop), t3 tension rods, trd sway bar, jdm rear bumper, solo8 led tail lights, nardi classic, new rear end housing, probably other stuff. Pics from various drift events. Sonoma and fatlace/hellaflush event.


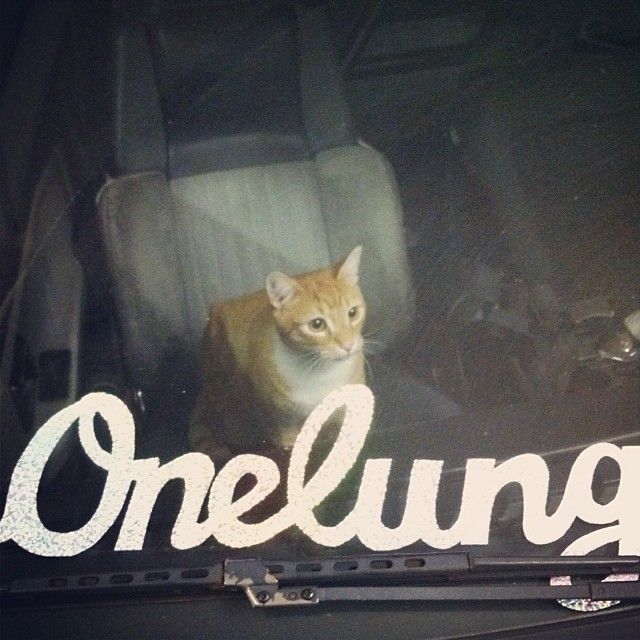
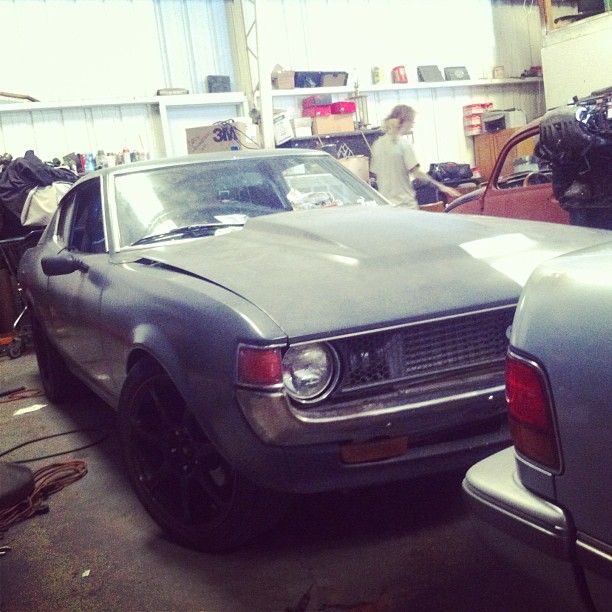
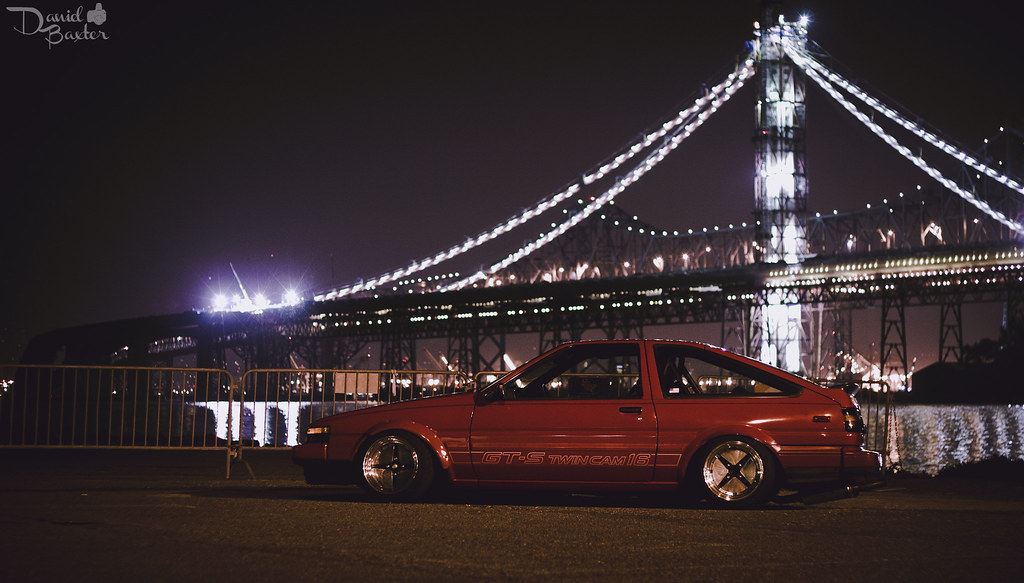
How nostalgia sits as of today. Thats her name because the car reminds me of my first 86 from highschool, except less beat (err was), but still reliable and all over the bay. I'll try and keep this one updated.