
So lets begin ....
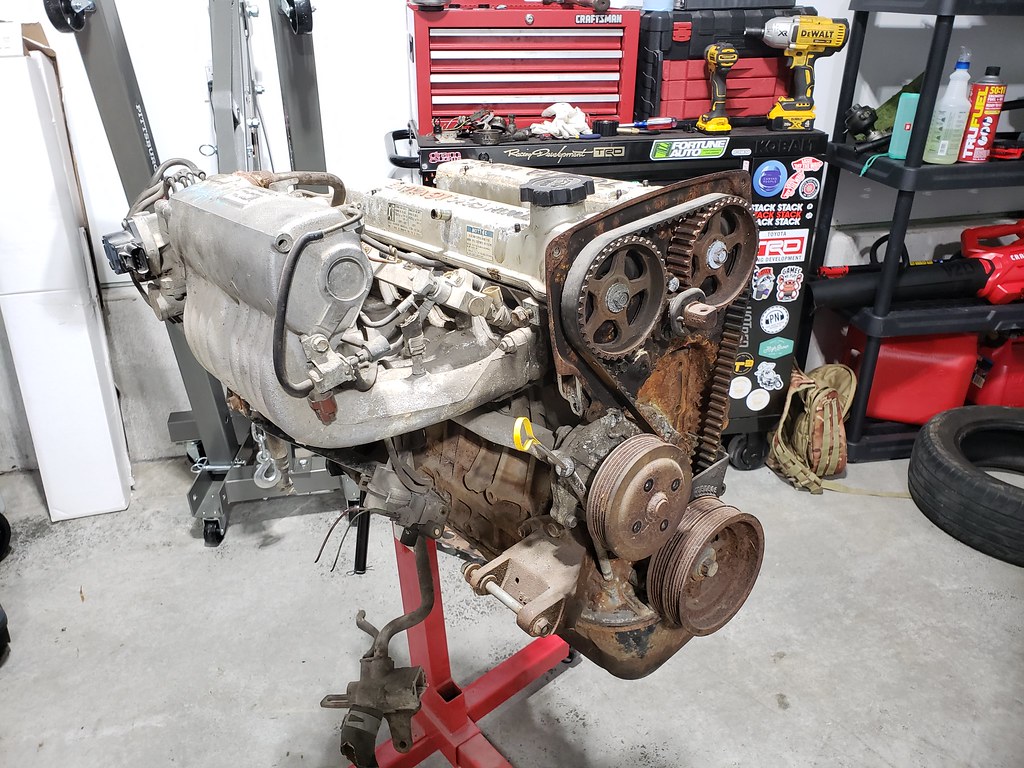
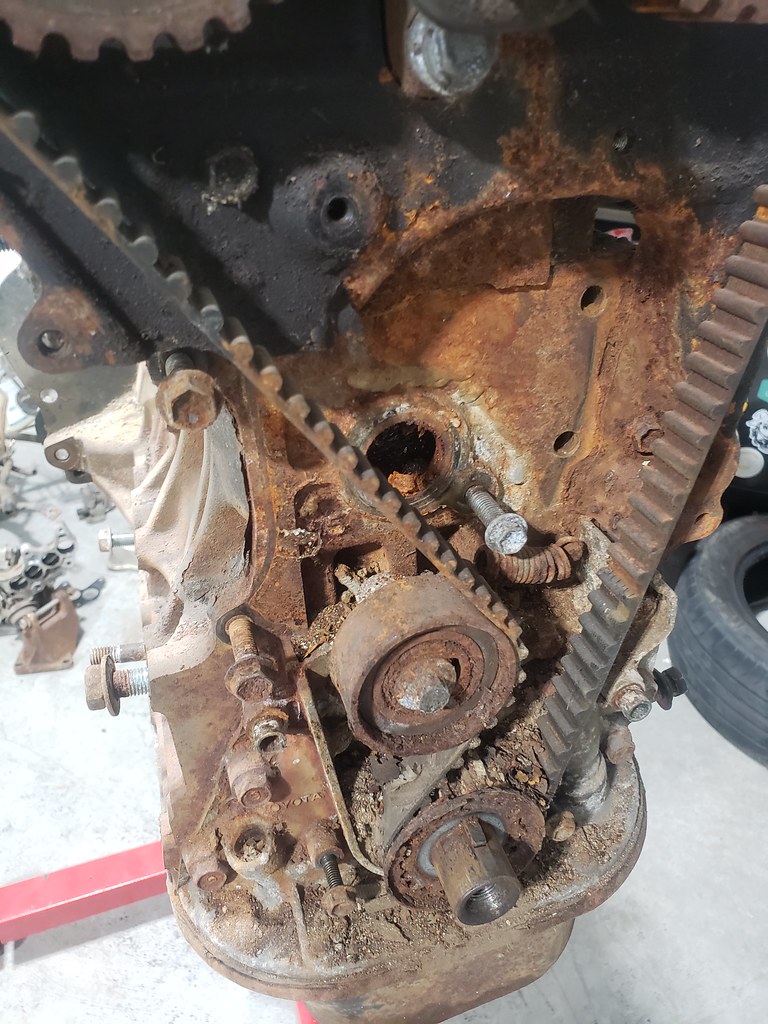
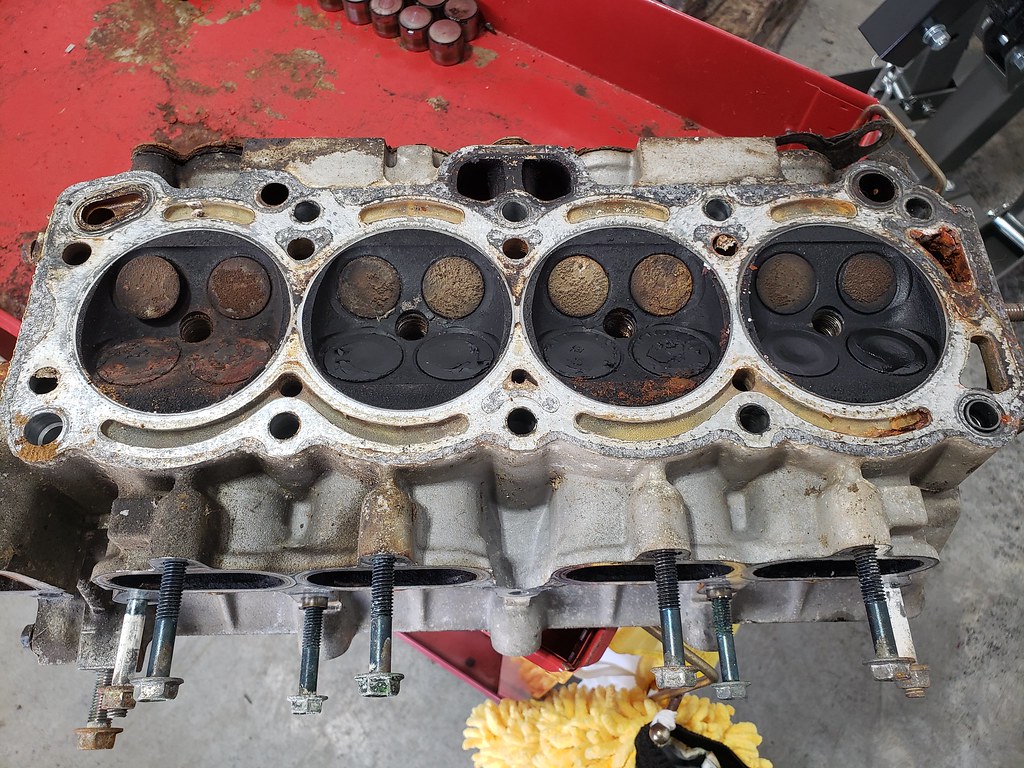
The engine itself is a 7-rib bigport 4age, not sure if it's out of a FWD corolla or an AW11, but it's definitely not a RWD model. I got it in a trade deal several years ago and it's been on the stand ever since. I wanted a spare engine to rebuild off to the side so I can take my time. This thing was CRUSTY!


Not sure where these little ball bearings could have came from, failed oil pump or something? There were a bunch in the oil pan.

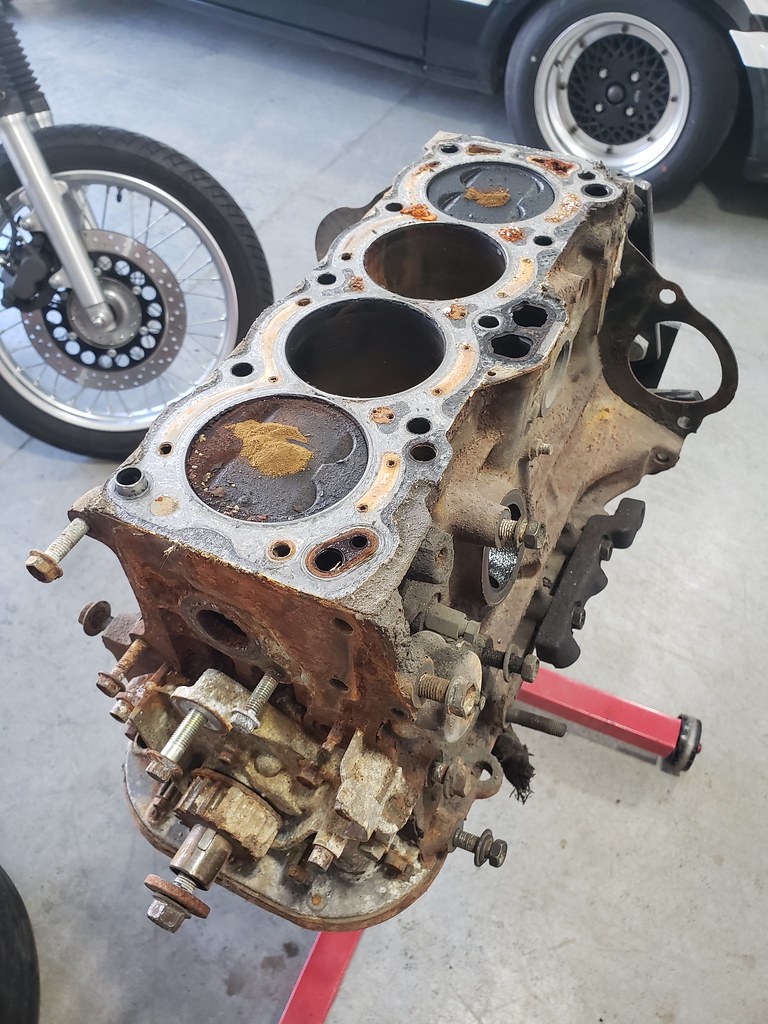
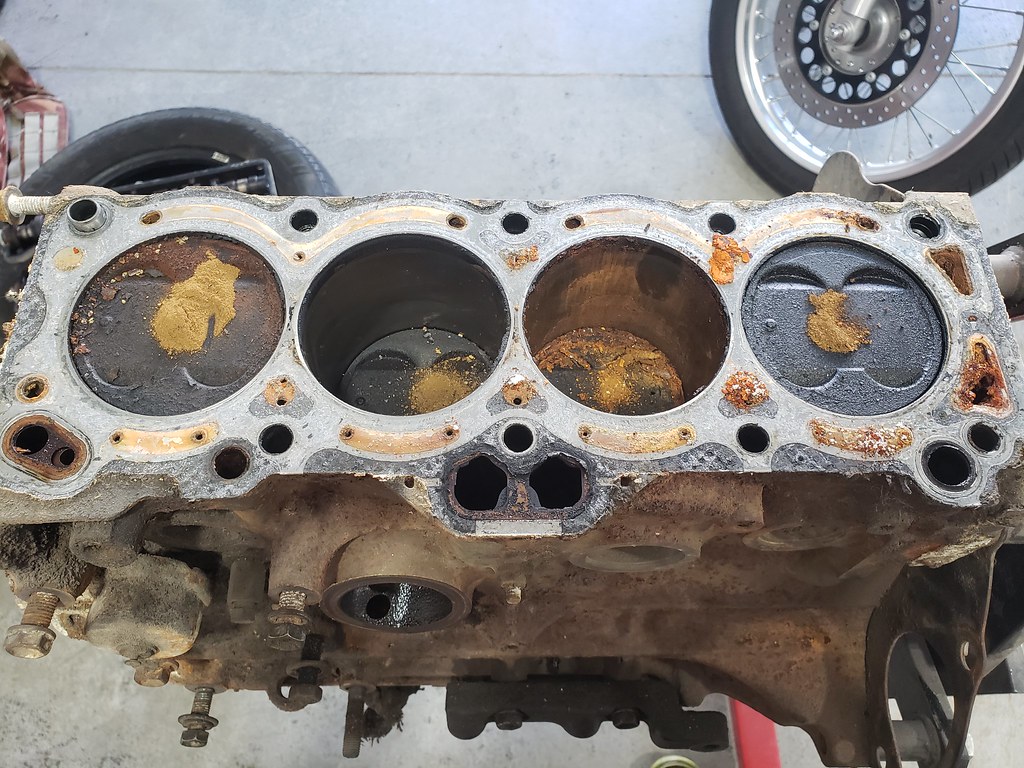
My initial plan was to try and reuse the pistons, but then this happened ....

Breakdown of the rotating assembly:

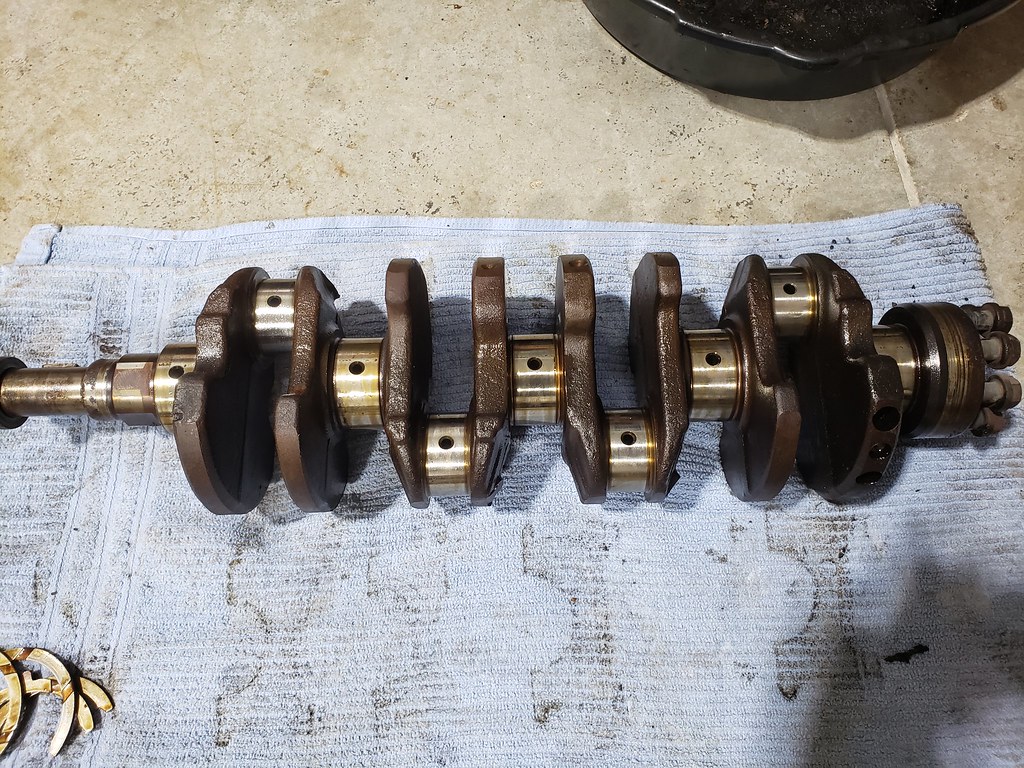
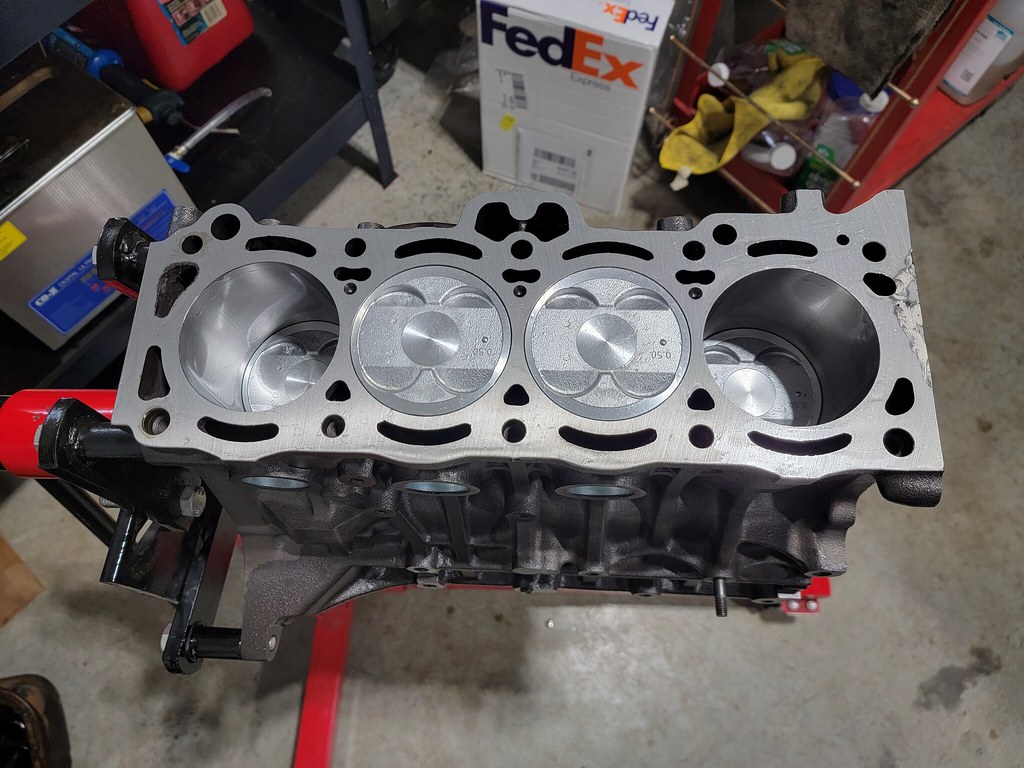
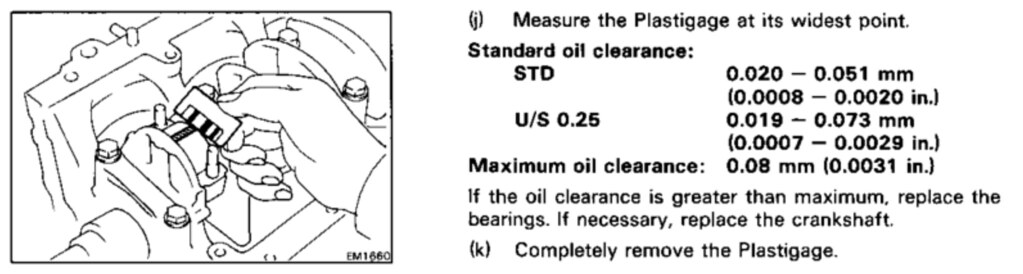
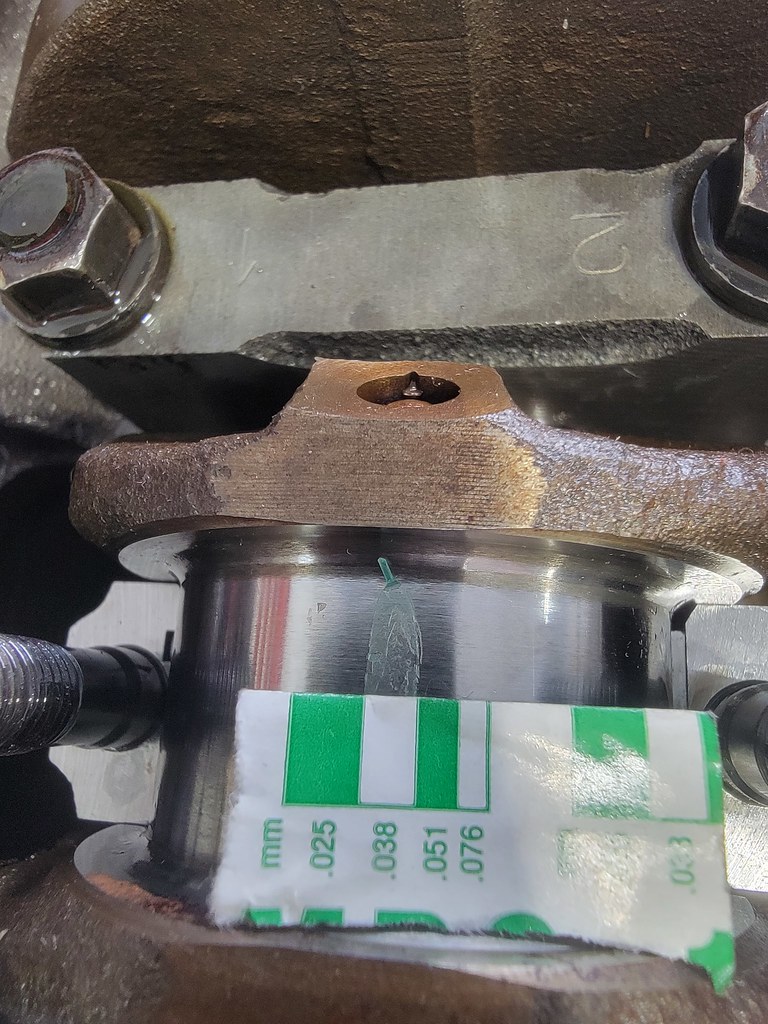
I then took everything to a local engine building / machine shop and had them clean and inspect everything. The crank turned about to be perfect, the big end hole of the rods needed reconditioning (they weren't perfectly circle), and the cylinder walls had some pitting so I had it bored to match oversized (0.5mm) OEM replacement pistons. Then re-assembly happened:
(I wish I took more pictures of the re-assembly process, but me and a few buddies did it together and drank too many beers in the process)

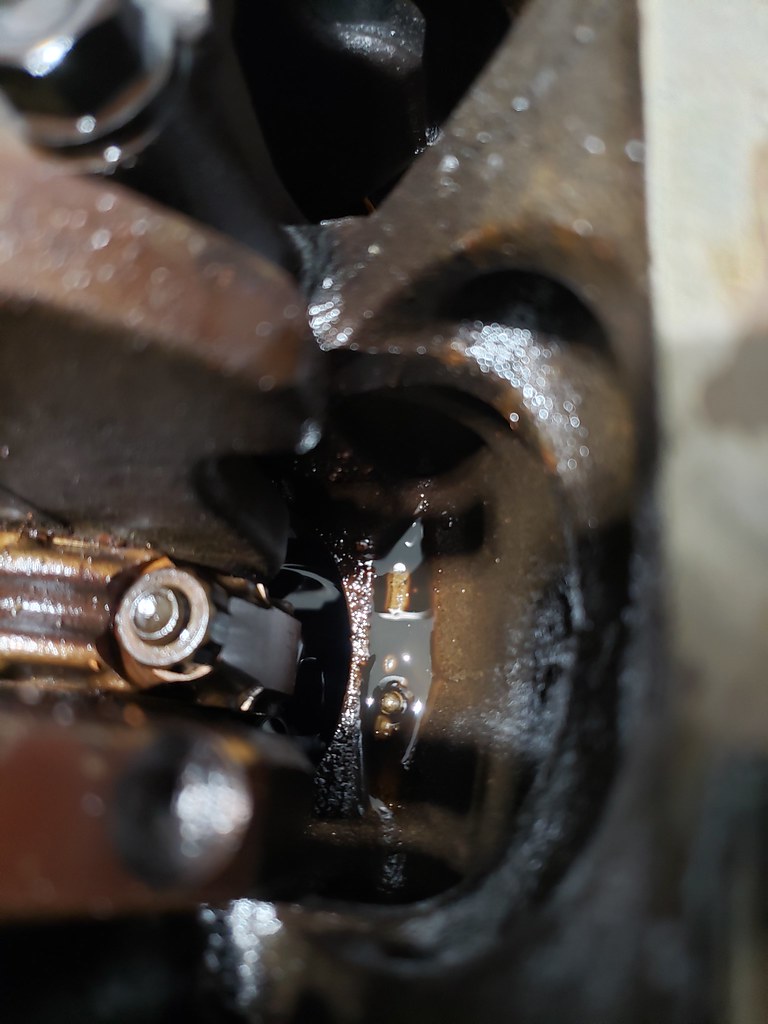
I'm curious on what happened here ... I didn't notice it until the machine shop called me and was like "hey I have your block ready. You have a small extra tooling charge on there since it looks like the block was repaired at some point. Caused some damage to my tooling"


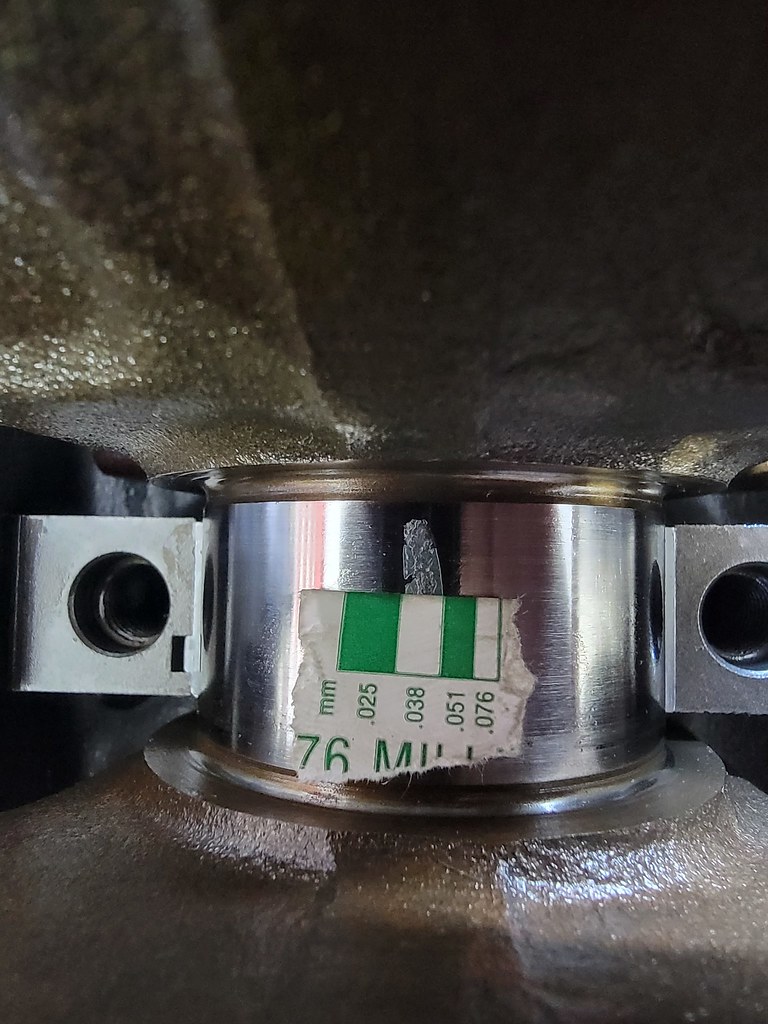
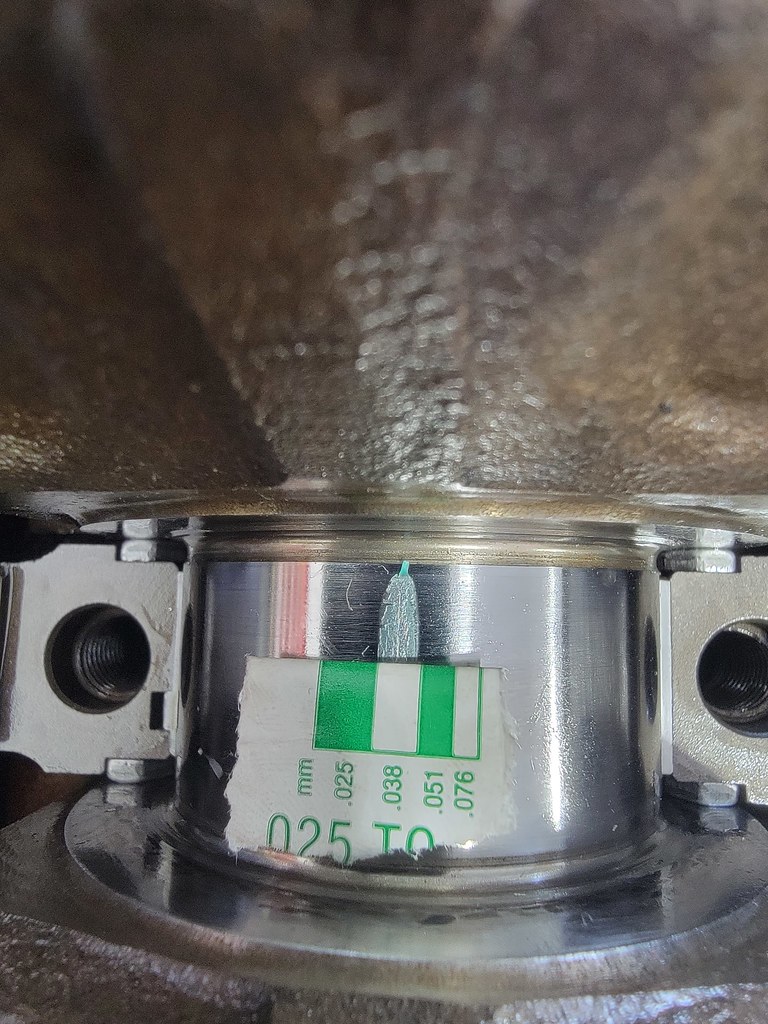
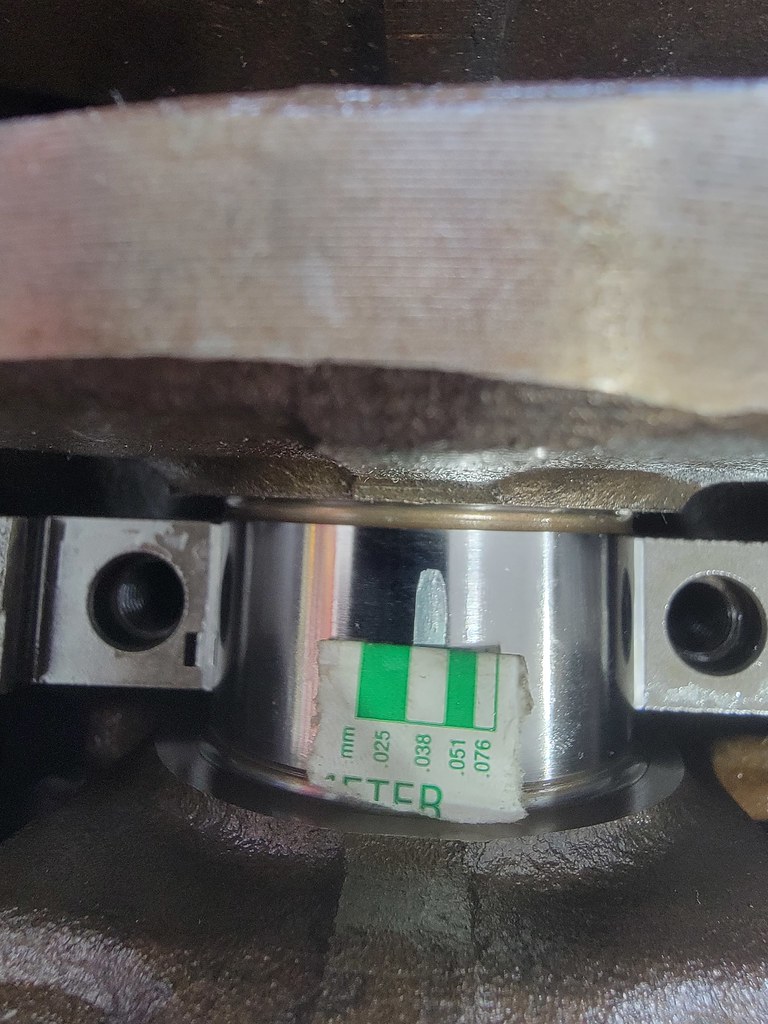
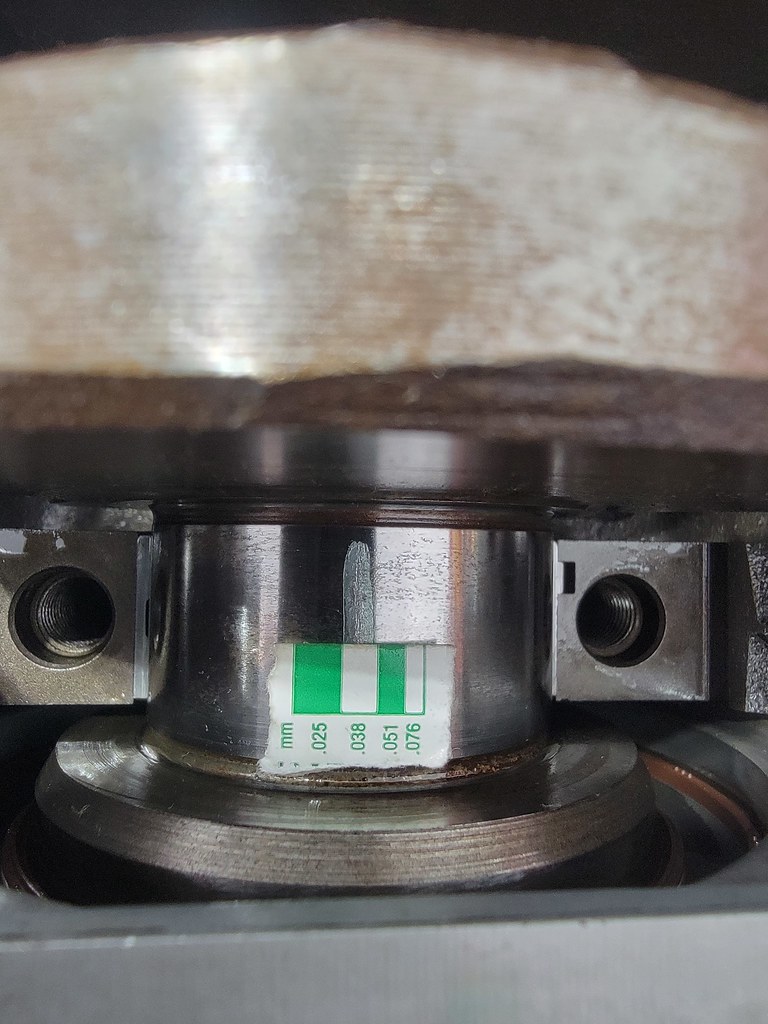
Oil clearances were in spec:


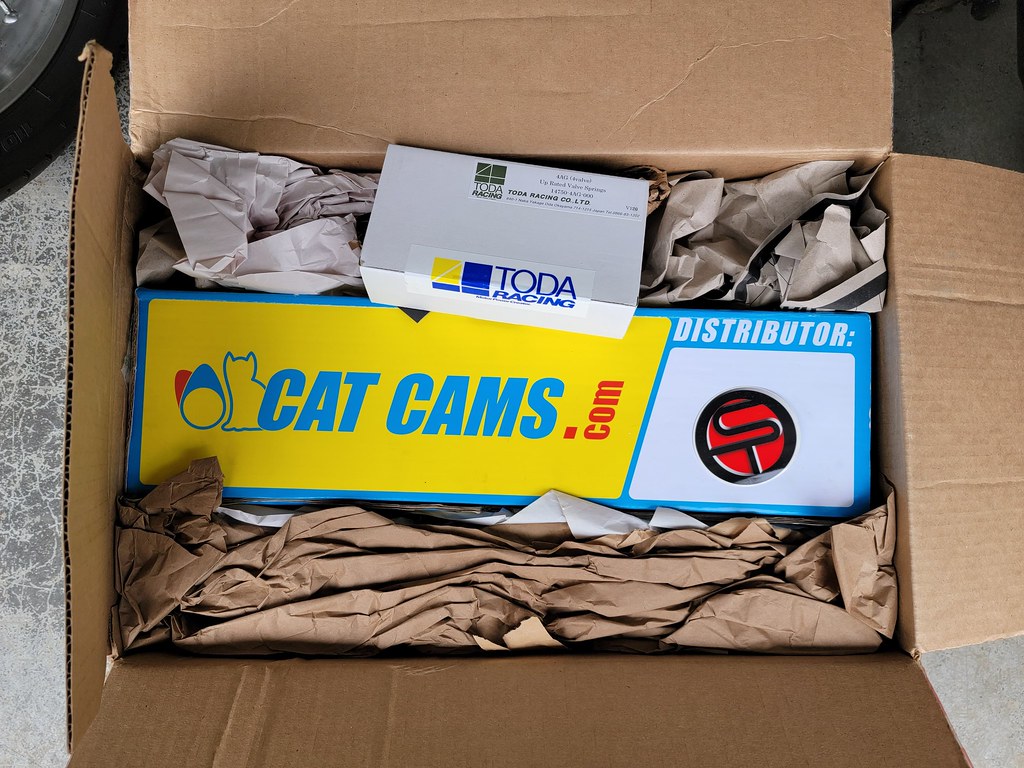
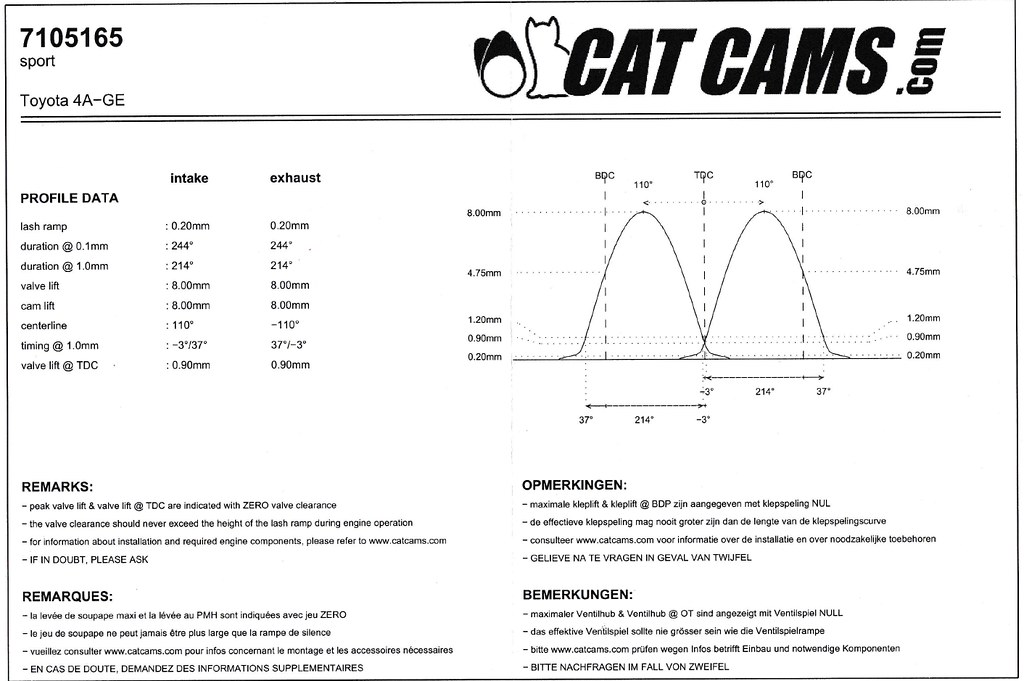
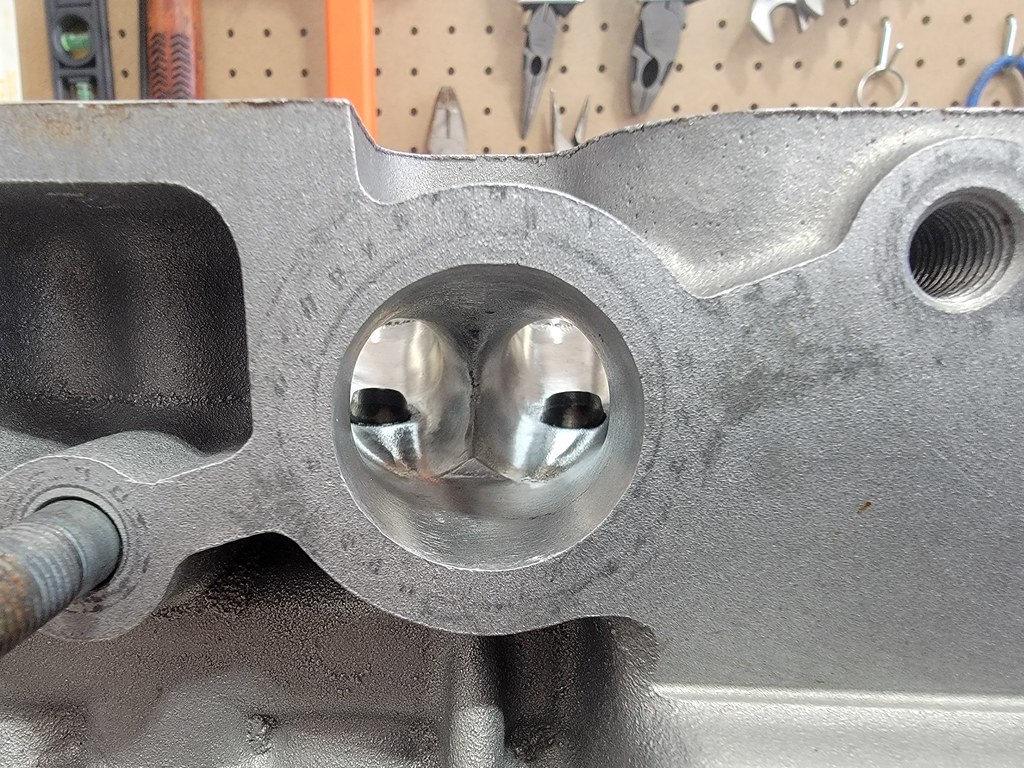
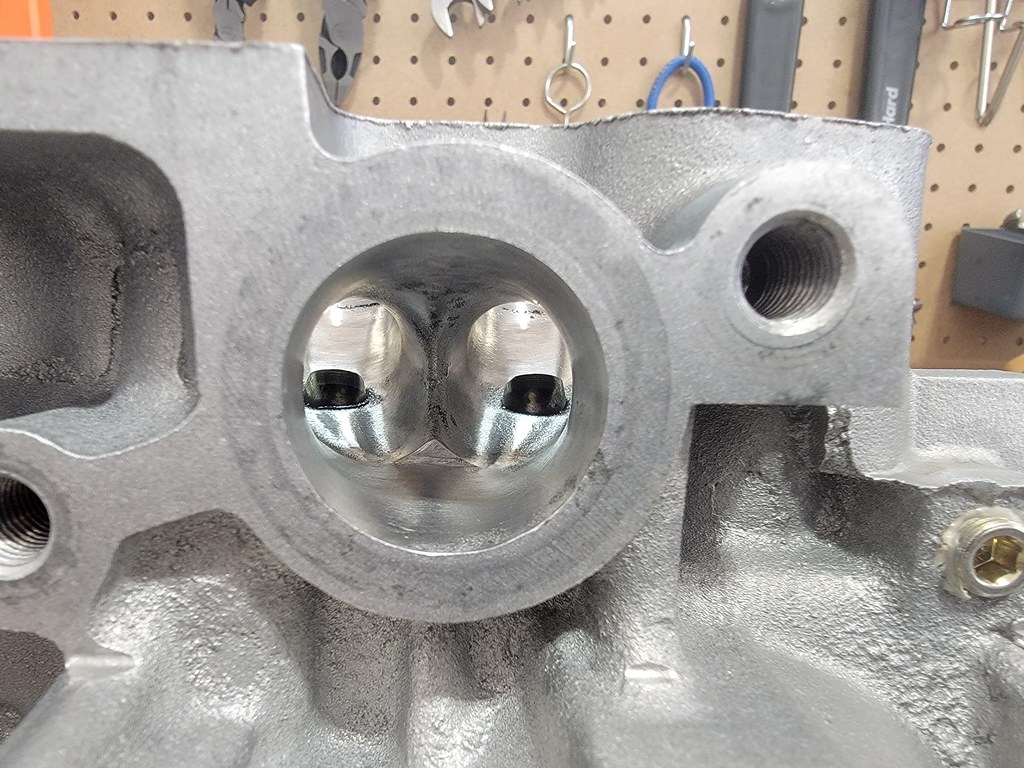
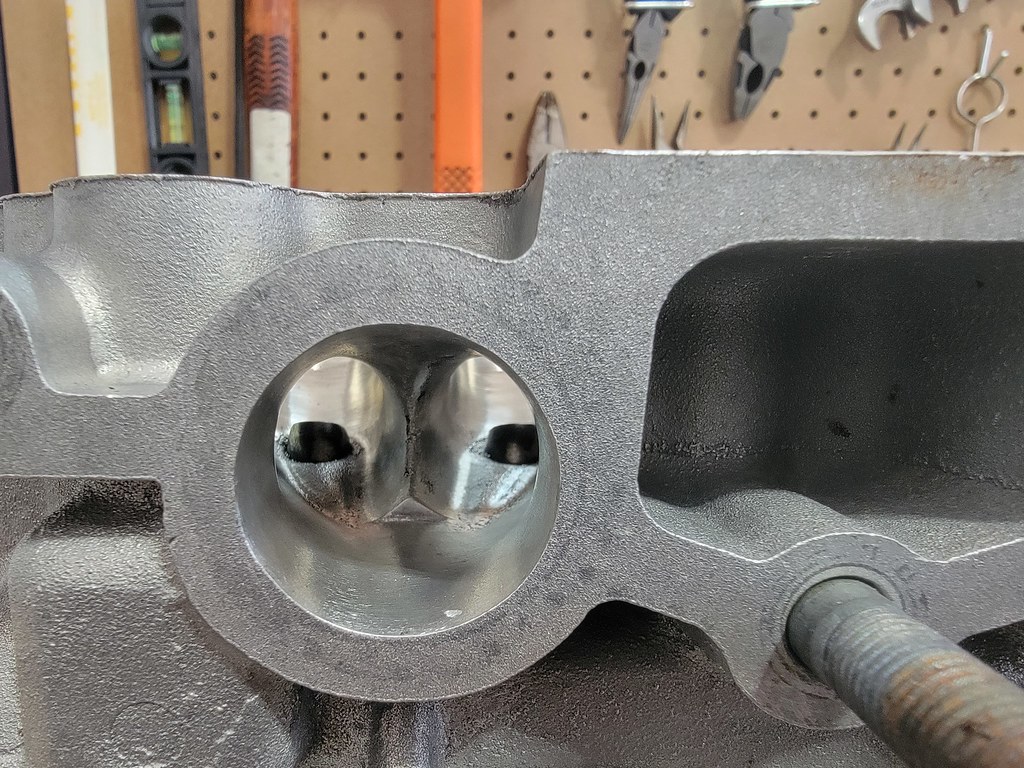
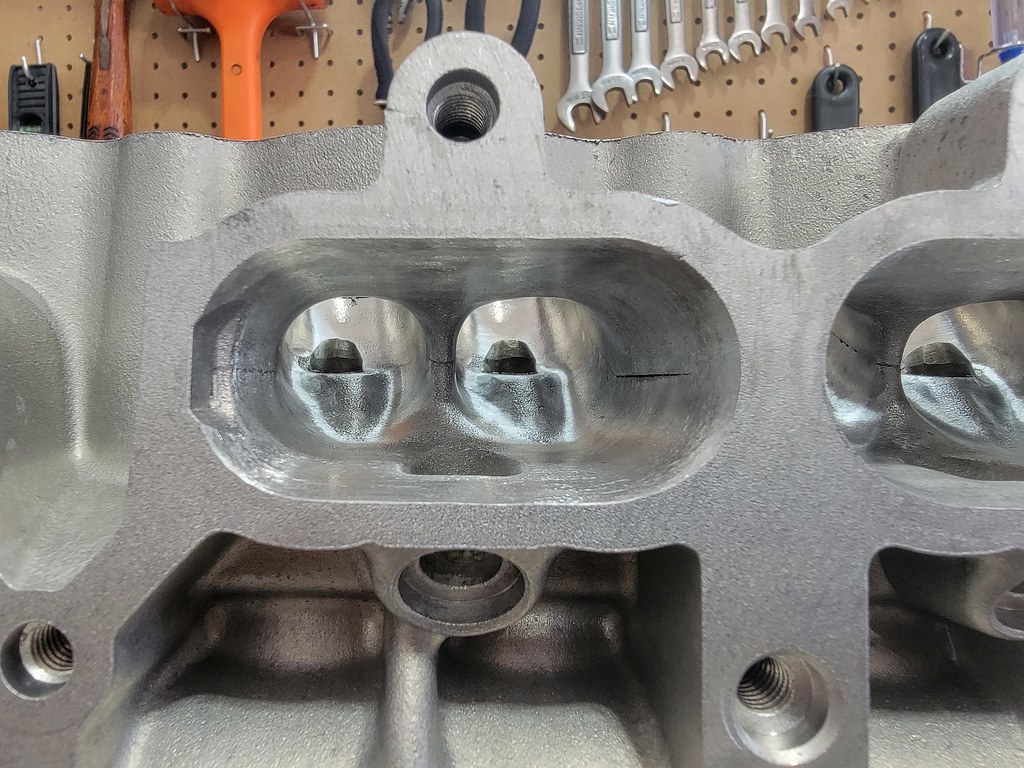
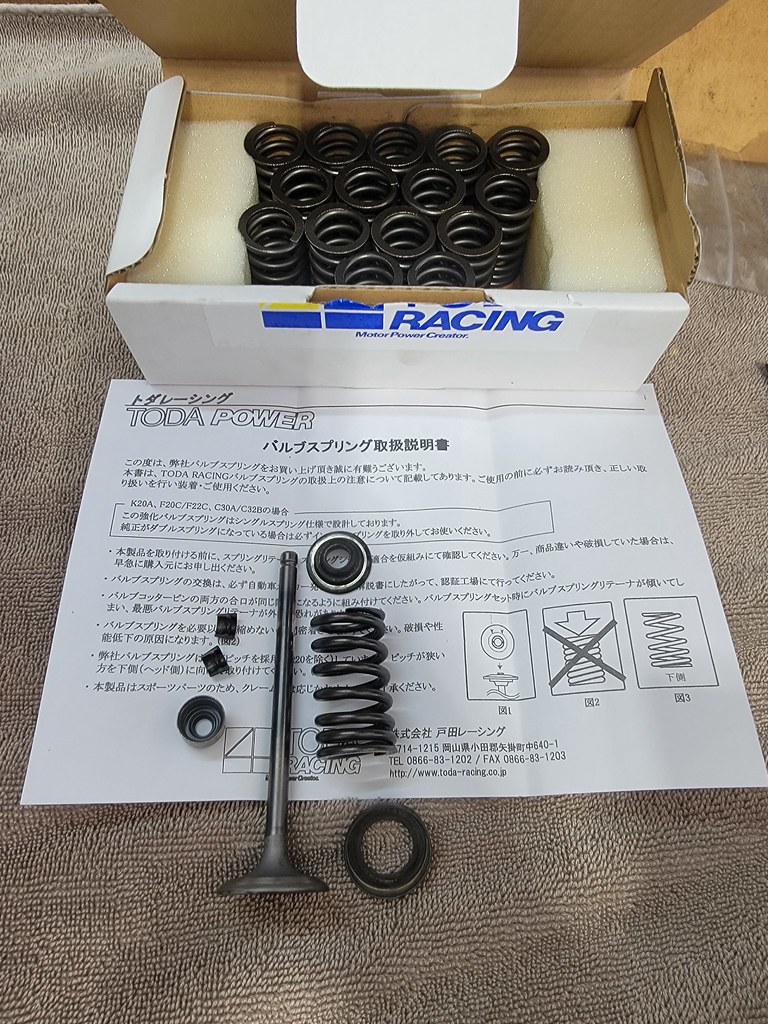
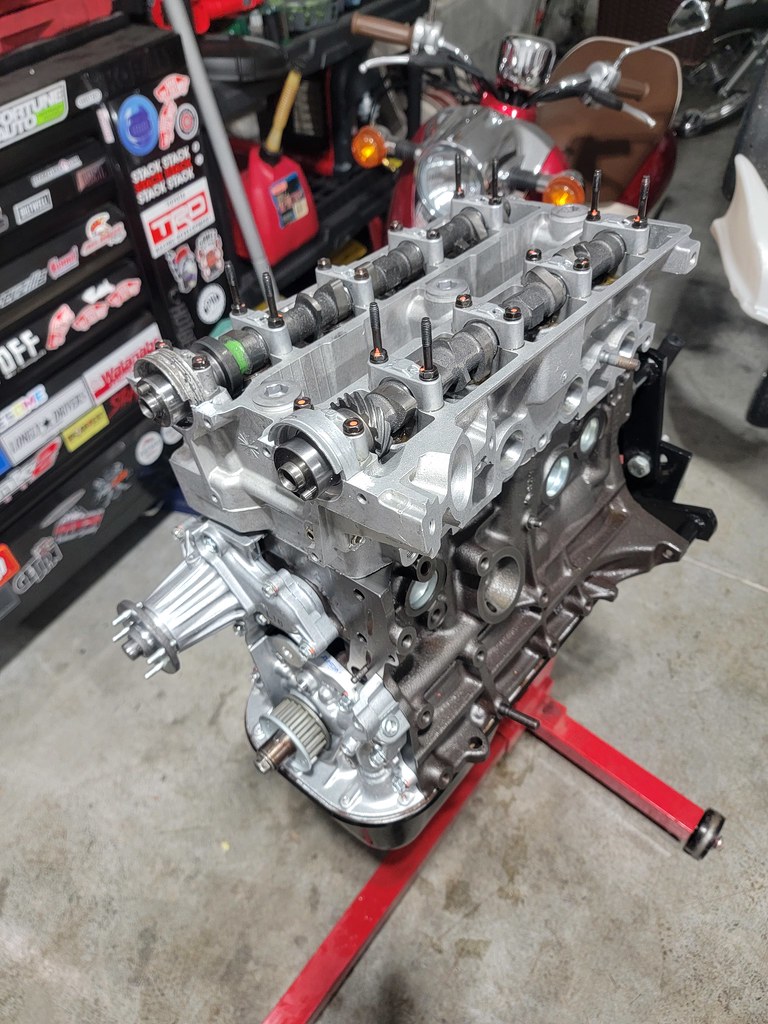
In parallel to all the work on the bottom end, I sent my head off to the legend, Mr. oldeskewltoy (Dan Steinhart) to work his magic. Turns out the head I sent him had some bad pitting in the valve seats, so he offered to swap it with a 1st gen big port casting head. He also sourced me some Toda Valve Springs and Cat Cams:
The "new" head:


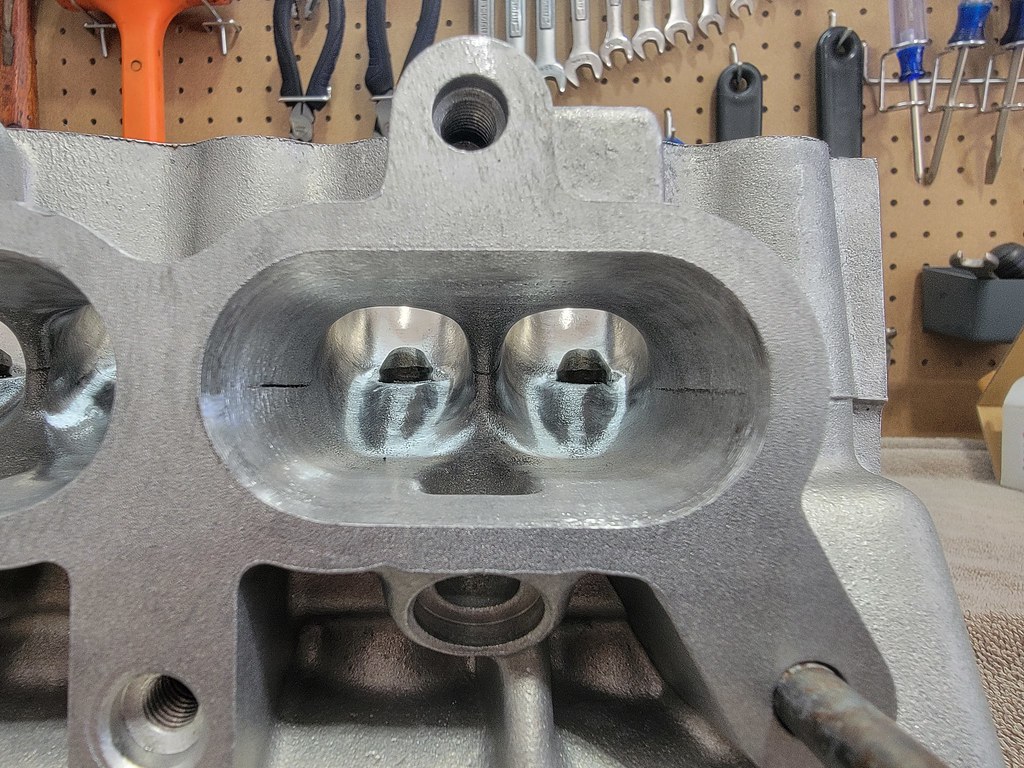
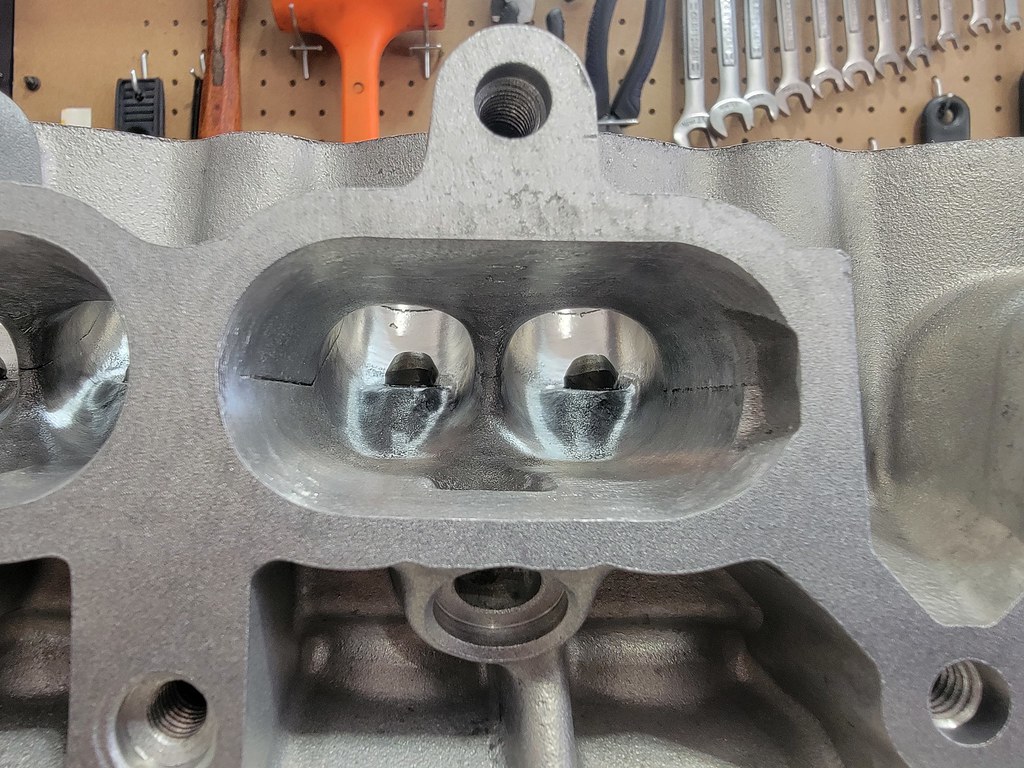
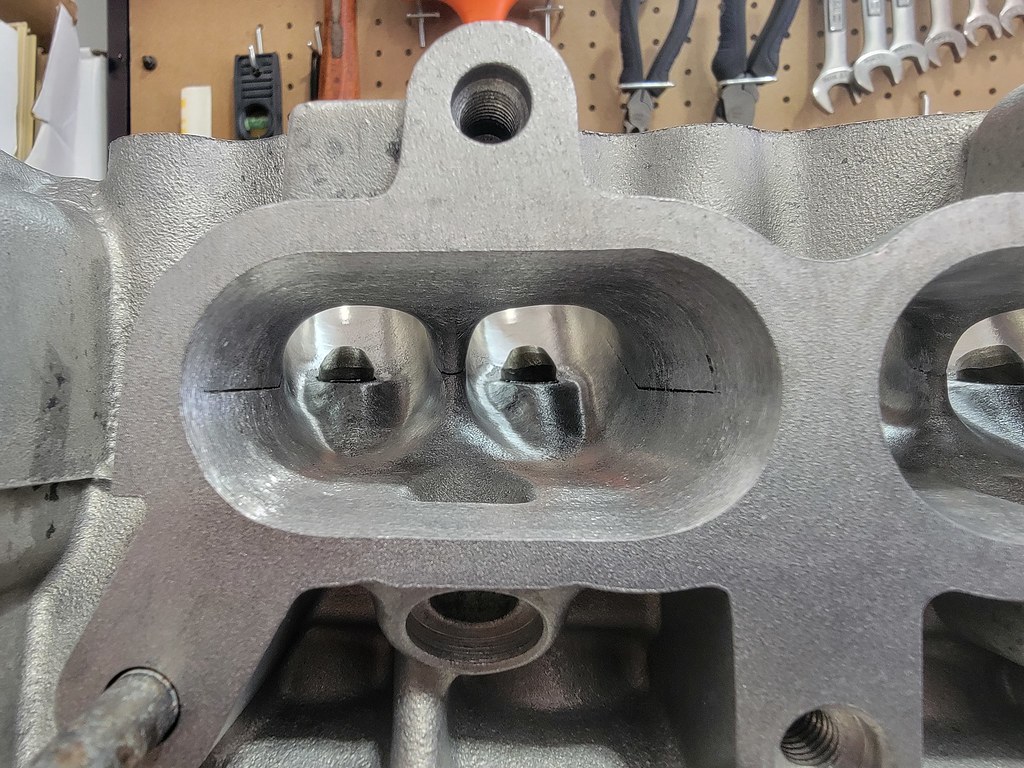
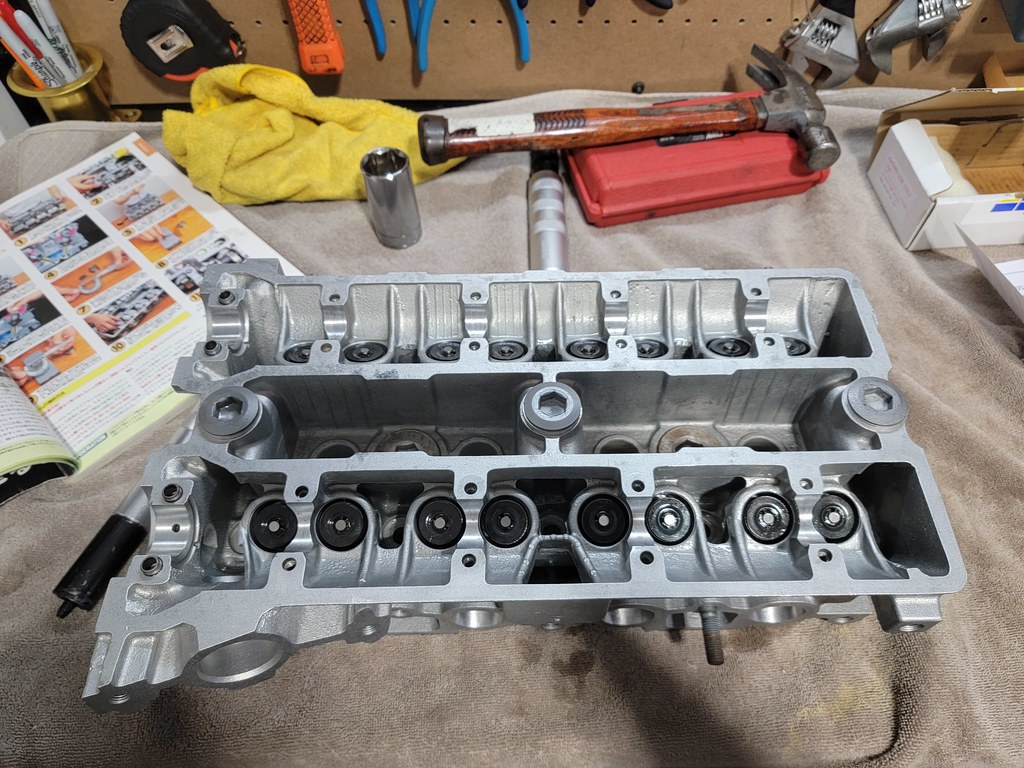
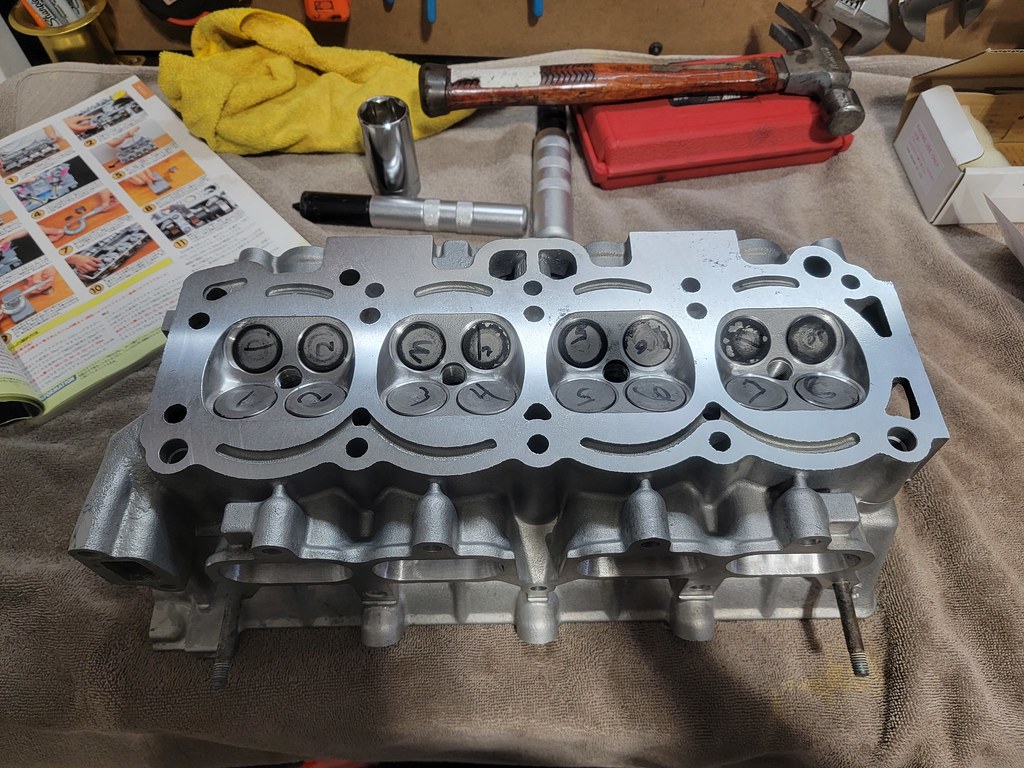
Between the old AE86 Tuning magazine and the repair manual, assembling the head was a breeze:


Mated the Head and Block together (with a TRD 0.8mm Head Gasket), installed the cams, set the valve lash, and lastly installed the oil and water pumps. The engine sat in this state for some time while I slowly pieced together external bits and pieces

This is the engine in its current state:
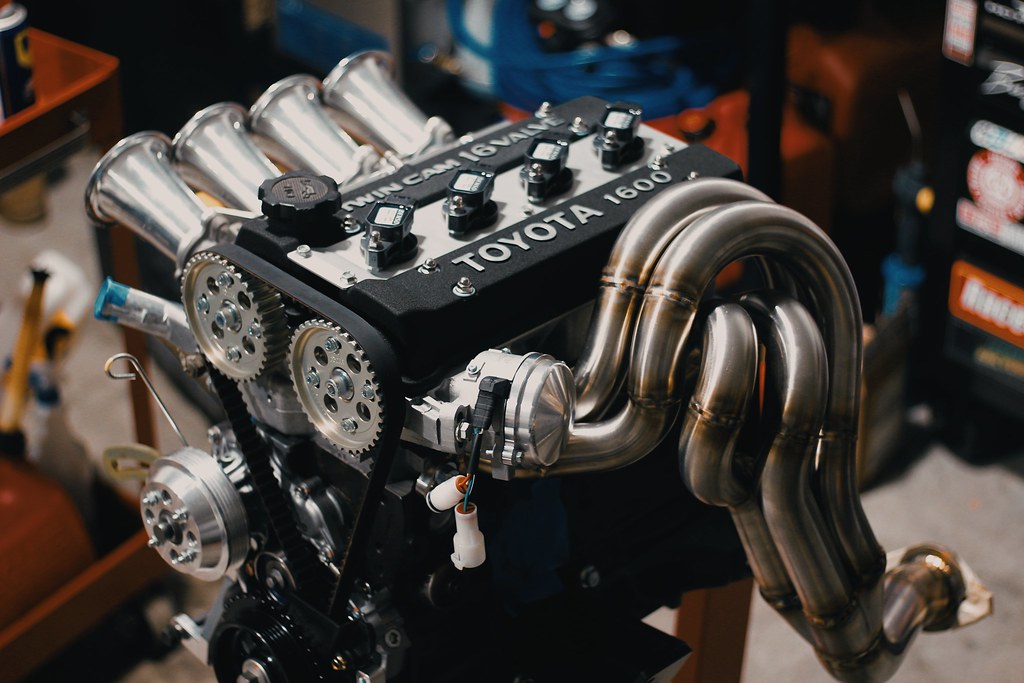
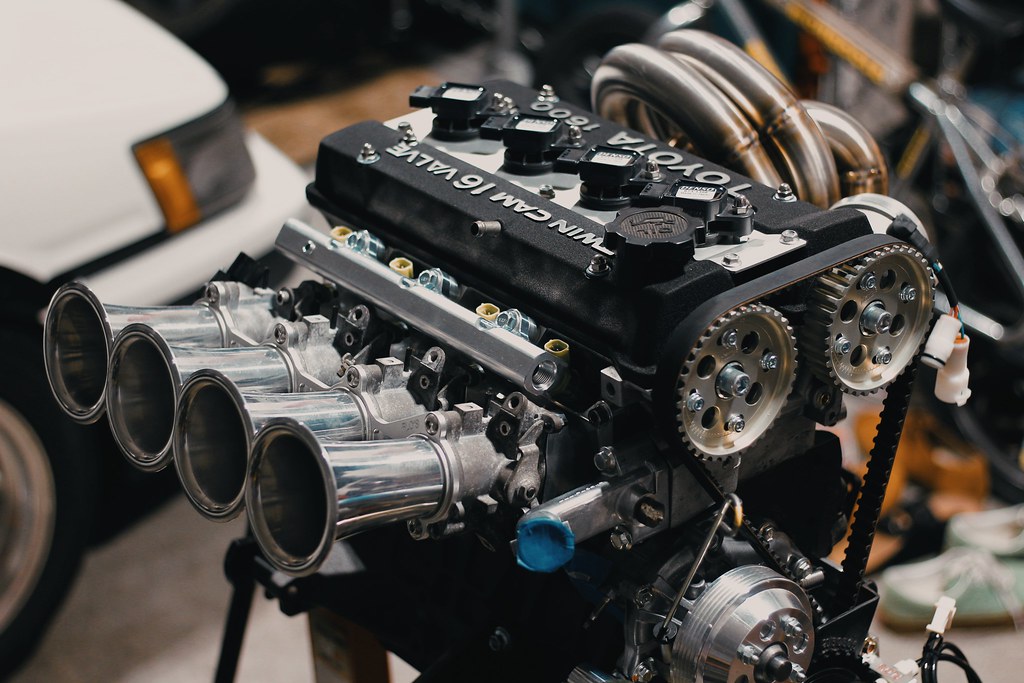
We have
- Toda Cam Gears
- Silvertop 20v Throttle Bodies with a T3 Adapter
- Flo's Velocity Stacks
- Flo's Crank Pully / Trigger Wheel Kit
- Select Speed Shop Exhaust Manifold
- 1nz Ignition Coils (made the adapter plate myself)
- JSP Fab Fuel Rail with 7mge Green Injectors (23250-70080)
- JSP Fab Engine Mounts and Alternator Bracket
- SQ Engineering Rear Water Outlet and Distributor Block Off Plate
Next on the to-do list is loom up my engine harness to go with the Haltech 550 ECU.
I've also been looking into the Engine Test Stand kits you can buy from Summit Racing. The dream would be to break in the engine on a test stand and verify everything is good before I go to swap it in the car. I have a long laundry list of things I want to do to the AE86 when I pull the old engine, so that just prolongs me checking this engine is good to go.
