NC Panda's 20v GTSR5 years in the making

NC Panda
Club4AG Enthusiast
Posts: 74
Joined: Wed Feb 20, 2013 9:06 pm

NC Panda's 20v GTSR5 years in the making

Postby NC Panda » Wed Feb 20, 2013 11:26 pm

Once upon a time a 14 year old boy fell in love with a car. It wasn't any normal Ferrari or normal super car that every other boy dreamed of, granted it was just as hard to find one this one was much more affordable. He had been learning how to drive to get ready to earn his permit when he was 15 on a 94 corolla he had received from his mother. One day looking at a magazine he noticed something very very strange. There was a Corolla that was all sorts of sideways staring at him with a seductive look topping even what the Victoria Secret angels were capable of. It was here that he fell in love for the first time. He would stop at nothing to own one as soon as feasibly possible. Well, as time went on and highschool came to a close it was time for him to move away to college and start his life with his own restrictions. The sounds of "you're not getting that car" were out of hearing range and the search was on. Then, one day the unthinkable happened; his friend pulled up in a run down 85 corolla that looked and sounded like something from the hills have eyes crossed with a prom night dumpster baby. He offered it to him for the low price of $800 which could be paid off when available, which for this college student was an absolute blessing. And so it began...

Image

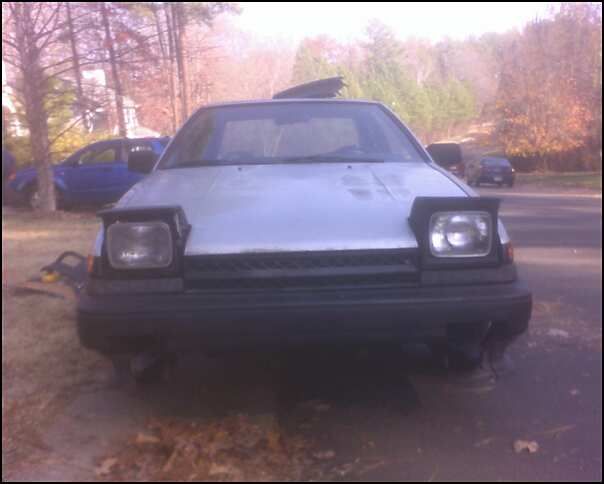
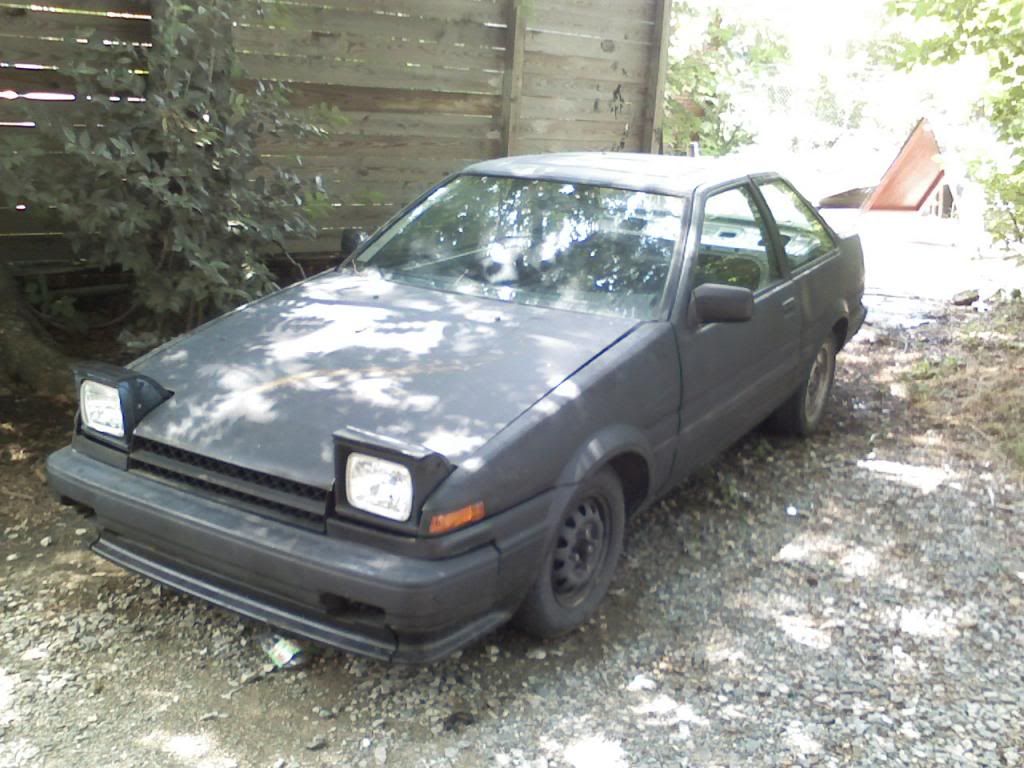
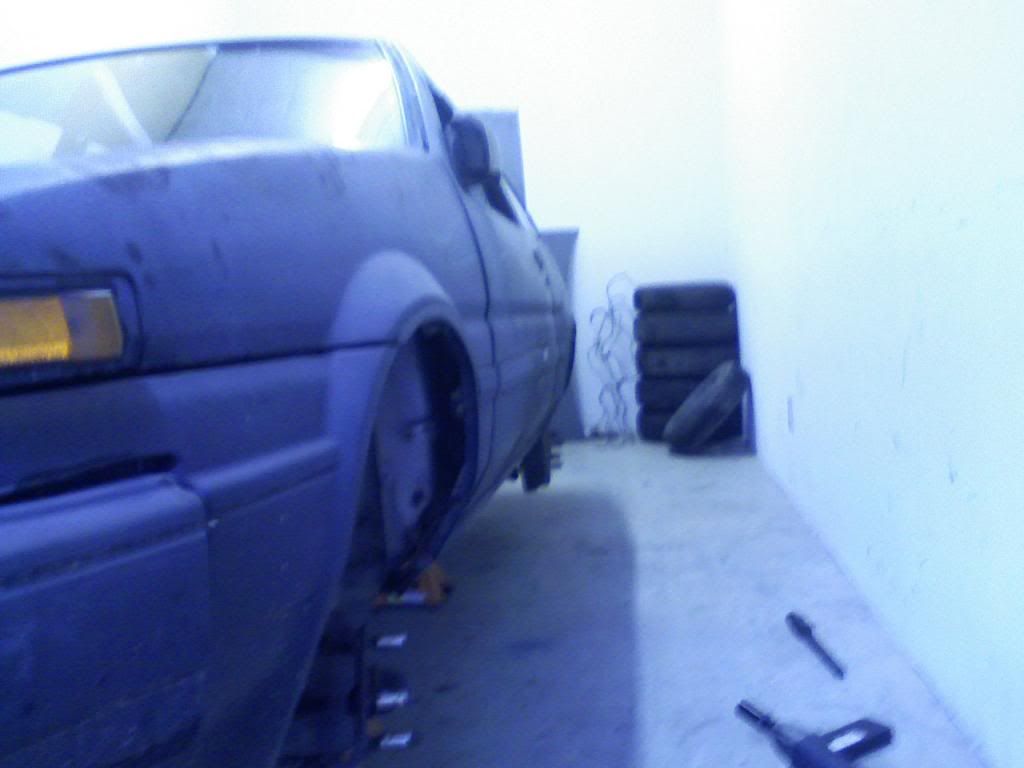
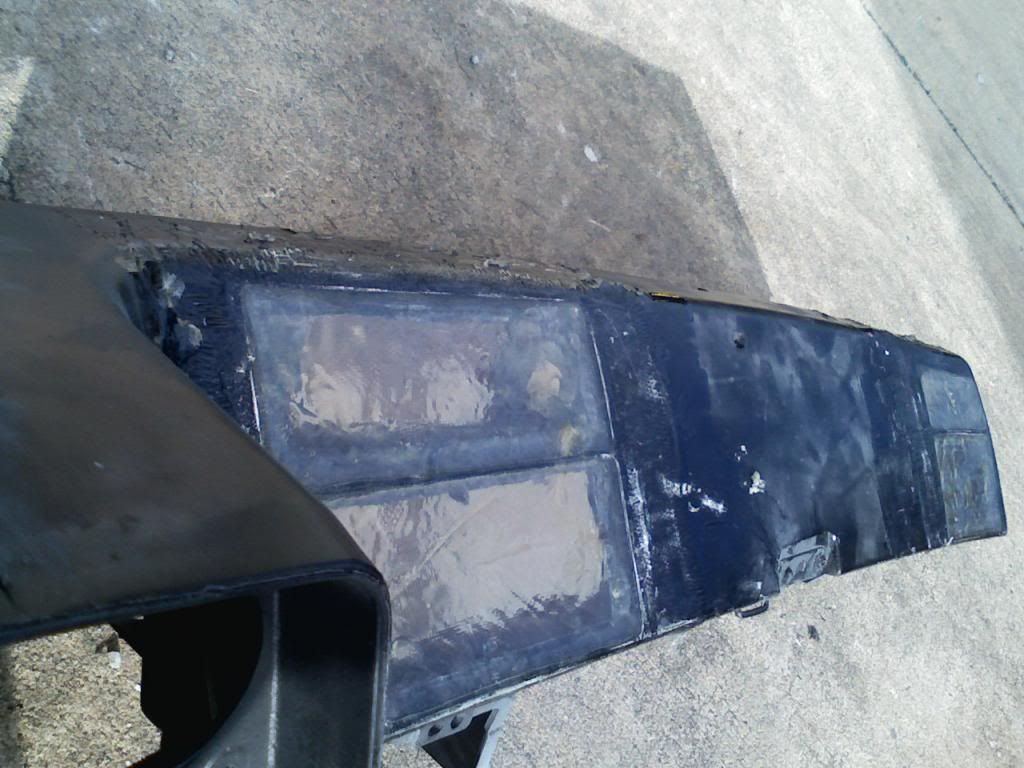
The car sat kind-of funny with a hunched forward look about it thanks to it's 13inch mismatch steelies up front and the 17 inch tuner rims in the back. It was missing half a bumper, some paint, and other little pieces but the looks didn't matter, it was an AE86. The learning began quickly for what this little girl had in store for him. It was an Sr5 and the carb didn't really work quite the way it should, nor did the valves which he would constantly be reminded of while driving. Though this was the first stick shift he had ever attempted to drive on the road it didn't take long to learn the ways she liked to be touched, and mind those moves had to be learned quickly. Since the carb wasn't as healthy as it should have been the gas, brakes, and clutch had to be held at once to come to a stop to keep it from choking. Learning how to drive a stick shift while learning how to heel-toe makes the whole process a little easier looking back. Then, one day the fate he knew she would encounter made it's move and the head started fighting itself like an old school back alley beatdown. With the carb on fire and the motor in no form to move, the car had to be pushed home with a few tears wiping away the gas and oil from his face. But like a phoenix, he was determined to rebuild it from the ashes. This time however, this baby would be better, lighter, faster,... stronger.

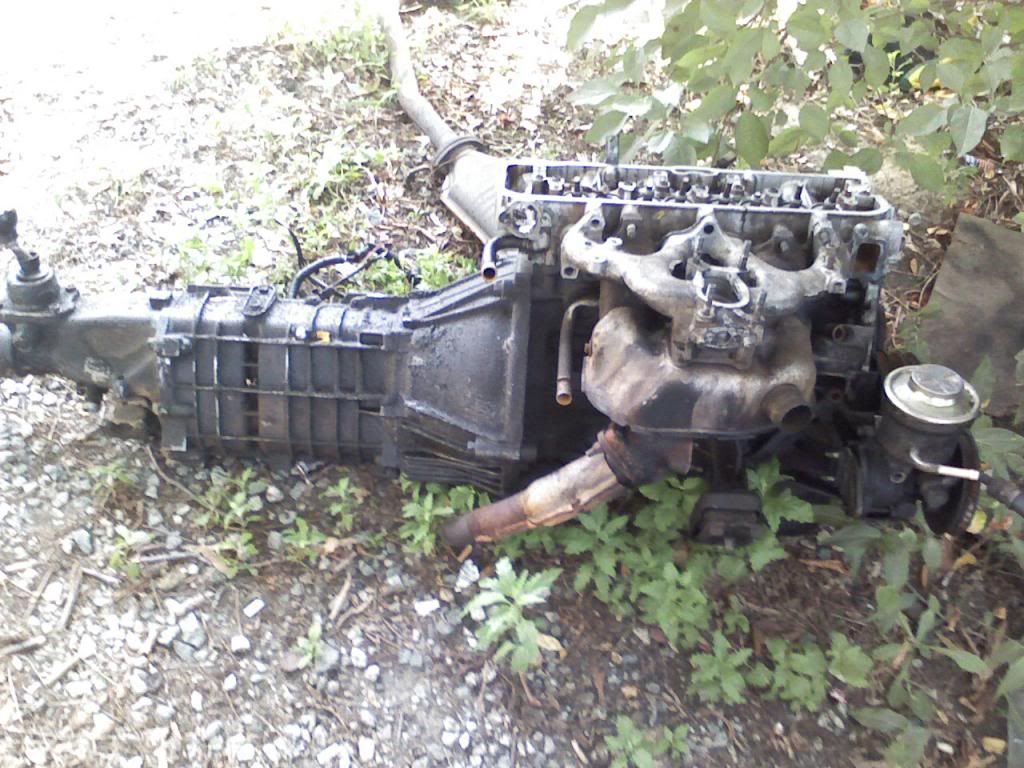
Not listening to his peer's he went ahead an made a move he would half regret for a while (since it meant much more work and that much longer of a time that it would be off the road.) After a quick drive to Virginia a 20v Silvertop made it the basement and the buying spree began.

Image
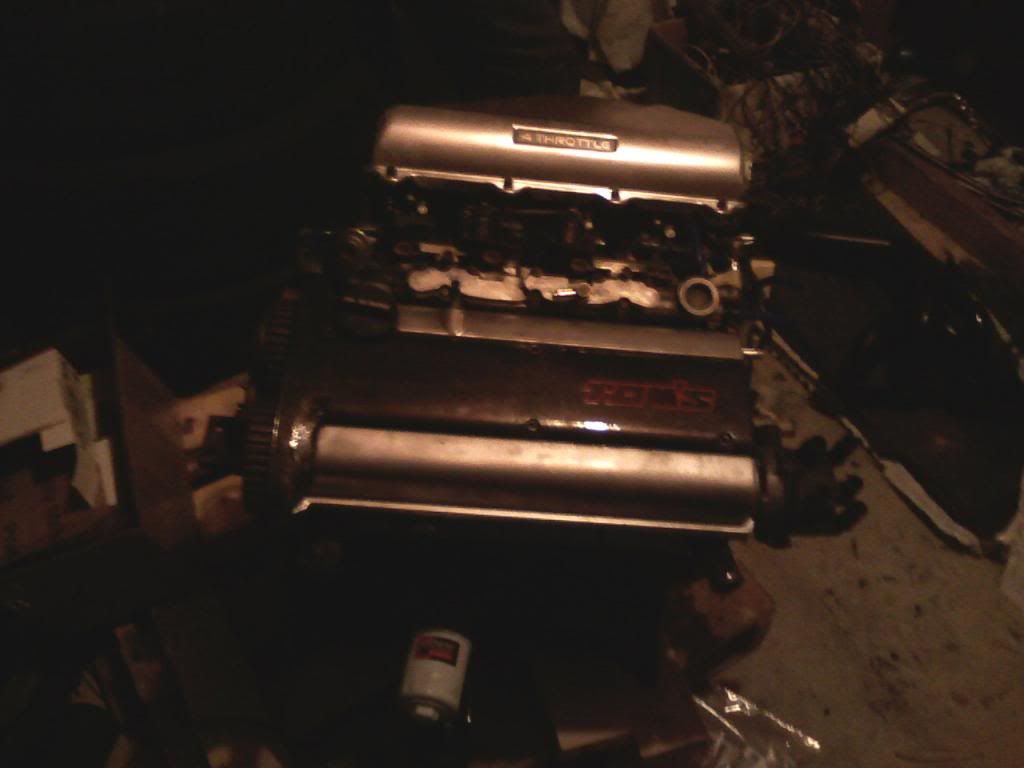
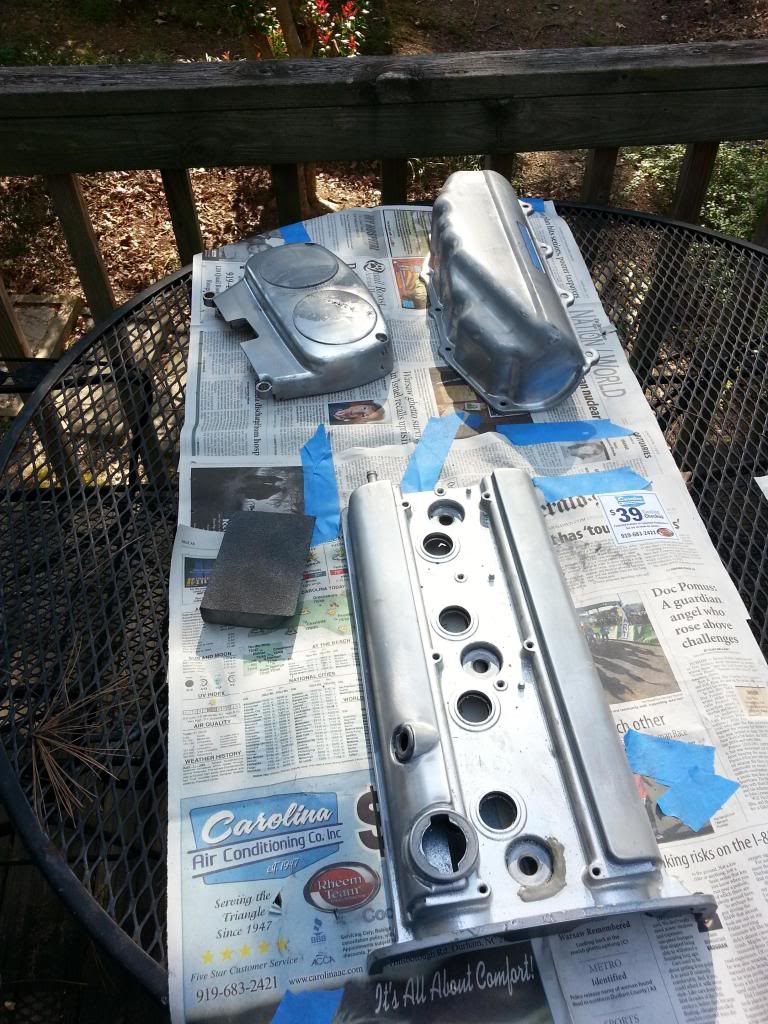
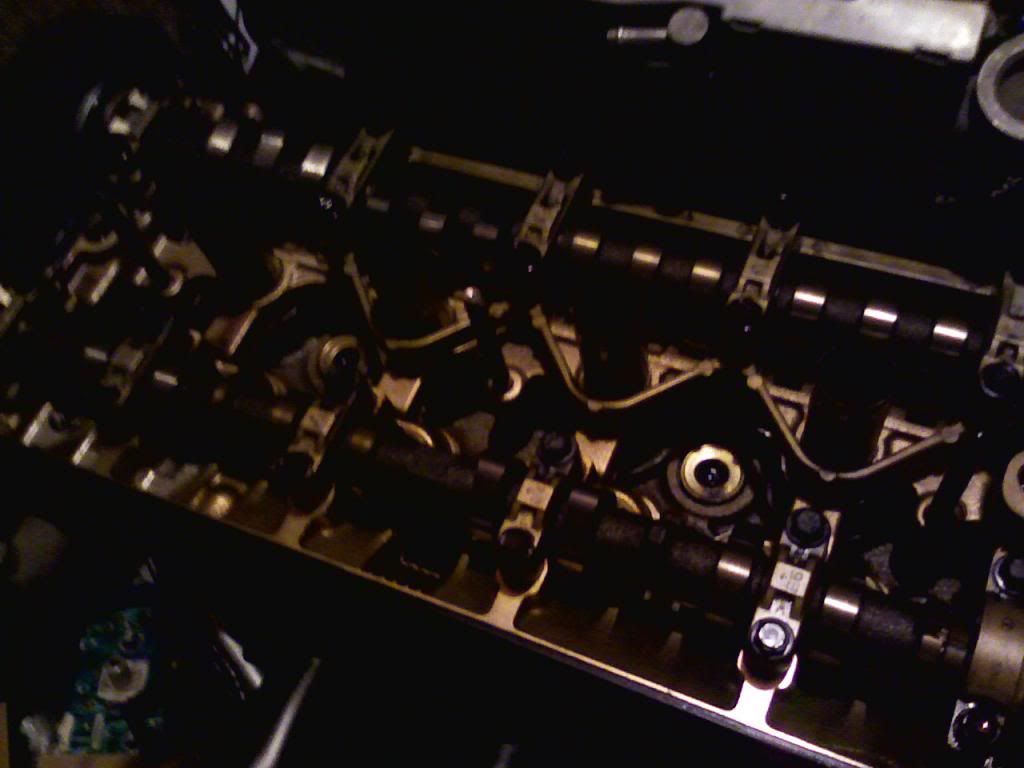
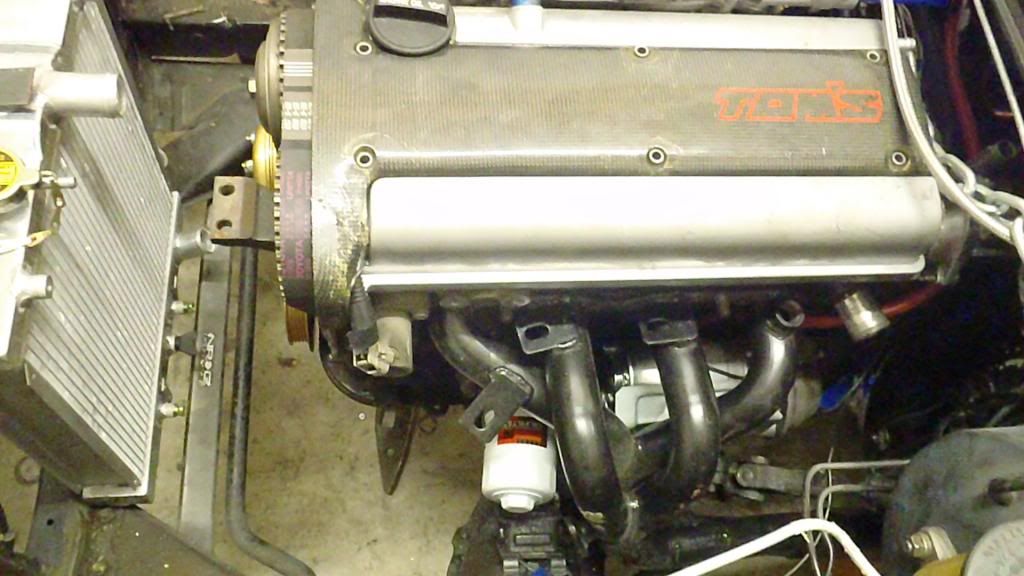
(and it was suprisingly clean inside, not to mention it came with that Tom's carbon fiber plug cover)
Image

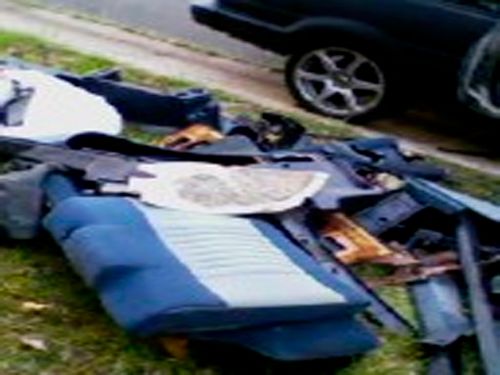
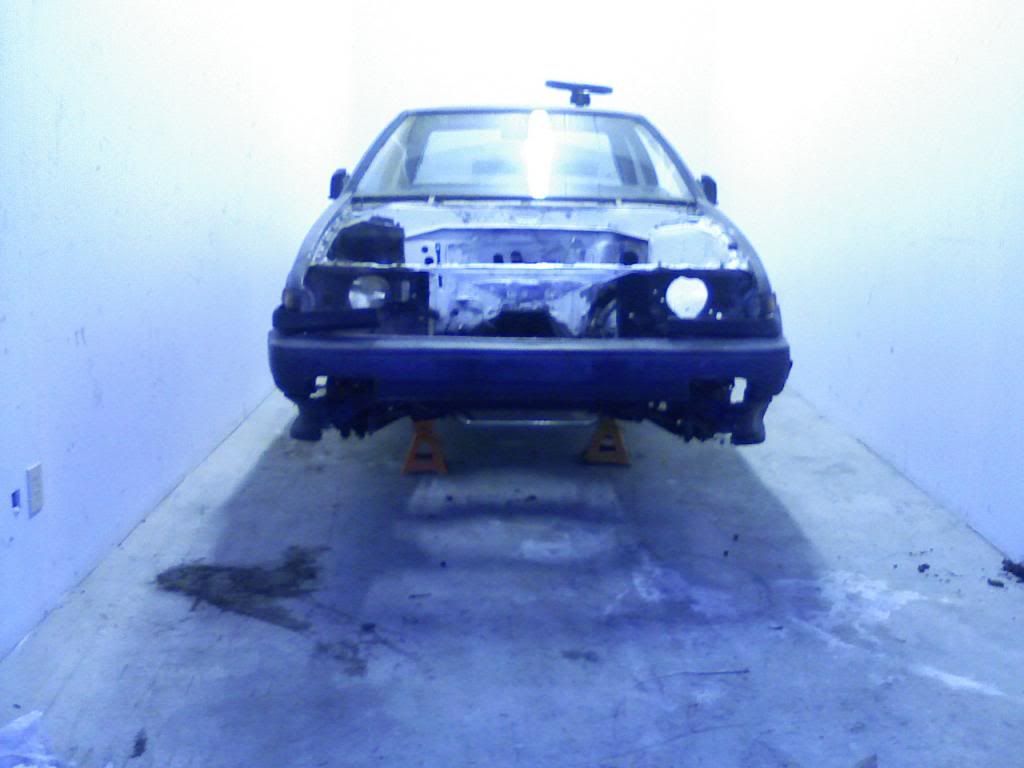
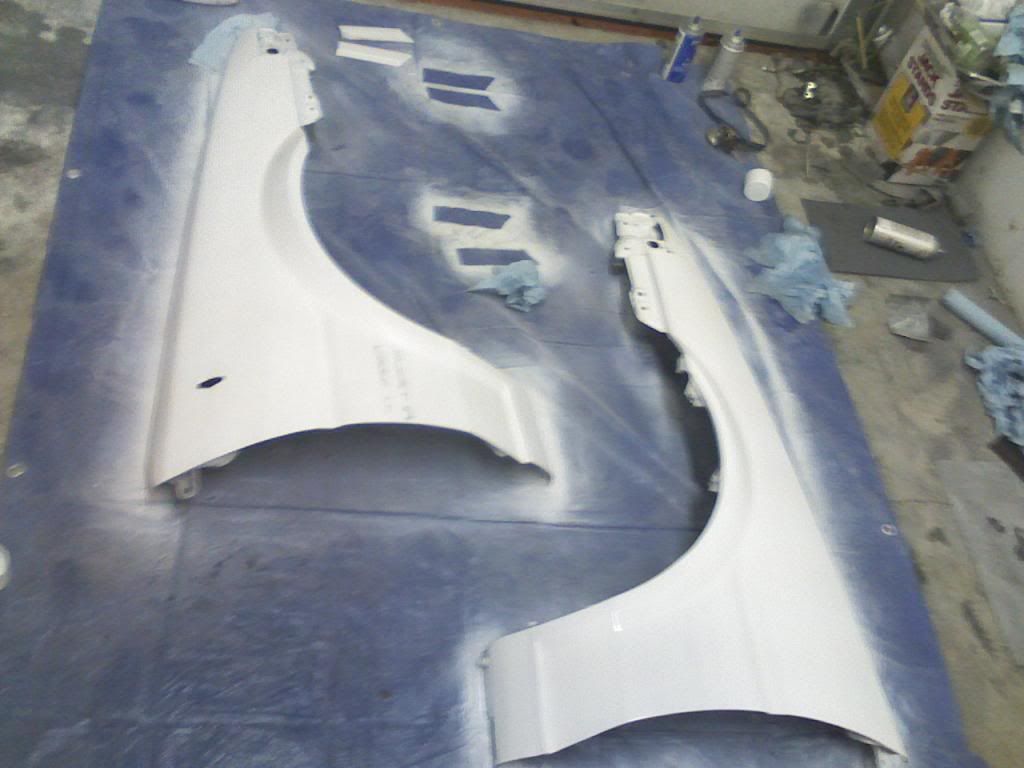
But, before the motor could go in it was time to make some major adjustments to the body. If she was going to drive like a high-class lady she was going to look the part. Though she was off the streets she couldn't get away from her main job at the time... stripping.

(sorry these pics are terrible, they were taken on a crappy cell phone circa 2008)
Image
Image
Image
Image

After some jealous neighbor's got tired of her teasing antics I awoke one day to a new sticker on her; move the car or the city would move it for me. Not risking that fate it was time for her to join me in college. Granted, she would sit in the back of a frat house but it wouldn't be the first time a girl stripped down to nothing back there. In her new home it was time to continue as planned.

Image
Image
Image

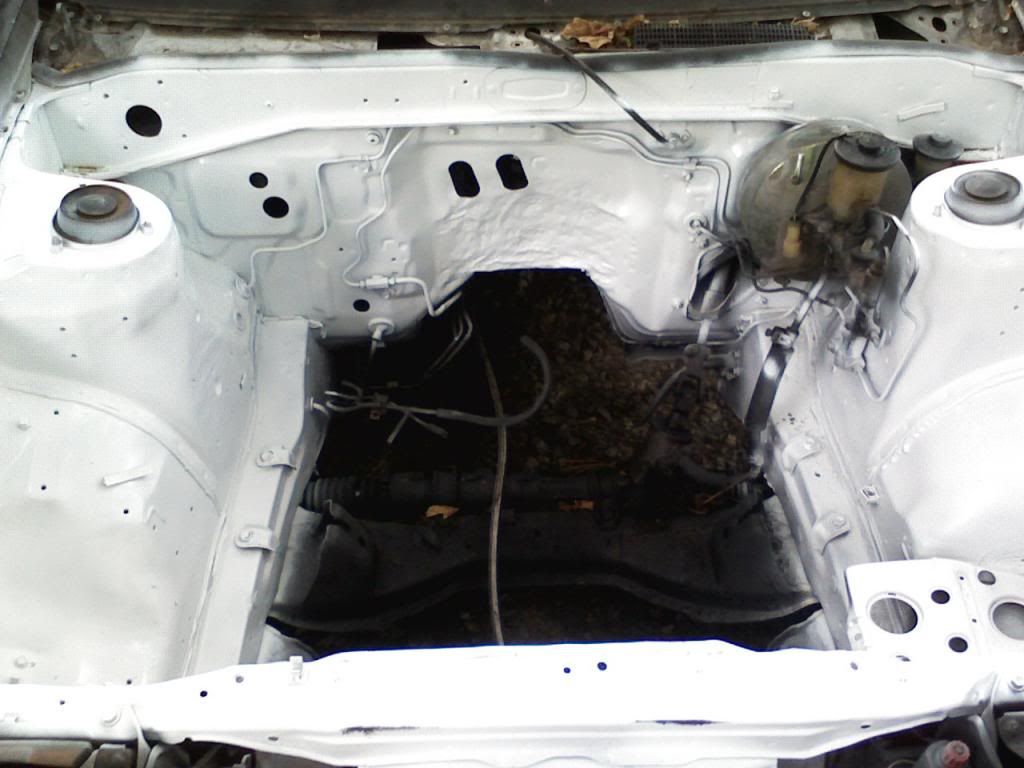
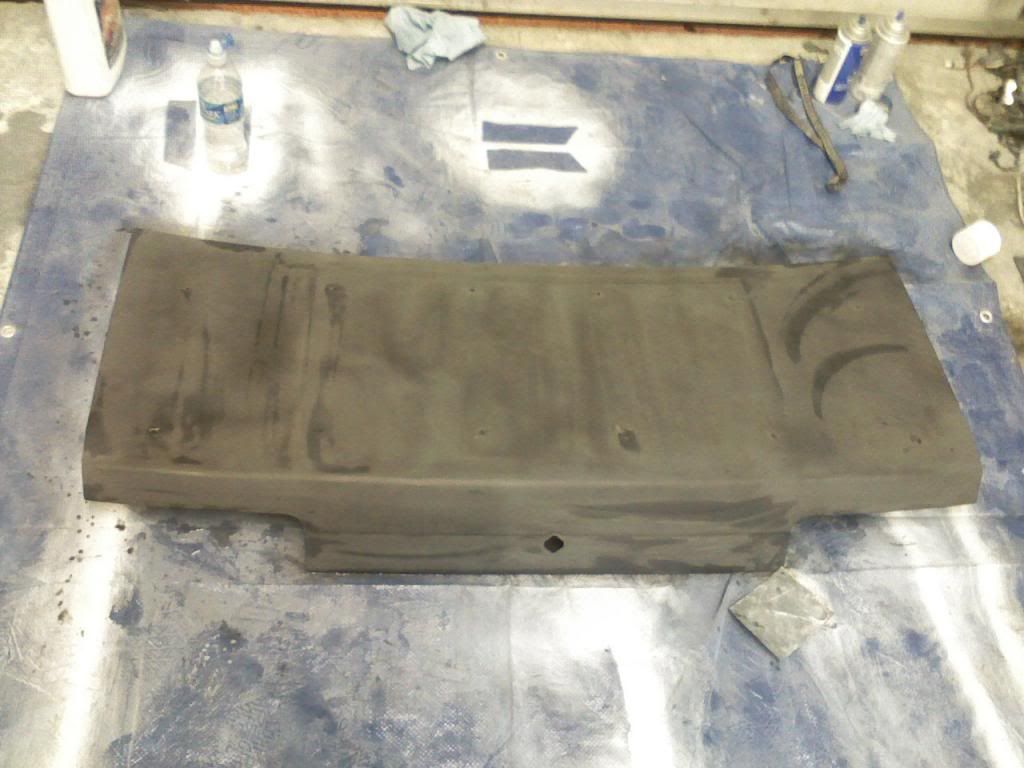
after some de-greasing and entirely too much anticipation, the shell got a prime coat and the engine bay got a glimpse of what would come (though the job was not done very well at all and there may have been some beverages consumed by the helping hands)

Image
Image
Image
Image

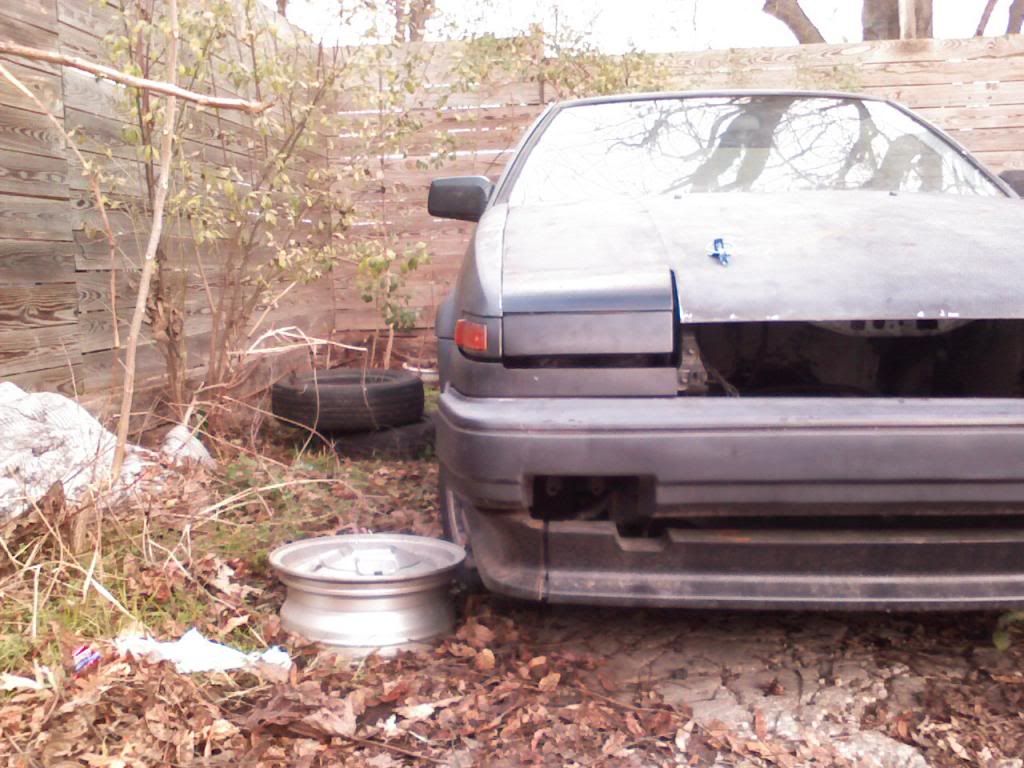
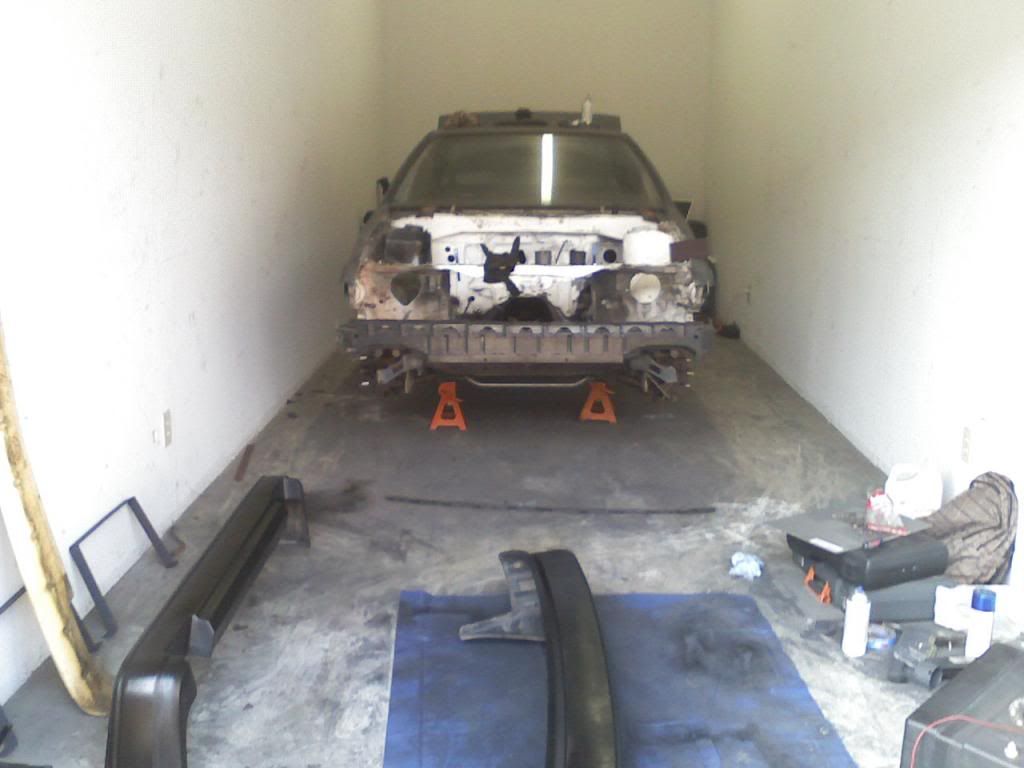
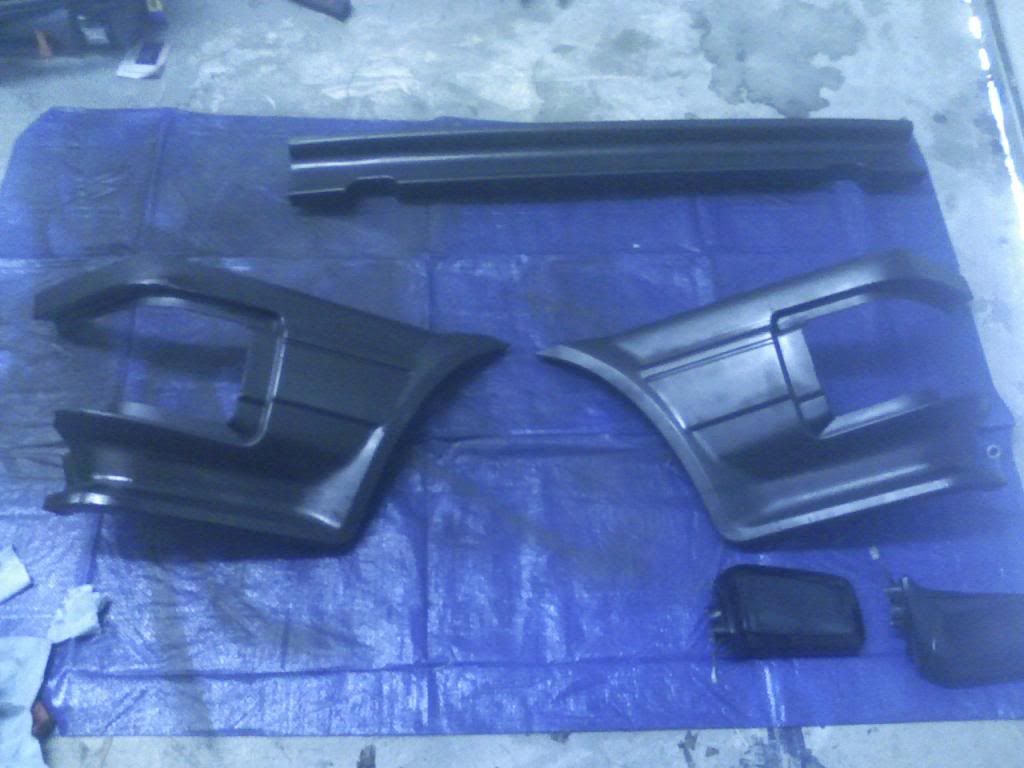
While at the frat house some purchases were made and a decent pile of parts started mounting up. Everything from a new fuel tank, lines, pump, filter, etc to handle the EFI system for the 20v to random fun parts on the outside like a gts front end, new headlights, suspension stuffs, and things of that nature. Sadly though, she didn't handle the frat life too well and it was time to head to a new home back near the parents house. This time though to keep jealous people from placing stickers all over her she would be locked up in a storage shed.

She likes her new home, but is tired and confused from her travels
Image

time to get to work, she won't build herself
Image
drift spares?
Image
Image
Image

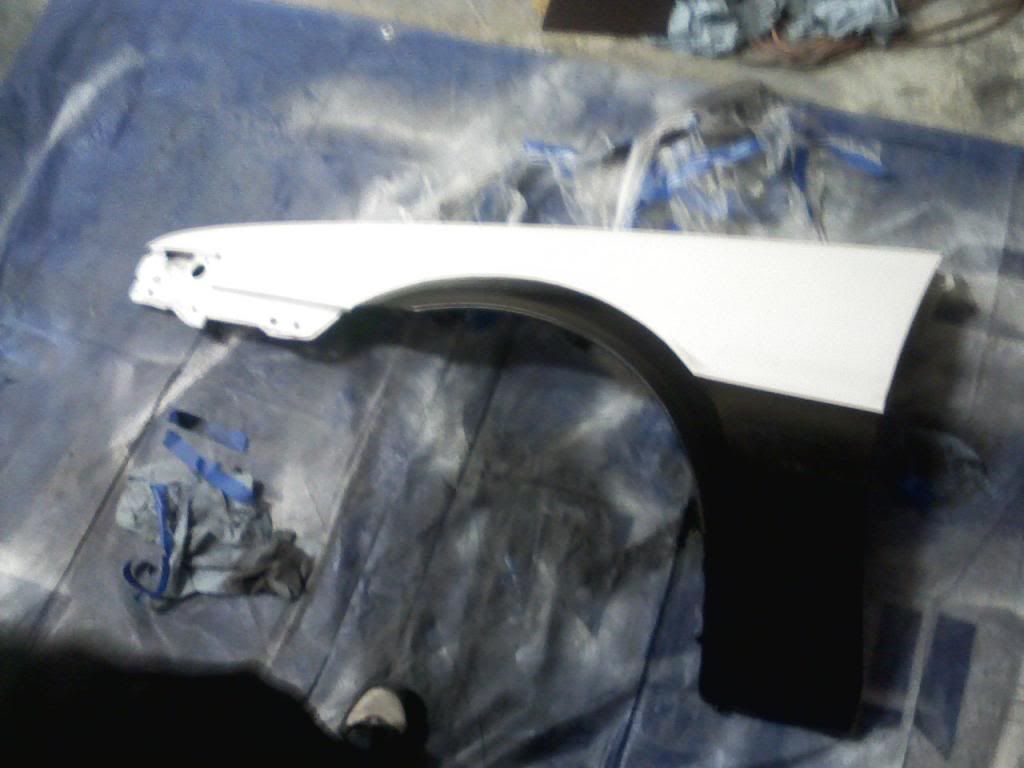
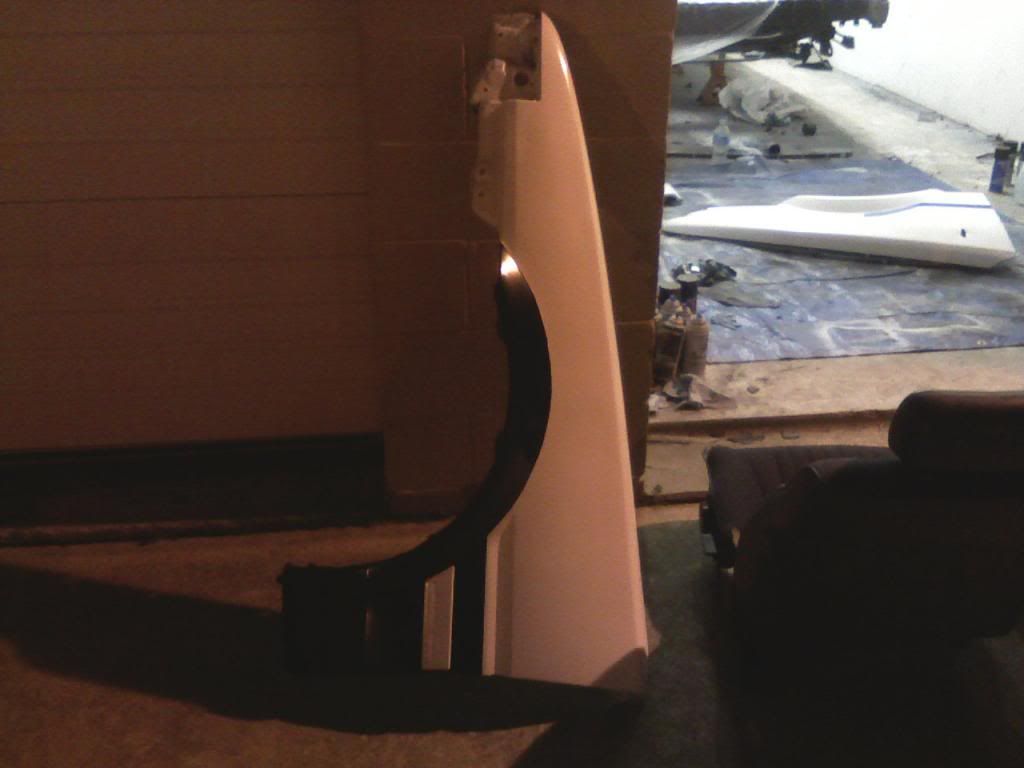
Well, classes started building up and time started running low so it was time to start working on her out beauty. The silver was nice and all but it was time to take her back to her roots; enter Panda. Since she will be around quite a few crazy drivers and my pockets are not that deep we went for the patient rattle can option. If you take your time it actually doesn't look too bad (considering.)

Image
Image
Image
Image
Image
Image
Image
Image

The inside was to be kept to a minimum as far as looks, going on the idea of the simpler the better (and lighter.) Opting for the dark secrets of her past she donned a new black stripped interior.
Image
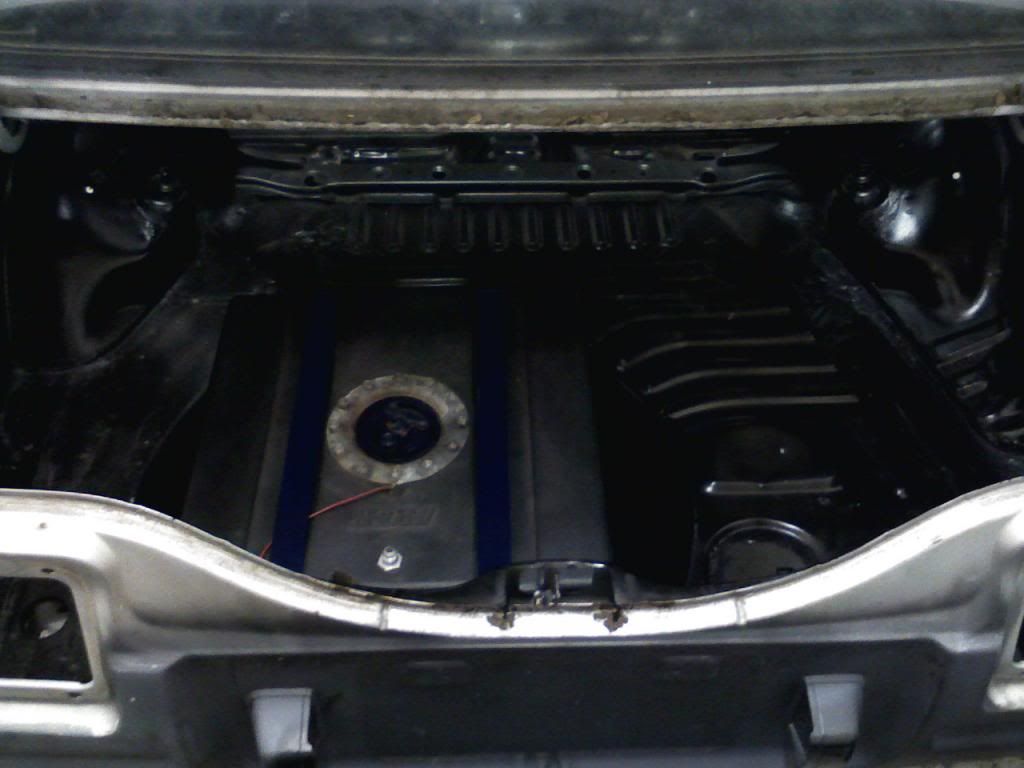
Oh look, a 13 gallon RCI fuel cell w/ foam. Just the little things that keep the spare tire well company
Image
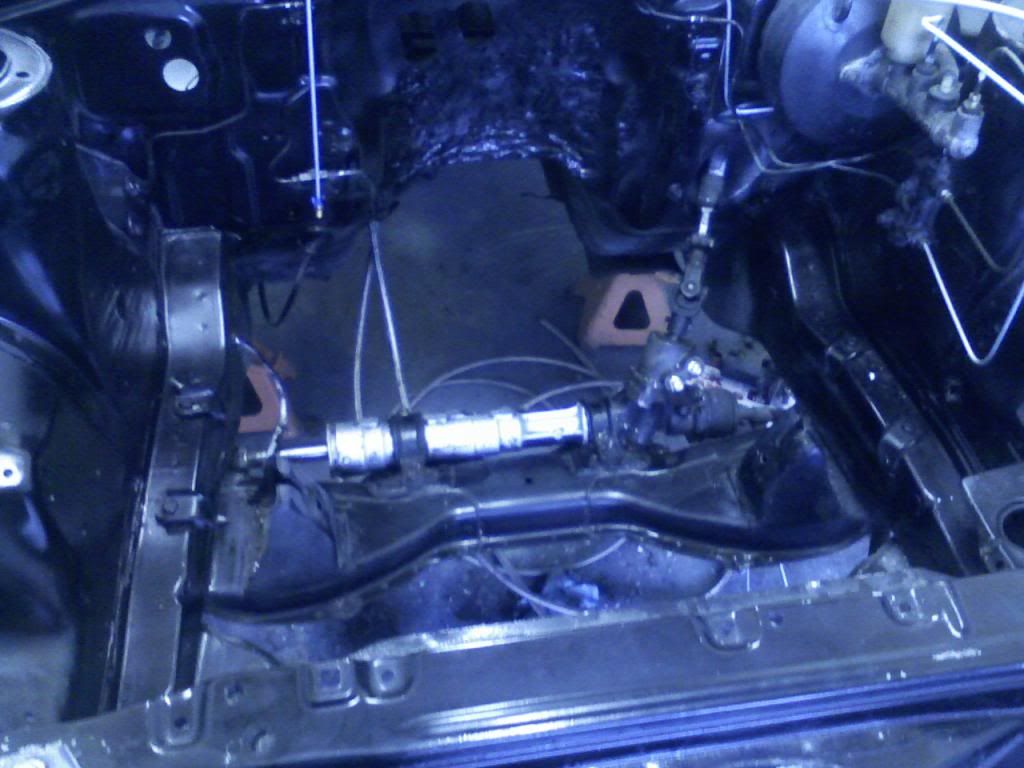
as much as it hurt to do it, she needed some rough love to get the motor to fit and the bay needed to match the cabin
Image

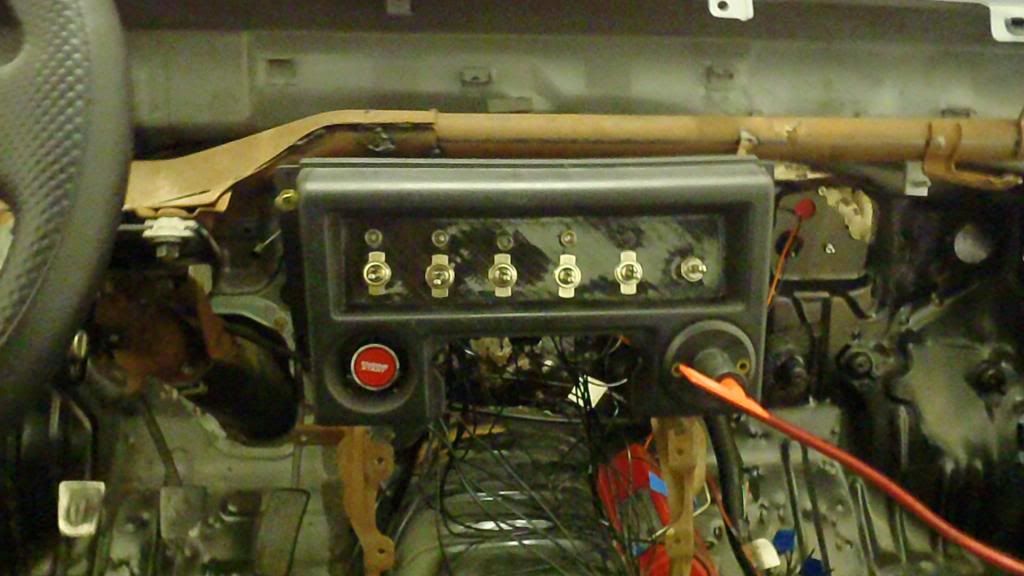
Since the body was stripped all the way down the wires were removed and it was time to start working on the new wiring system. With this, the dash needed a makeover and the center console was to become the headquarters for battle command.
Image
rough draft of the main switch panel
Image
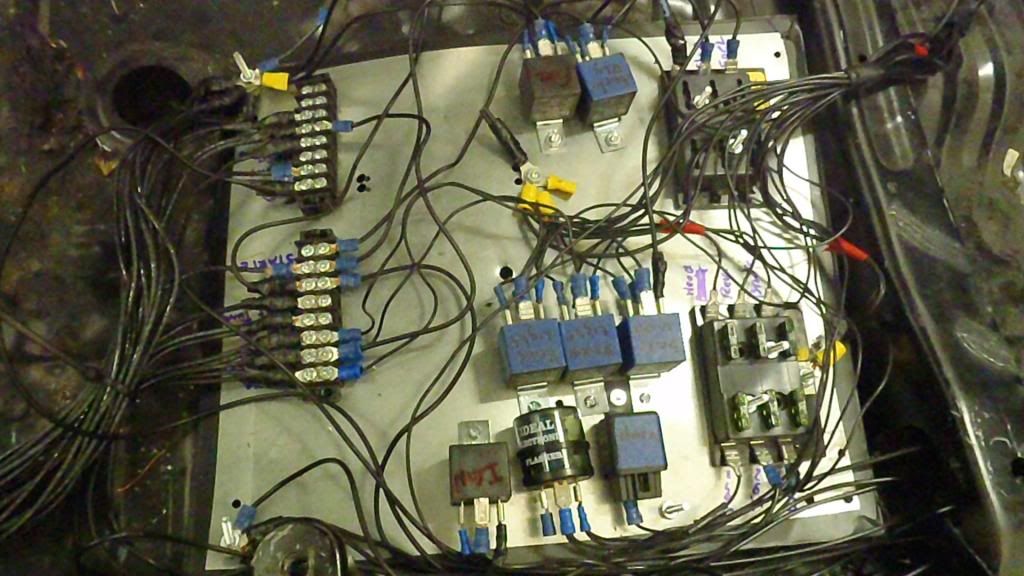
mock of the board. This will be moved to a different location after current plans are finished (it will also look a lot cleaner and have wires that actually have some color)
Image

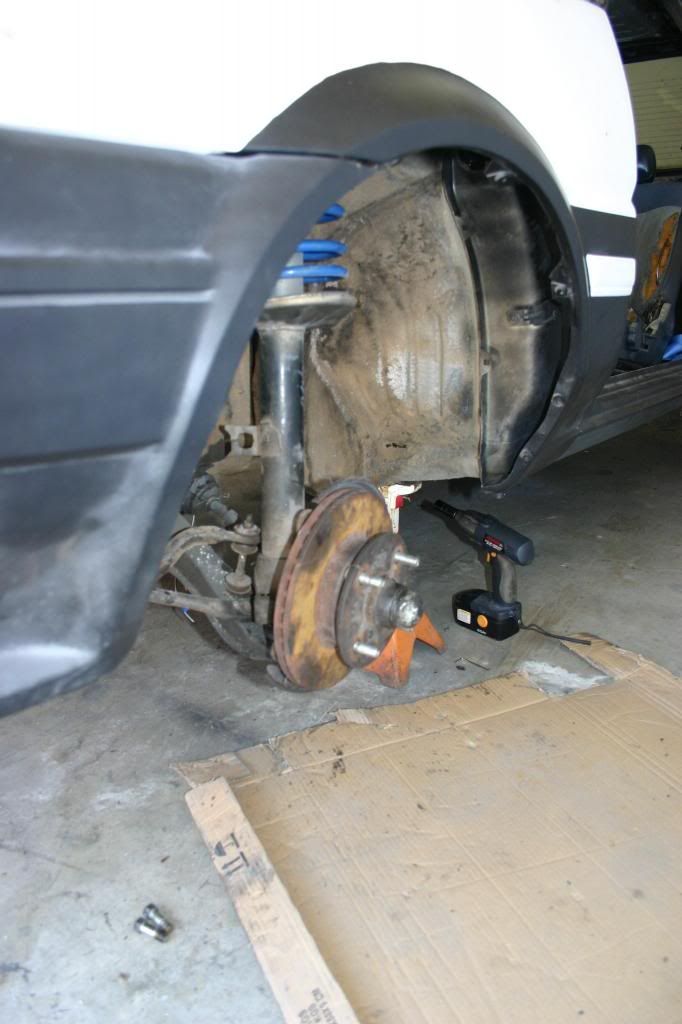
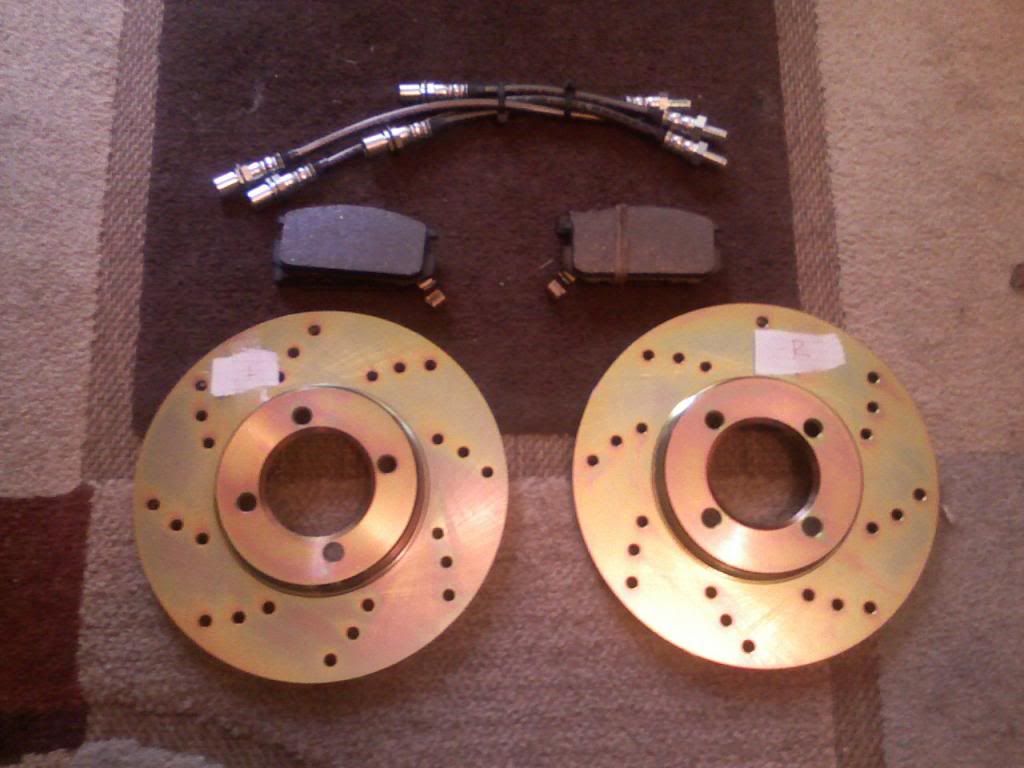
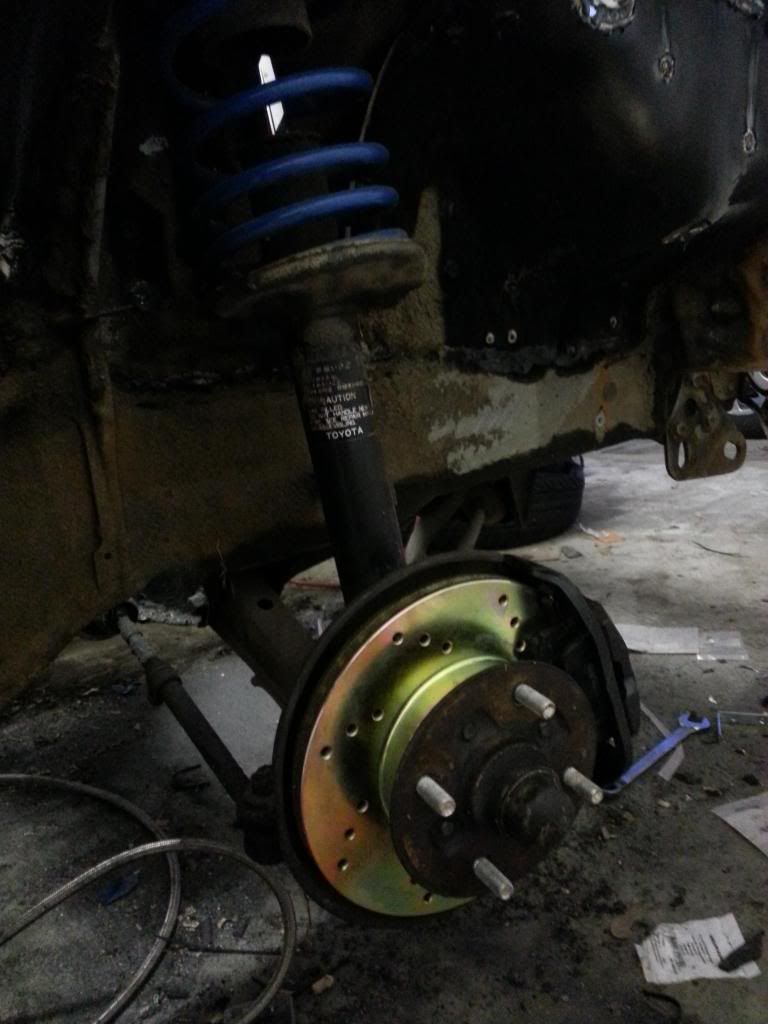
After looking at the brakes it seemed that it was about time for a little upgrade, as well as adding some nice springs while she waits for coilovers (one day..... one day)
Image
Image
Image

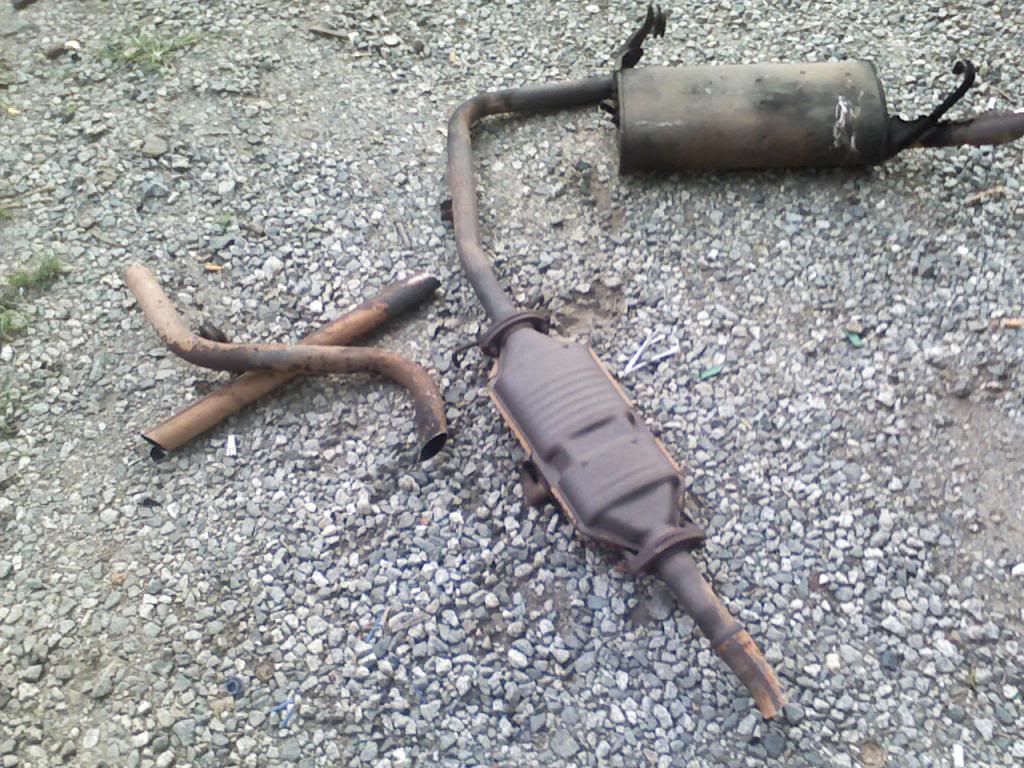
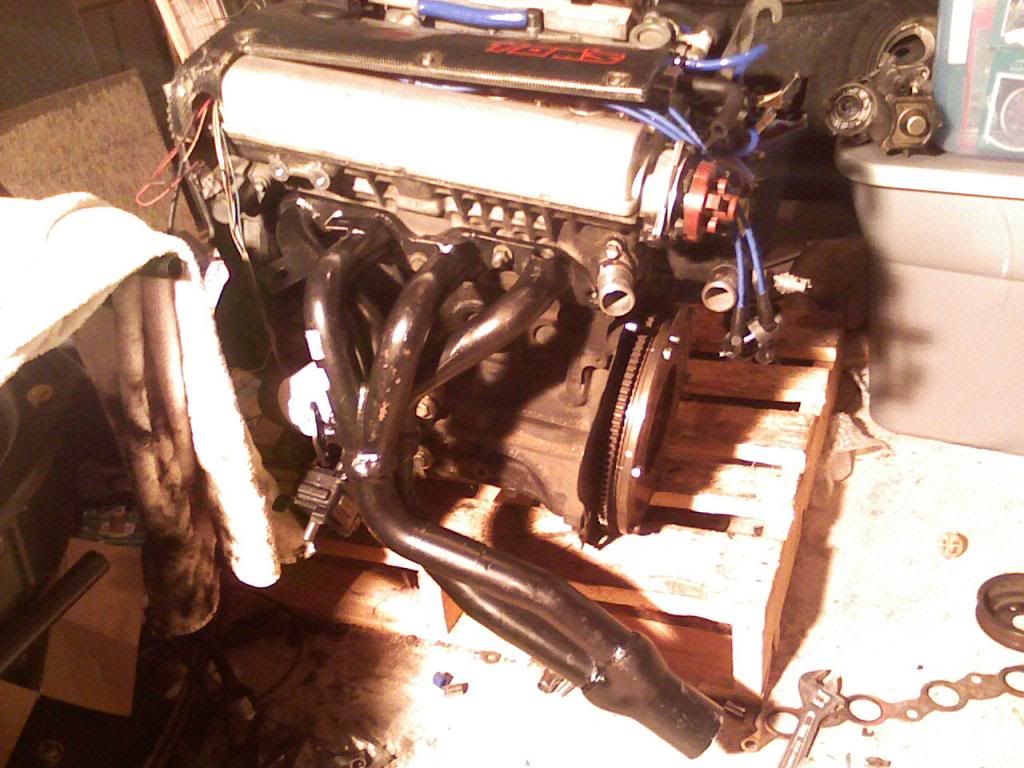
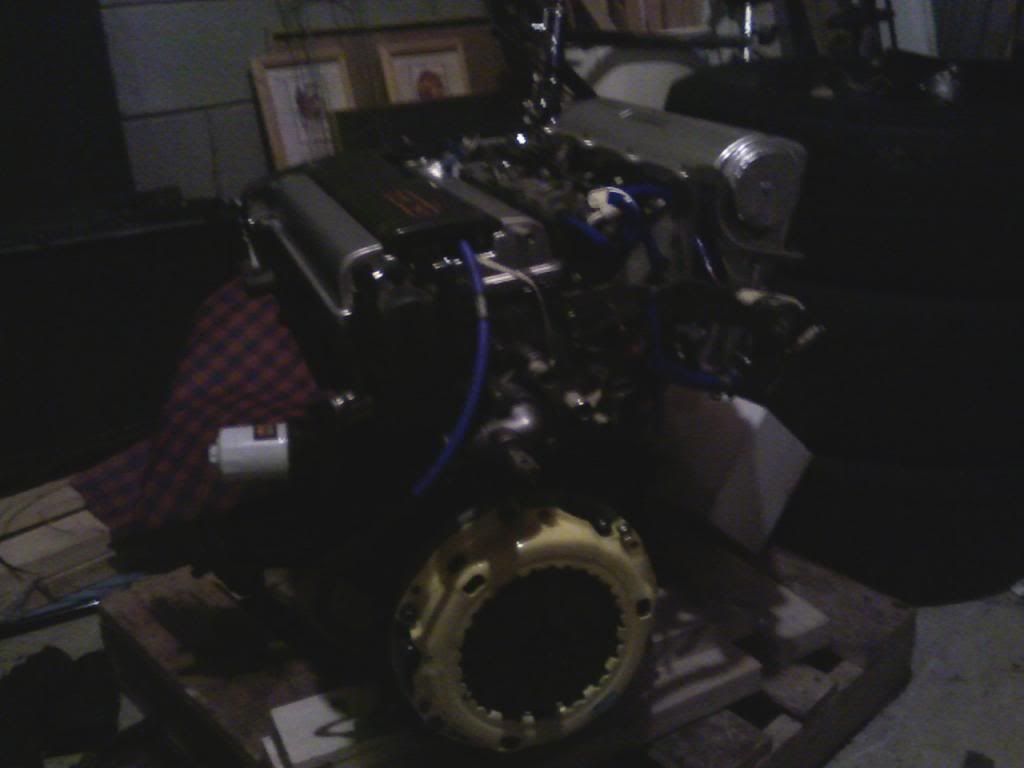
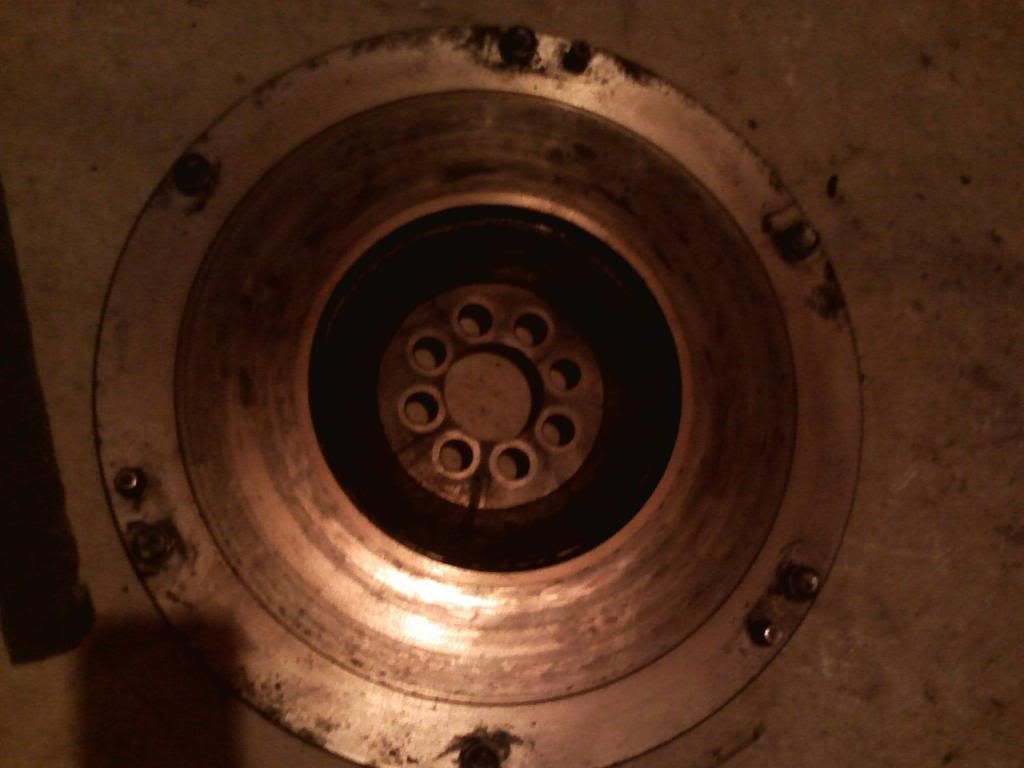
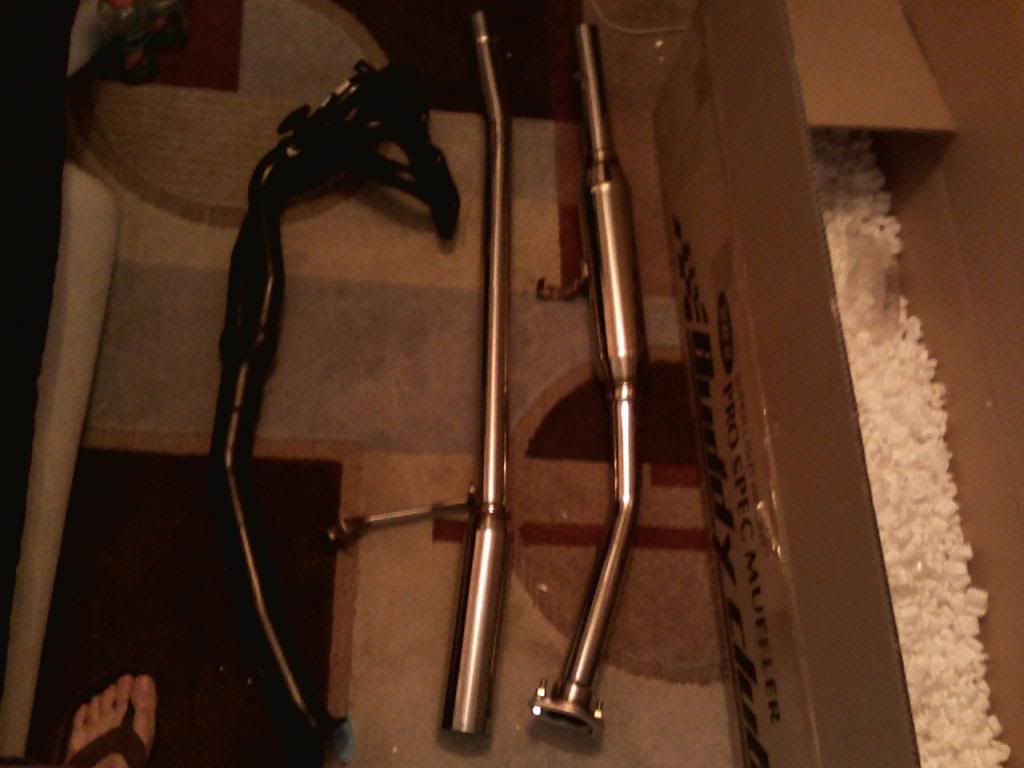
While her body was busy getting a makeover the heart was earning a few new additions as well. Just to name a few the motor received a set of PASS underdrive pulleys, a new starter, alternator, new timing belt, NGK Iridium Plugs, Nology Hotwires, MSD 6A Ignition, MSD Coil, a Fidanza lightweight flywheel, ACT 6 puck unsprung clutch kit, Cusco Motor and Tranny mounts, removed the power steering and a/c condenser, and a nice aluminum half radiator to keep it cool, and PaceSh****r headers (for now) to go to a test pipe and Buddy Club Spec II exhaust.
Image
Image
Image
Image

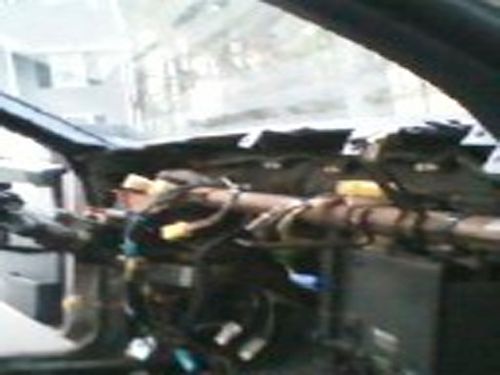
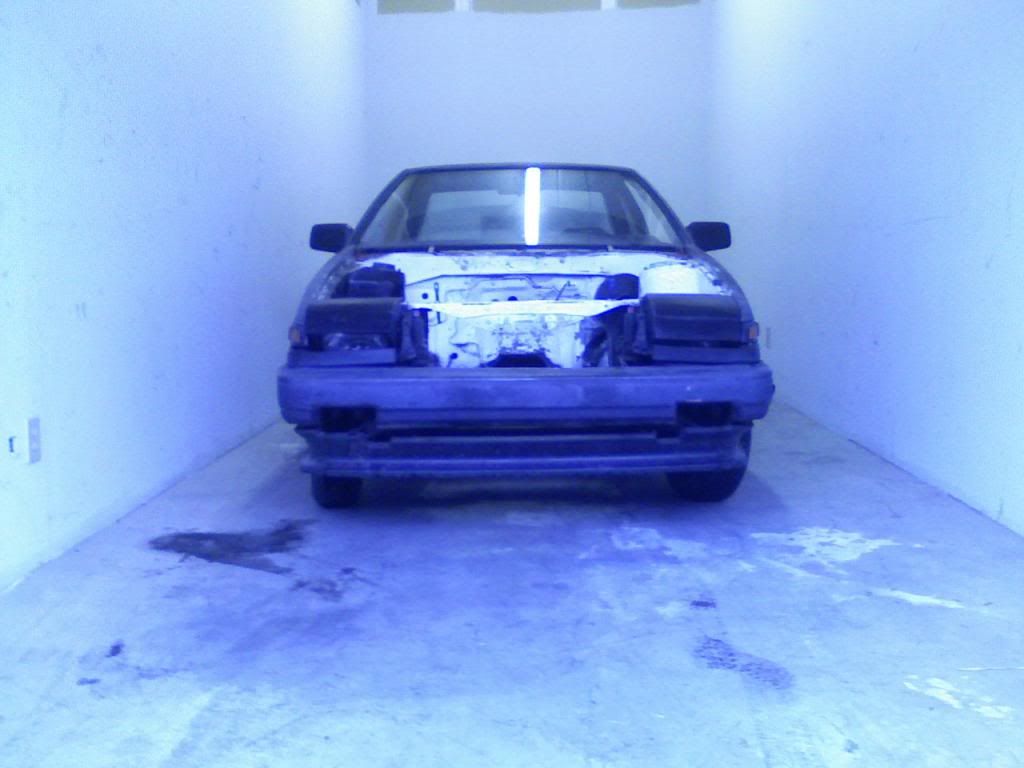
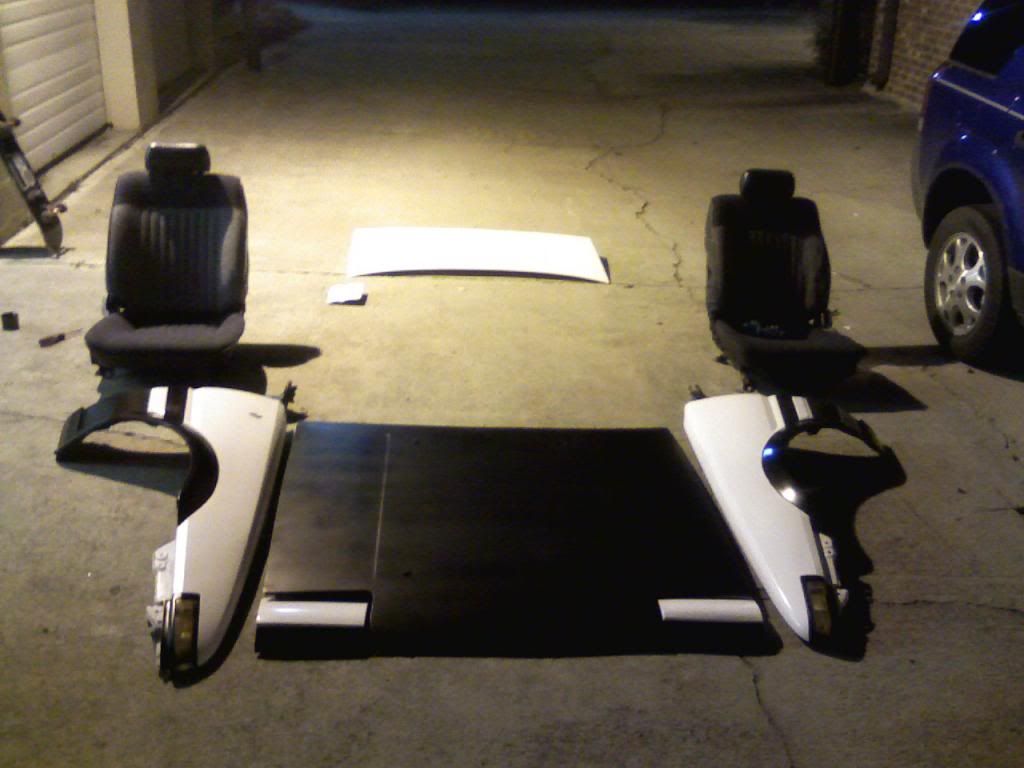
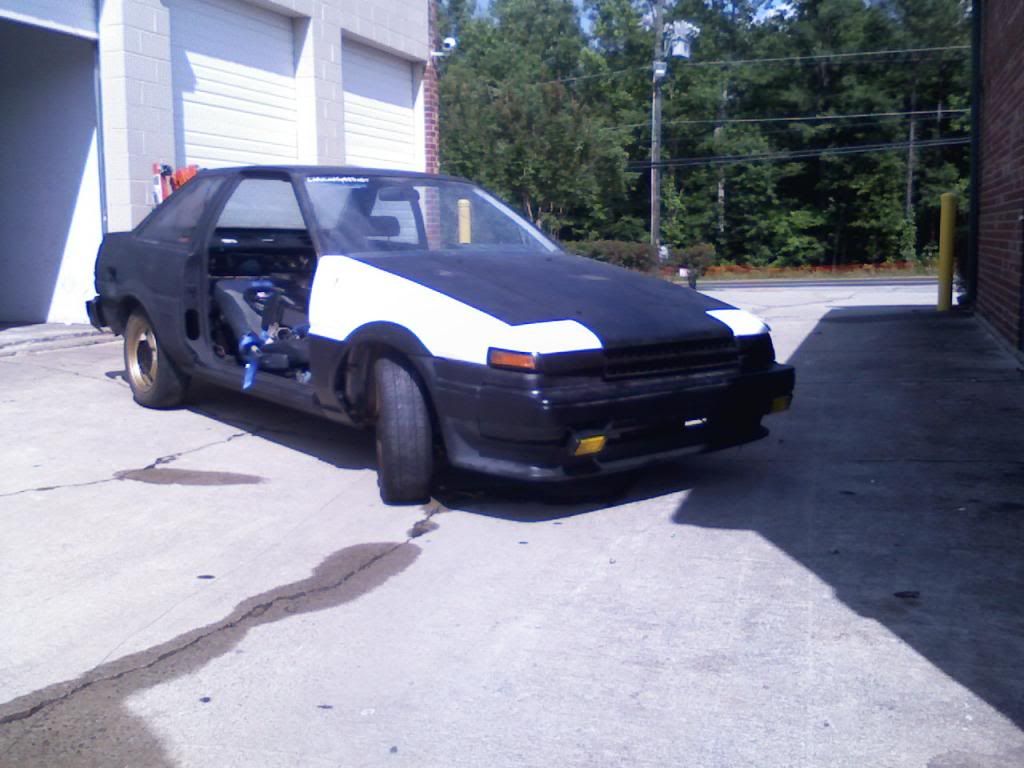
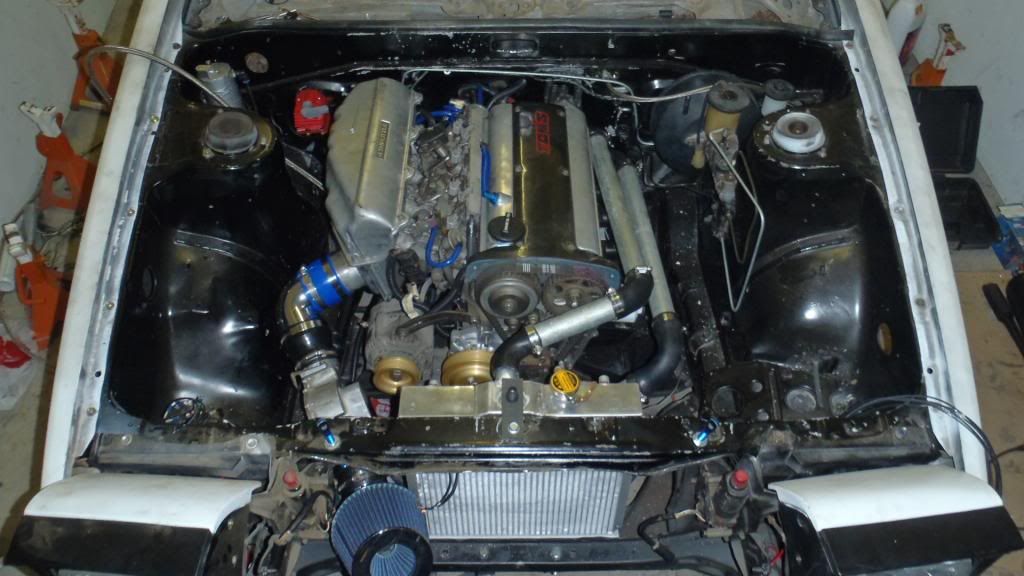
When the body was about ready for a test fit we brought the motor over to the car to see if the transplant would take. She rolled herself out into the sun for the first time in about a year and a half as her servants made some room behind her.
Image
Image
Image
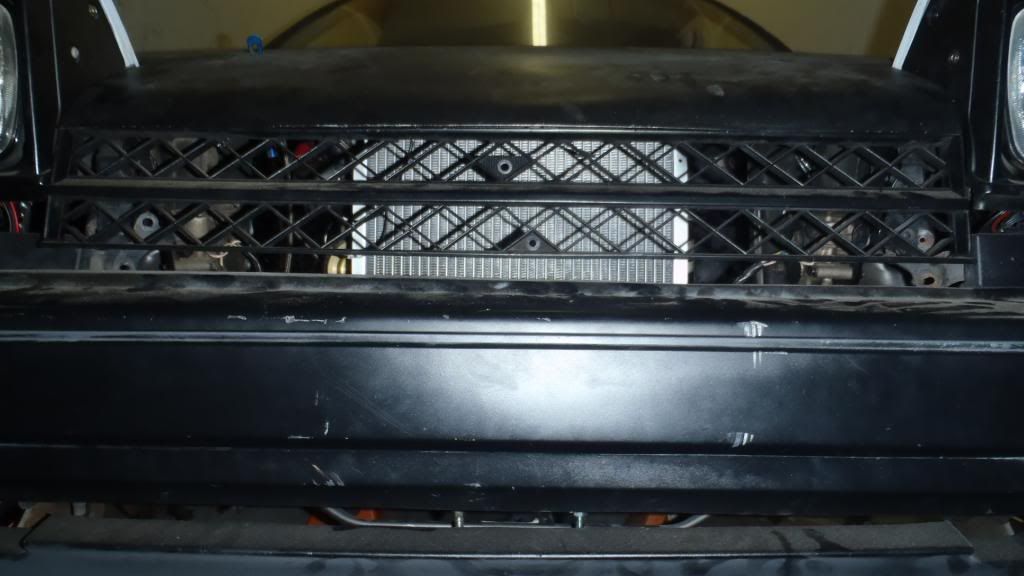
More tragedy struck however. When the motor was being lowered in it didn't take long for everyone within a mile radius to hear a loud *crunch* followed by a quick facepalm. The distributor cap was crushed. Though she looked somewhat happy, it wasn't meant to be and the motor had to be pulled. This is the last picture she took with the motor still in place. This allowed for some more testing of other parts so she didn't have to continue getting teased.
Image

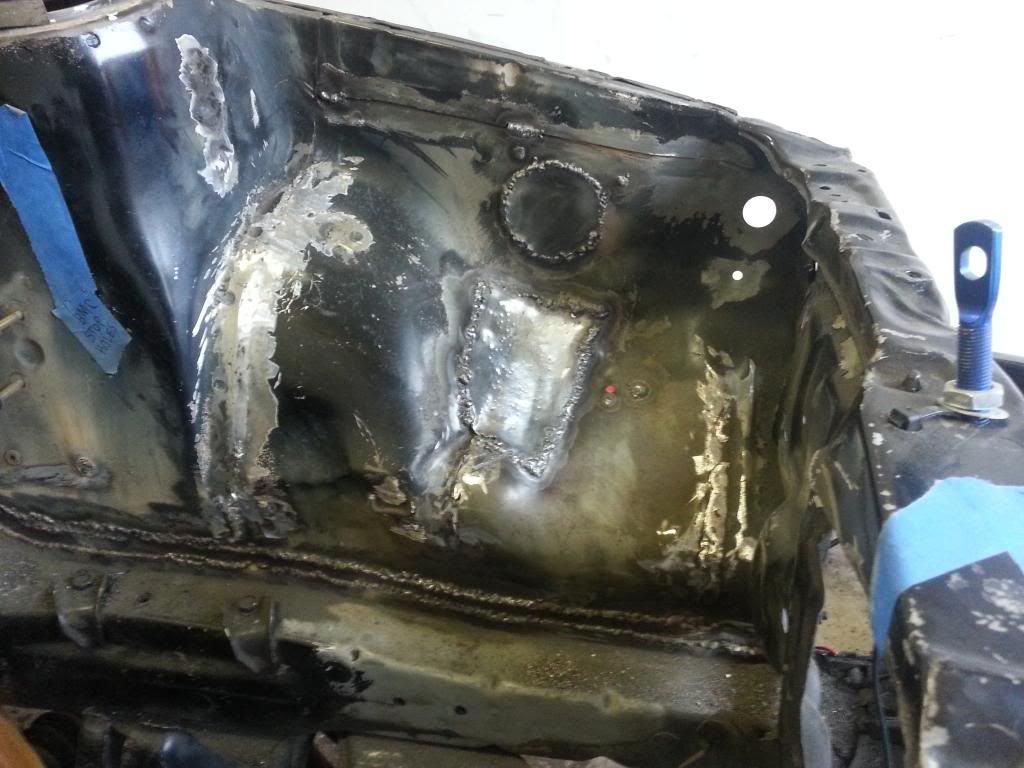
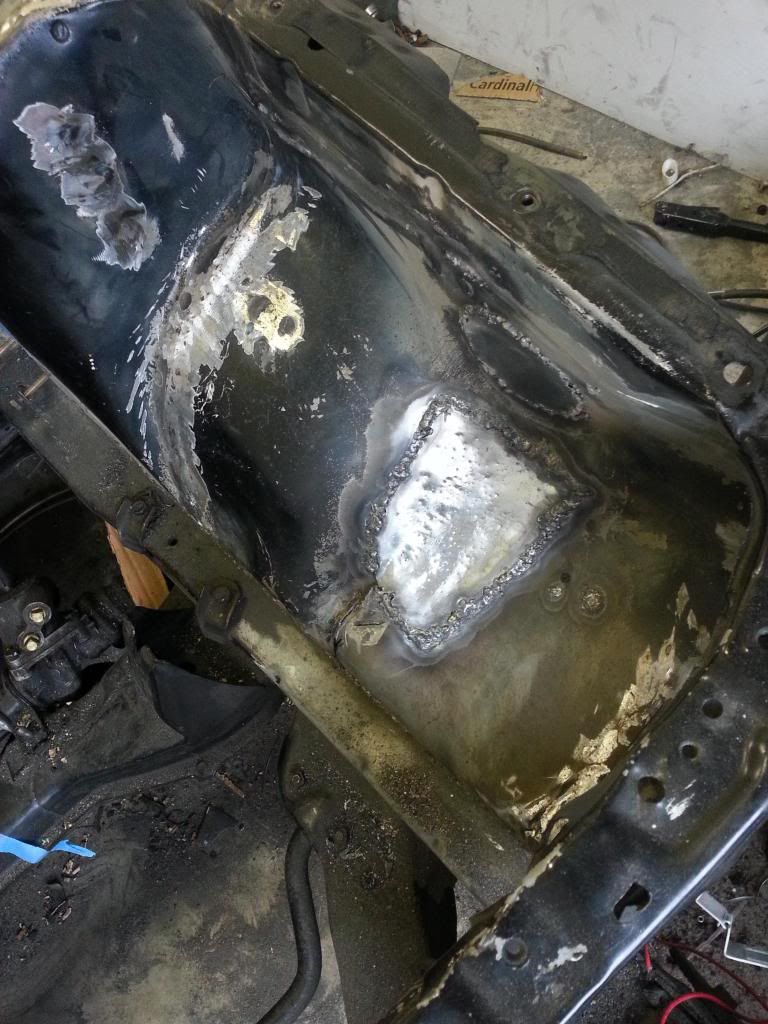
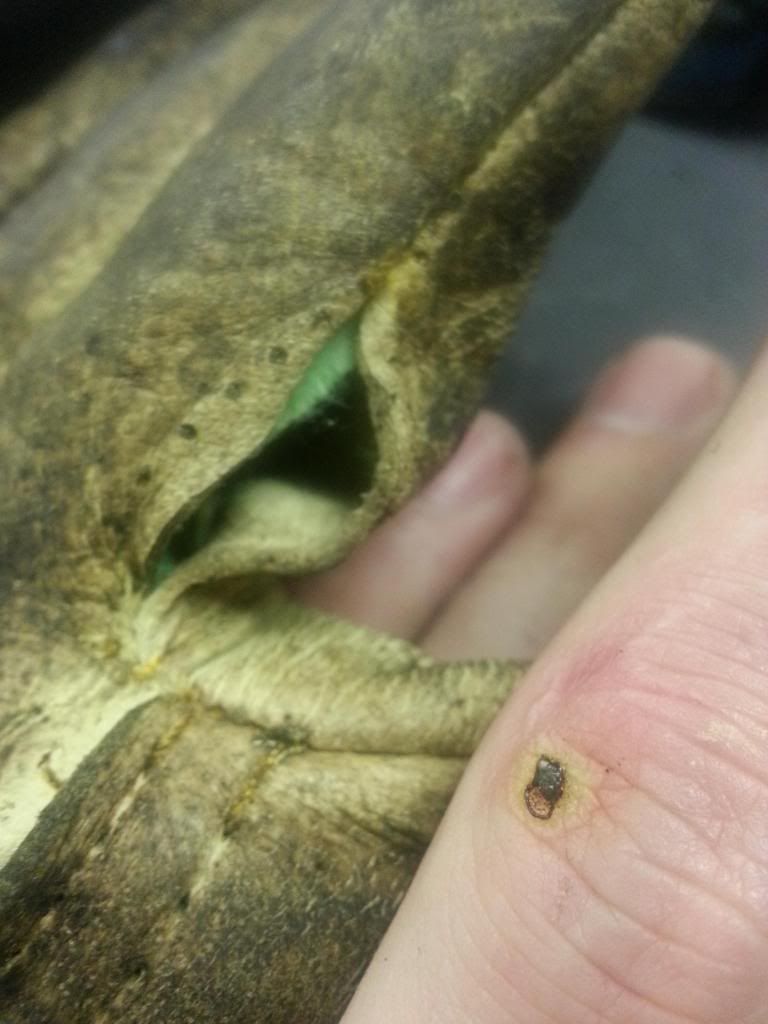
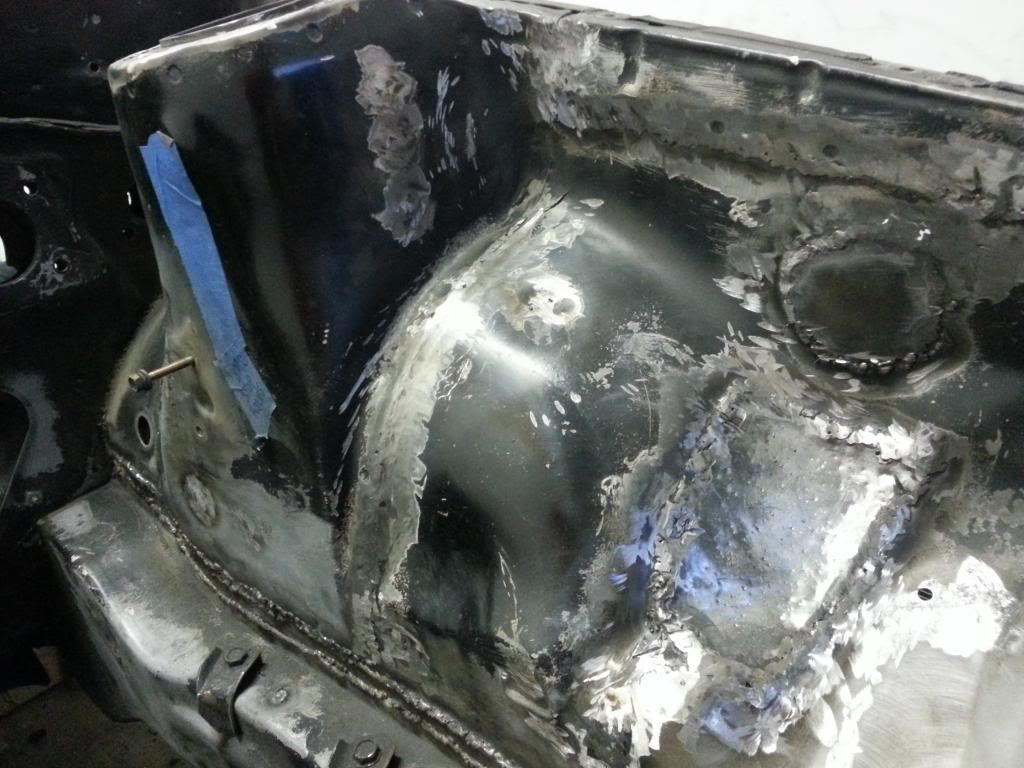
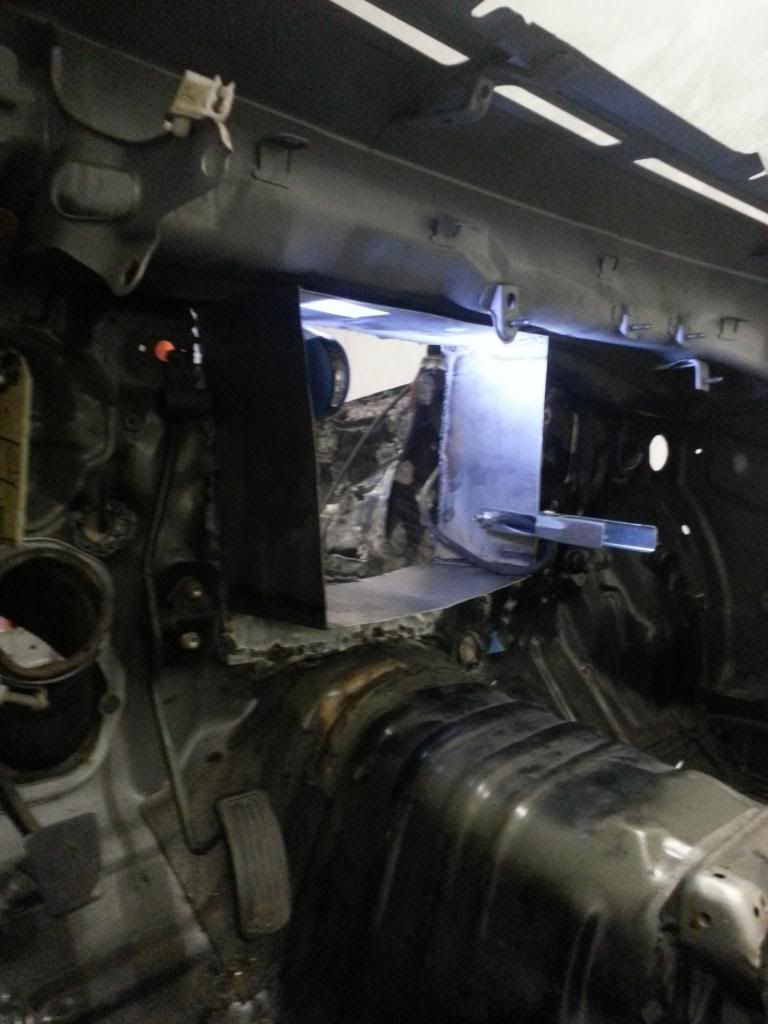
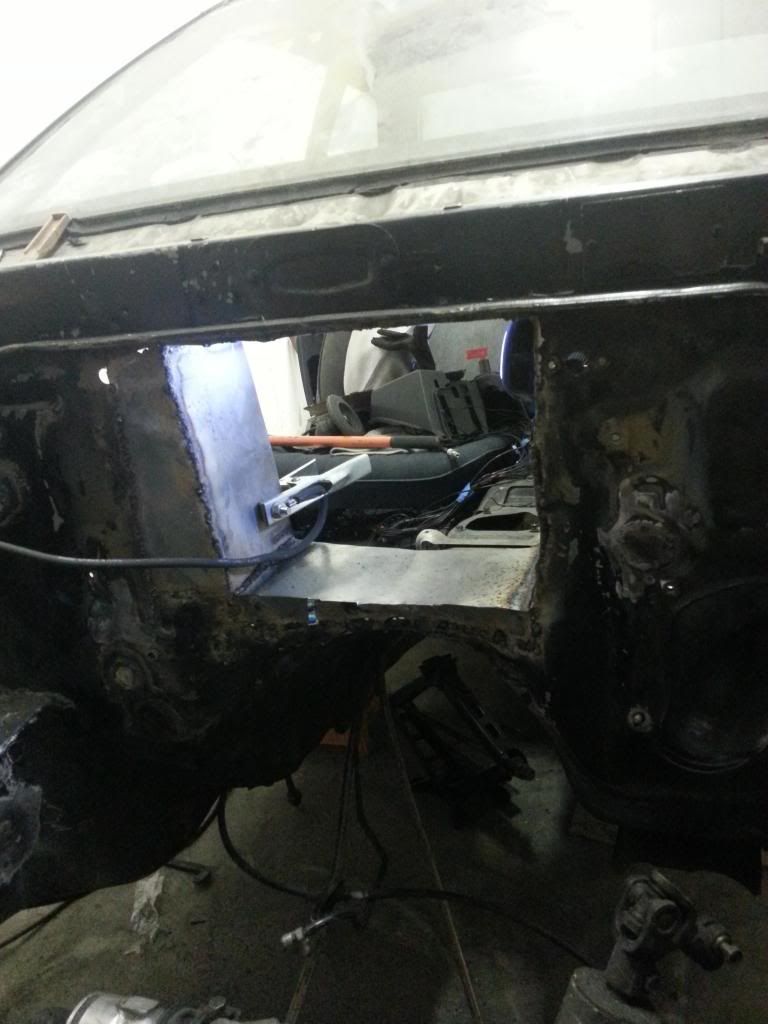
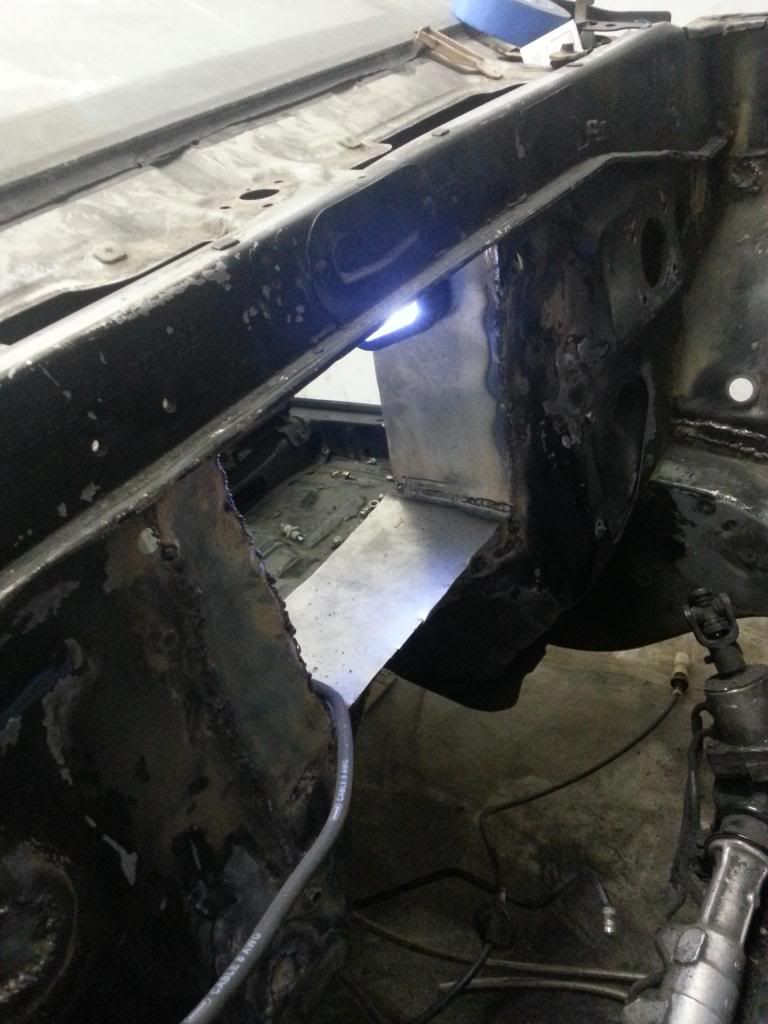
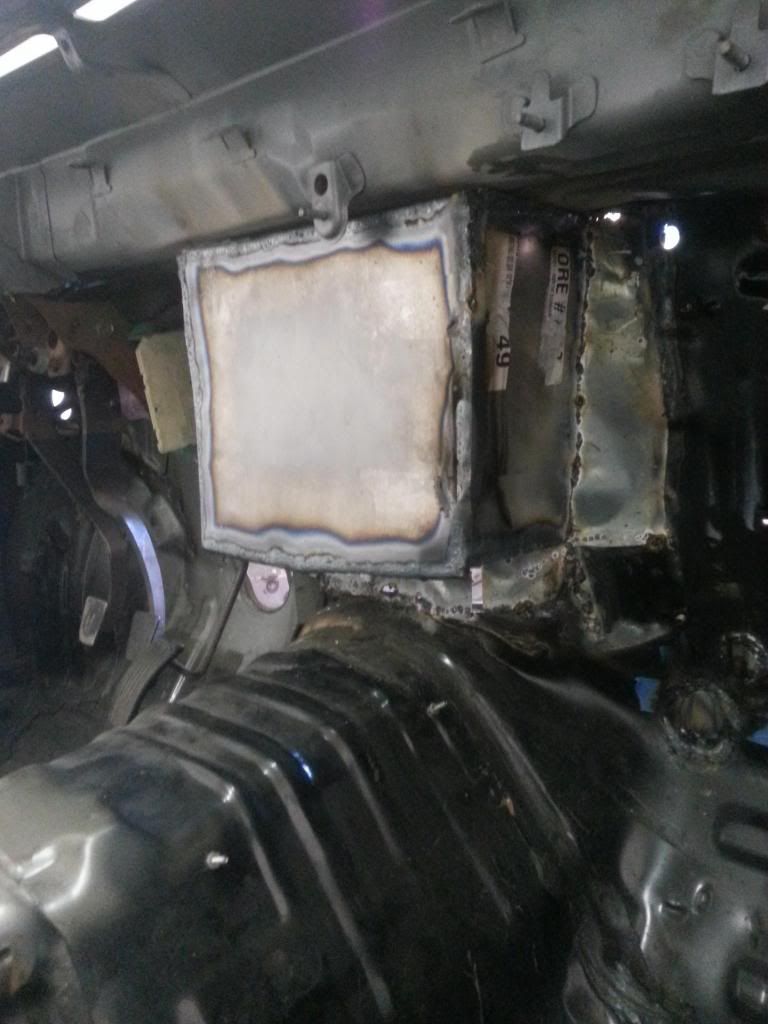
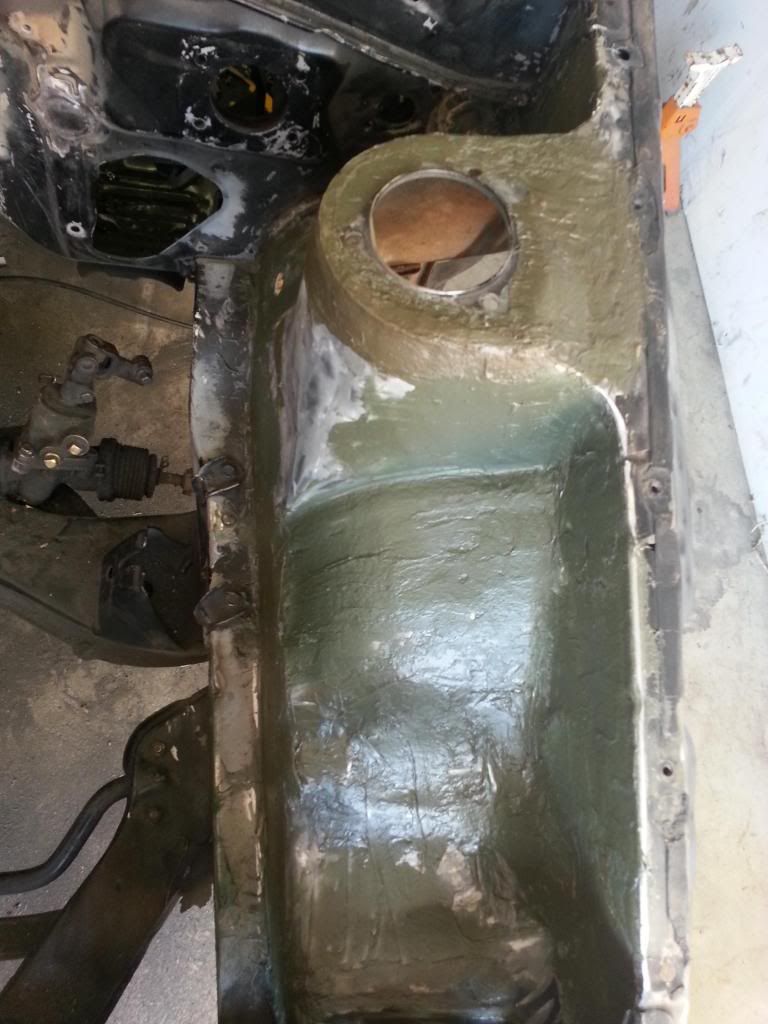
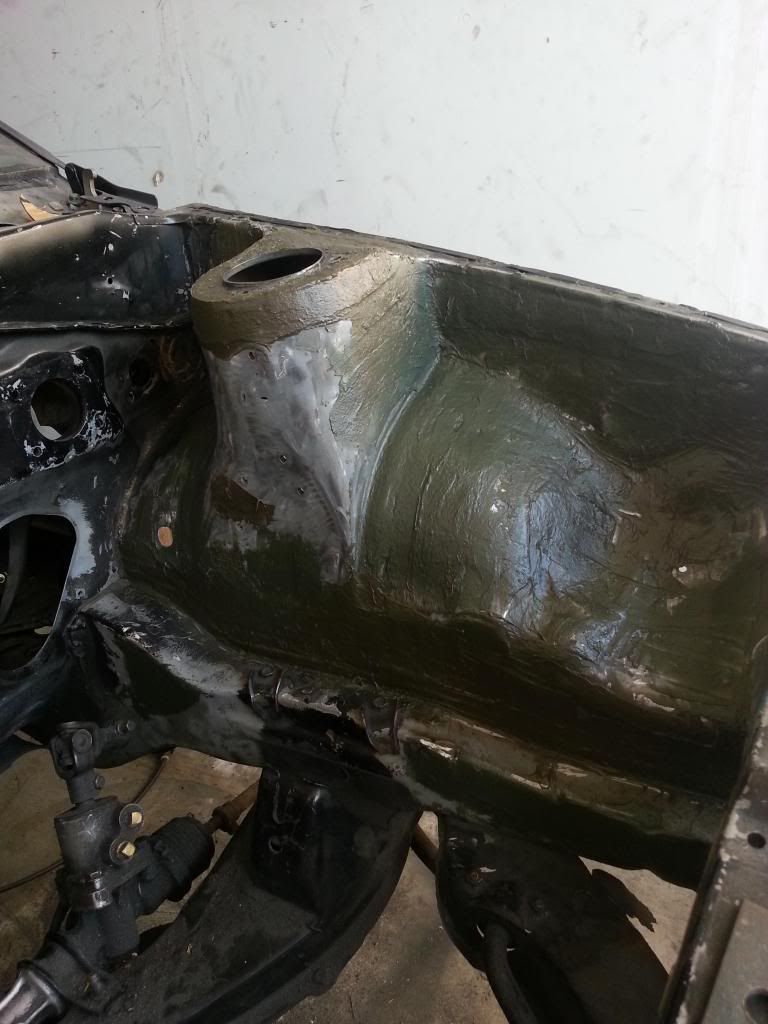
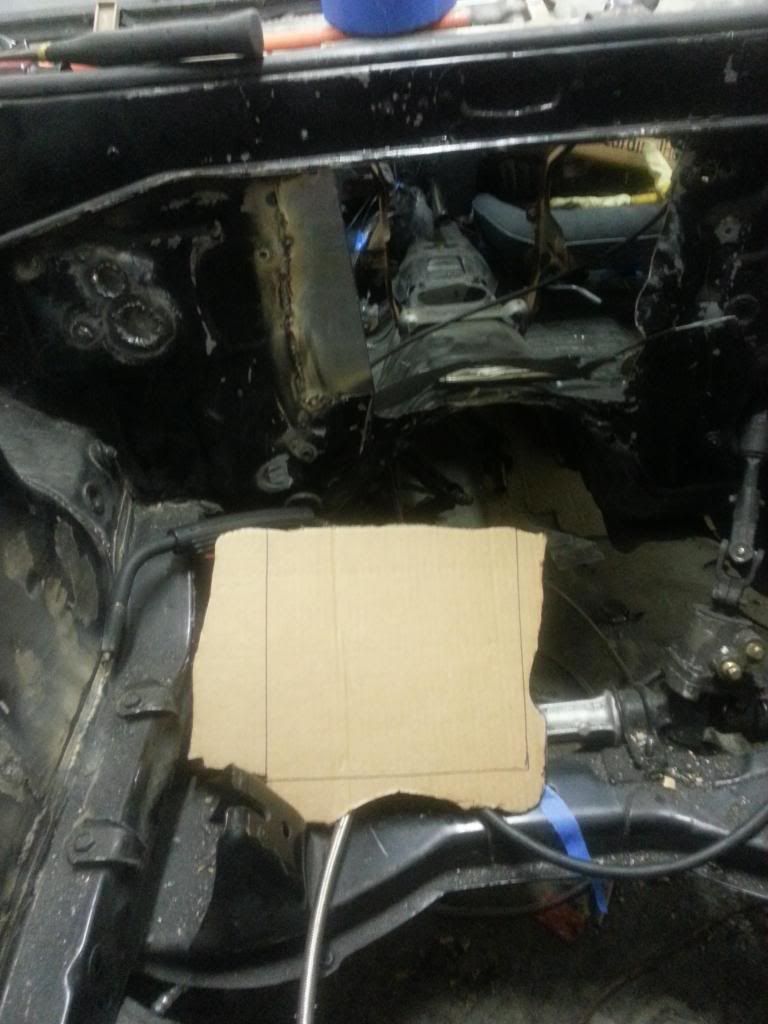
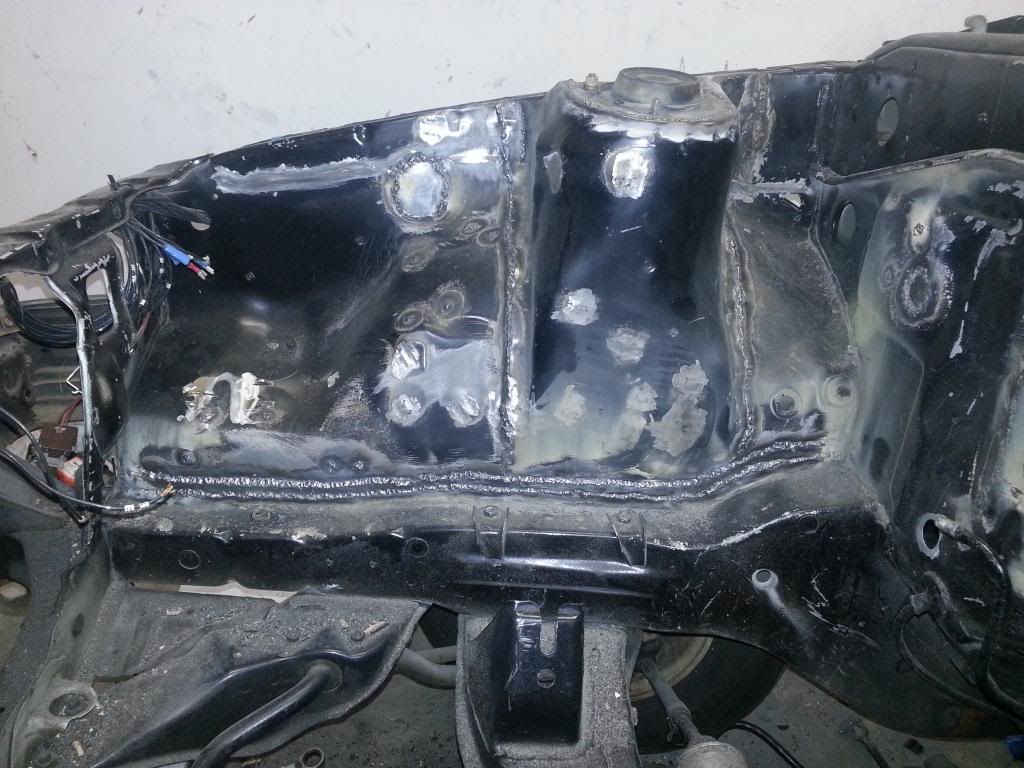
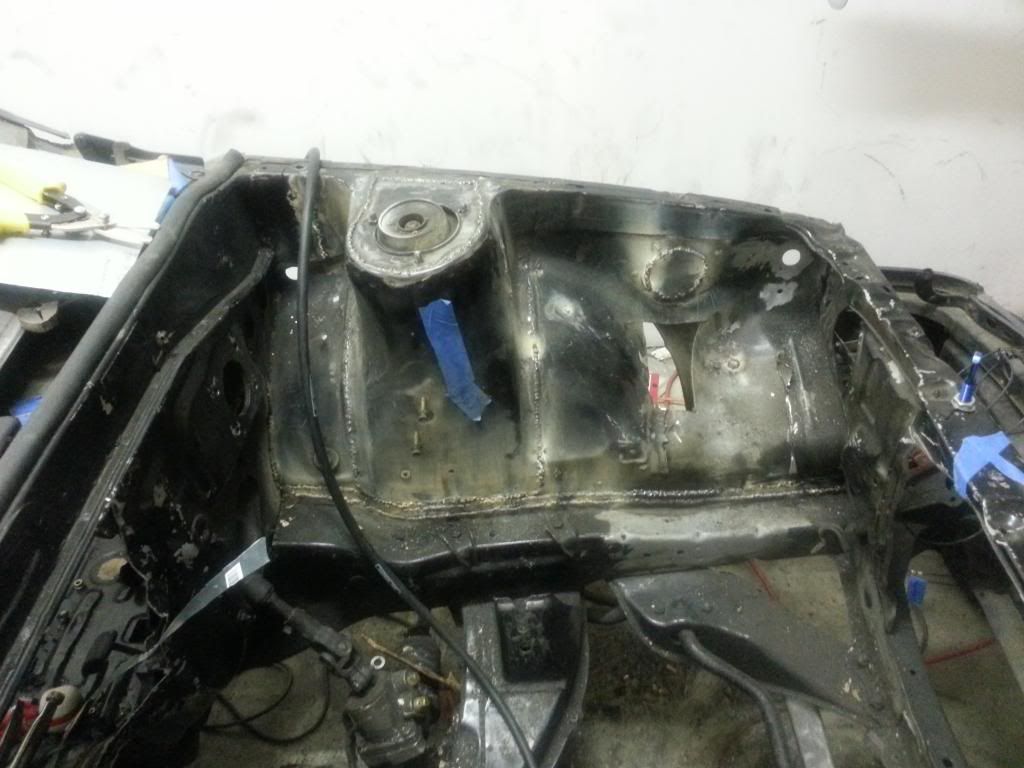
She sat in that position for a long time as life had it's way with some craziness. When we finally got back to working on it though I acquired my favorite toy to date, a Lincoln Electric Welder. It was purchased with the purpose of cutting a box into the firewall to house the distributor cap. After some further thinking we decided to make a larger hole so that the motor's coolant lines could wrap around the back side and to the colder side of the motor without having to buy an expensive reroute kit. Since the box will sit behind control panel it will be a perfect spot to mount the final relay board. Since the welder was being put to use, and the motor was back out we also decided to start working on the "stronger" aspect. Mostly because there have been a large number of pictures of clean engine bays floating around and, as stated earlier, she's going to be a high class lady. The bay got stripped of the seam filler and the holes were sanded down. The filling process began and the firewall box started to take shape. It looks rough, but the good thing about metal is that you can bend it, weld it, shave it, and then when you fill it nobody will ever know :D

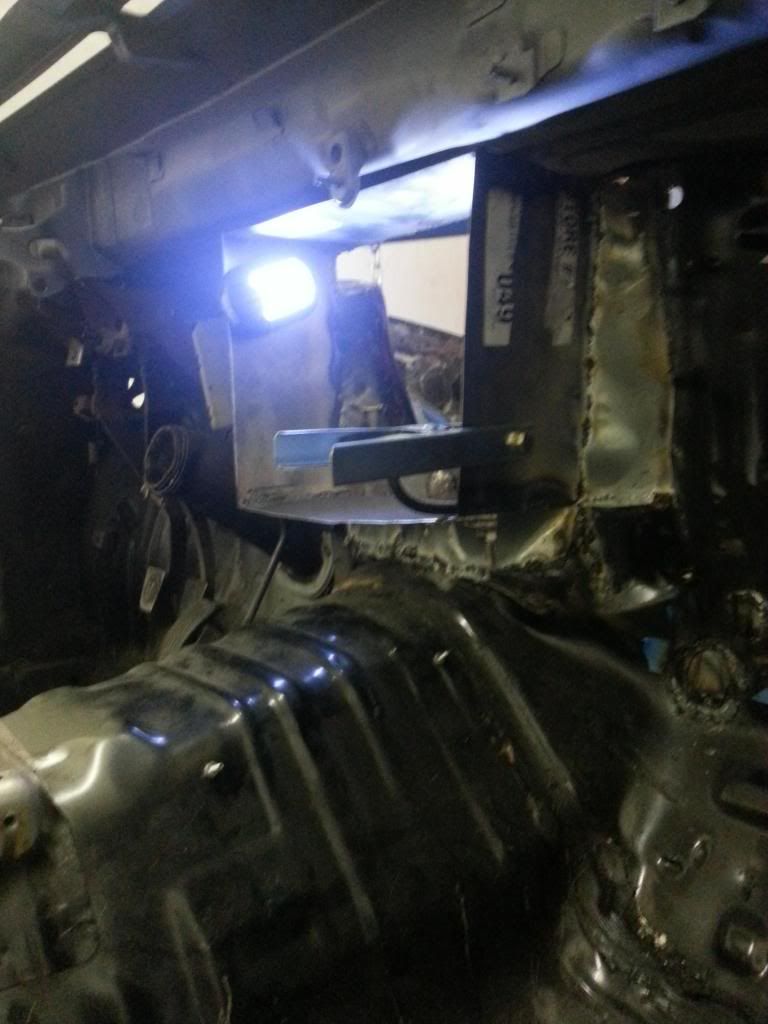
Firewall Hole with the template. The square is where the box will be.
Image
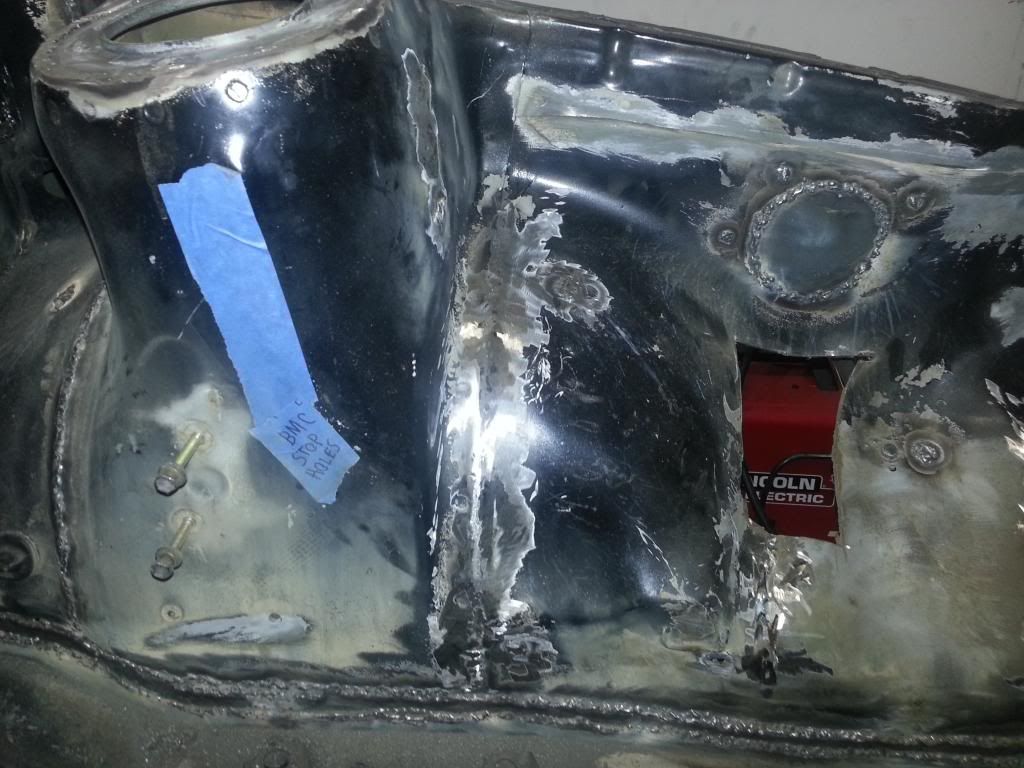
Filling holes, stitching seams, removing unnecessary pieces that don't need to be there anymore
Image
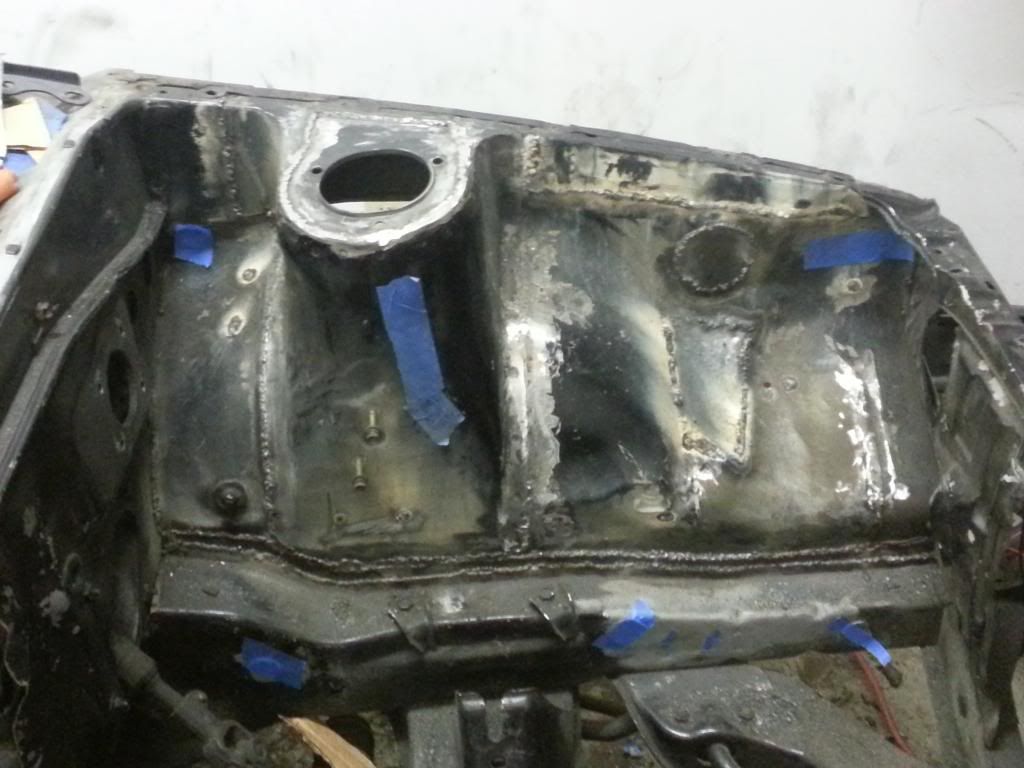
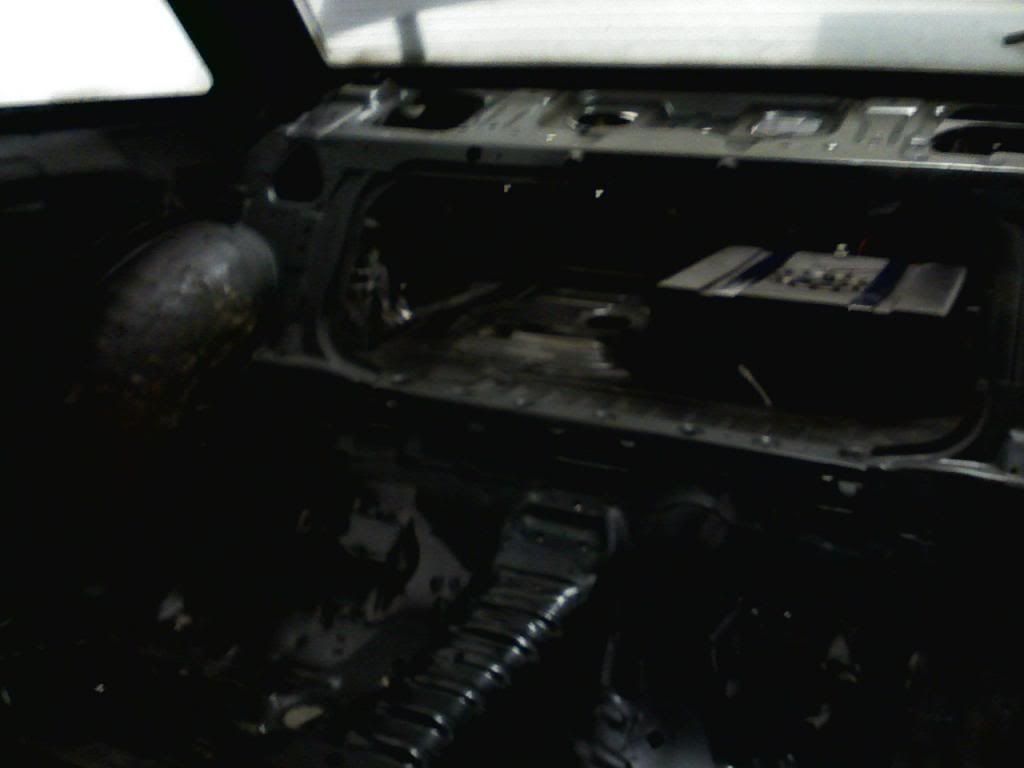
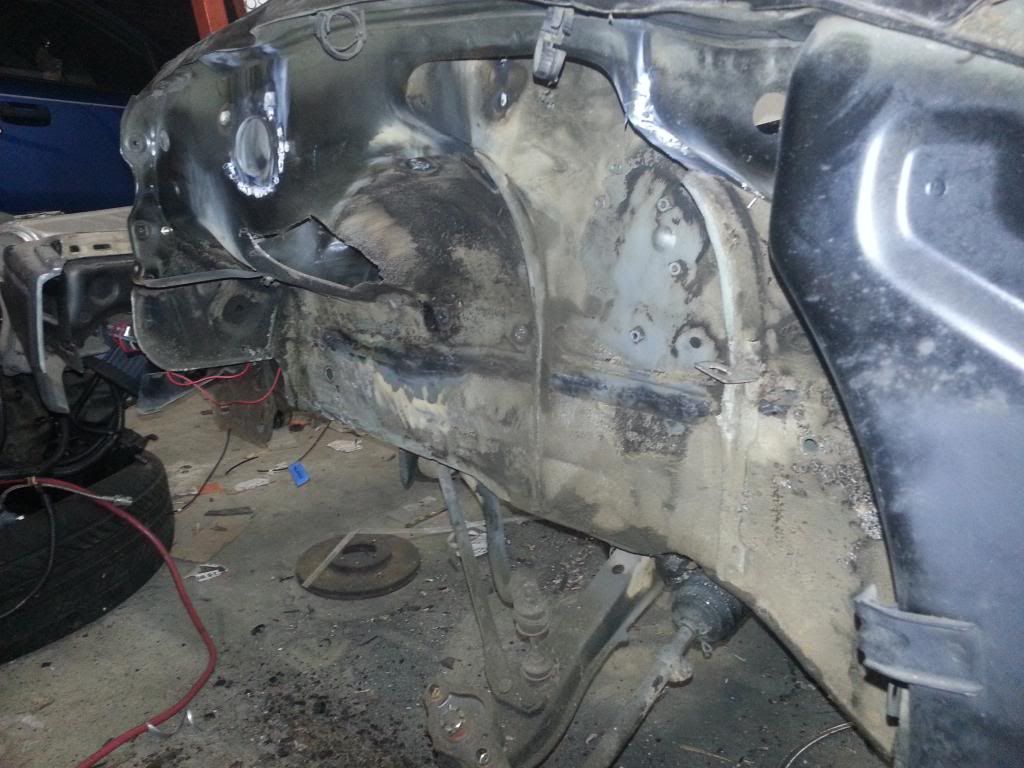
Well since the battery wont be in the bay and the acid started rusting the spot it was time for the destroyed tray to go
Image
Started cleaning one of the seams to see how it would look.. it still looks rough in the picture but man is it smooth and that was only with a grinding wheel
Image
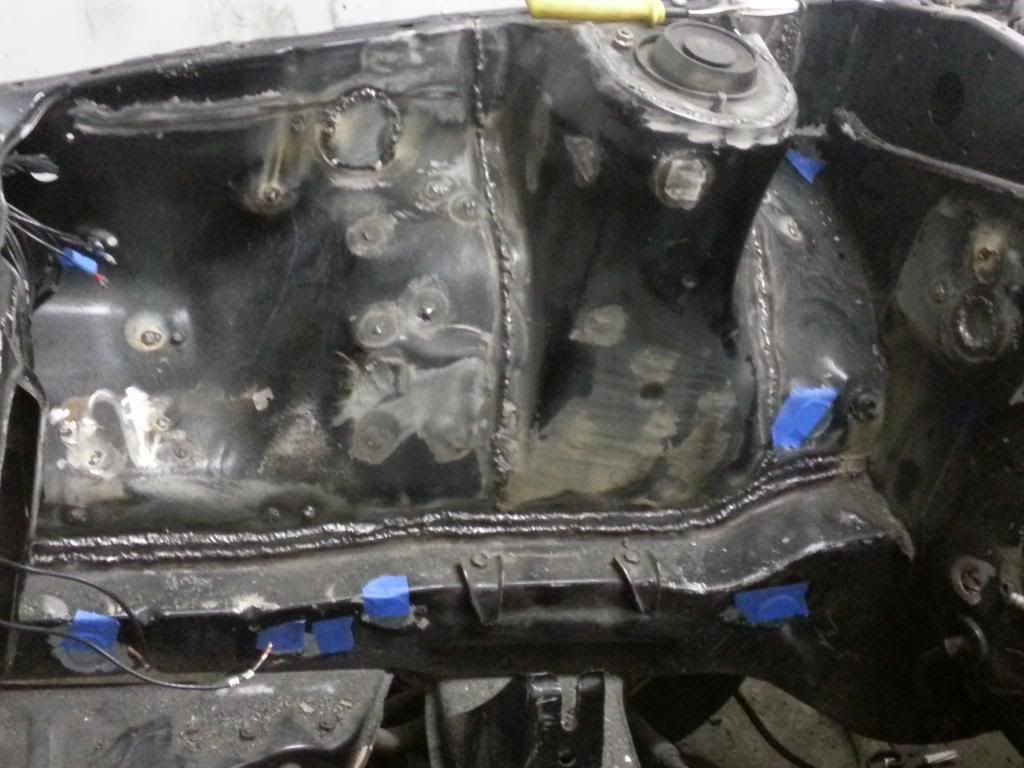
Wheel wells may as well get cleaned up too so the seams on this side can get done as well
Image


So this is where she sits currently. I picked her up in the winter of '07 and thanks to the distance between my apt at school and my parents house, combined with the lack of money my wallet is able to attain, I haven't gotten anywhere near as much done in the time frame as I would have liked. However, thanks to being accepted into a new school and a little more freedom to get home I've been able to put a ton more work into as of late. This will be updated when I get the chance to get back over to her, but I'm also taking my time and doing things right at this point. As you may have noticed there was some back tracking that had to be done and a little research would have gone a long way (especially when i picked to put an EFI motor into a carb'd chasis.) The desire for shiny objects and nice little add-ons to the the suspension took some money away from the motor extending the time it took to get her put together. Updates to come, and glad to be back on the boards. I do miss my old name (Piso86) though :(
Last edited by NC Panda on Wed Feb 27, 2013 5:31 pm, edited 1 time in total.

RSMae86
Club4AG Regular
Posts: 17
Joined: Thu Feb 21, 2013 1:24 am

Re: NC Panda's 20v GTSR5 years in the making

Postby RSMae86 » Thu Feb 21, 2013 12:17 pm

Keep it up bro it will happen...pretty inspiring :)

NC Panda
Club4AG Enthusiast
Posts: 74
Joined: Wed Feb 20, 2013 9:06 pm

Re: NC Panda's 20v GTSR5 years in the making

Postby NC Panda » Sun Feb 24, 2013 5:27 pm

Thanks man, just got back home to put a few more days of work into it before i have to head back to Greensboro. Looking to at least have the engine bay metal work done and get started on filler/paint prep by Thursday. Shouldn't be too hard but stuff always happens. I'll make sure to start grabbing more pics from here on out and get some good pics of the parts that I didn't mention earlier.

NC Panda
Club4AG Enthusiast
Posts: 74
Joined: Wed Feb 20, 2013 9:06 pm

Re: NC Panda's 20v GTSR5 years in the making

Postby NC Panda » Mon Feb 25, 2013 6:32 pm

Had a short day today but still got some decent prep done and the battery tray. Sadly, I should have gotten thicker steel and found out the hard way that the welder would just eat through it (hence the thicker welds.) Plans for the next 3 days are moving smoothly though and I might finally get some filler on it by this weekend/ early next week.

Battery Tray hole got filled in
Image
Image

Finally found all the holes that I will be filling in. Will probably stay away from the radiator forward since I will be replacing the whole section anyway, but the blue tape marks the holes left to be filled (minus the area reserved for a brake master cylinder stopper.)
Driver Side:
Image
Passenger Side:
Image

Will have more pics tomorrow when the holes are filled and the shaving/sanding starts

NC Panda
Club4AG Enthusiast
Posts: 74
Joined: Wed Feb 20, 2013 9:06 pm

Re: NC Panda's 20v GTSR5 years in the making

Postby NC Panda » Tue Feb 26, 2013 4:14 pm

Well, I found out the hard way today that my welding gloves had a hole in them when I wasn't paying attention. It was getting a little late when that happened so I went ahead a started doing the shaving. Thanks to the flux-core and some filling work from the welder it's going to be a slow process shaving and cleaning the welds. For the sake of not being redundant I will save the pics of the grinding process for when there is more done but in the mean time here is a pic of the little surprise I got that reminded me I might need new welding gloves.
Image
(yes, that piece of silver in my knuckle is the metal)

NC Panda
Club4AG Enthusiast
Posts: 74
Joined: Wed Feb 20, 2013 9:06 pm

Re: NC Panda's 20v GTSR5 years in the making

Postby NC Panda » Wed Feb 27, 2013 5:34 pm

well... rough day to say the least. Flux core just grinds my gears a bit haha but here's a pic of the driver side to hold over until i get back next week to continue making frustrated. Not done shaving it but it's almost done and ready to start filling.
Image
still rough but getting there

User avatar
GEOVA TRD
Club4AG Expert
Posts: 221
Joined: Thu Jan 17, 2013 1:21 pm
Location: WI

Re: NC Panda's 20v GTSR5 years in the making

Postby GEOVA TRD » Tue Mar 05, 2013 8:22 pm

Damn....Thats love!!

Good luck with this project and plz keep us up to date. :)

NC Panda
Club4AG Enthusiast
Posts: 74
Joined: Wed Feb 20, 2013 9:06 pm

Re: NC Panda's 20v GTSR5 years in the making

Postby NC Panda » Fri Mar 22, 2013 8:52 pm

finally got back home to work on the car. will be doing more grinding tomorrow and getting the box for the dizzy cap and water lines finished up. Couple of nights ago I made a little .gif to show an idea I have for my relay panel however. Basically, I'm going to have the relay's, fuses, and bridges on the firewall box (with heat reflective tape on the engine bay side to keep it cool.) Over this however I wanted to put an L.E.D confirmation panel that will light up when the relay's turn on. I have L.E.D's on my switch panel already, but this is pretty much purely for trouble shooting down the road (if the switch turns on but the part doesn't work and the led doesn't light up for relay confirmation I know that the relay isn't working, so on so forth.) With this however I want to put a few fan's to aid in keeping the wiring cooled down. Since I like having thing's look clean I want to cover all of this with a sheet of tinted plexiglass so that when the car's off the panel looks empty, when it lights up the led's will show through. The gif is pretty basic and dumbed down, also I won't be wiring it exactly like that (for security reason's) but you'll at least get the idea.
Image
(hopefully that turns out as pretty as it looks in my head)

In other new's for the car my jdm kouki cluster got broken by a tool bag that crashed on top of it :-( instead of buying another one and paying $200 for it I looked around for another option that I liked (inspired by the s2000 cluster) but making sure to keep it toyota based. Had a couple idea's and almost got one from an ae101 but found a deal I couldn't pass up. I'm still waiting for it to come in, and it's only to 180km/h (not 300) but it's still got the tom's overlay
Image
anyone know anything about wiring up mr2 clusters? lol hopefully it fits.. if not i will find a way haha

more pics of the engine bay in a few days

NC Panda
Club4AG Enthusiast
Posts: 74
Joined: Wed Feb 20, 2013 9:06 pm

Re: NC Panda's 20v GTSR5 years in the making

Postby NC Panda » Tue Mar 26, 2013 5:43 pm

working on the firewall box today. looking better than i expected actually....

Image
Image
Image
Image

finishing it up tomorrow (hopefully)

NC Panda
Club4AG Enthusiast
Posts: 74
Joined: Wed Feb 20, 2013 9:06 pm

Re: NC Panda's 20v GTSR5 years in the making

Postby NC Panda » Wed Mar 27, 2013 4:50 pm

Got the back of the box finished today. Still a little touching up to do in the front where the transmission tunnel meets the firewall but i'll leave that to tomorrow.
Image
Image

User avatar
grappletech
Club4AG Expert
Posts: 344
Joined: Sat Jan 12, 2013 12:13 pm

Re: NC Panda's 20v GTSR5 years in the making

Postby grappletech » Sat Mar 30, 2013 7:47 pm

Nice project, what part of NC are you in?
87 GTS Coupe stock and Super Duper Clean
87 GTS Coupe Beams 3sge (under construction cuz I'm slow and lazy and broke-FML)
87 SR5 Coupe Shell. (Sold)
86 SR5 Hatch Shell
86 GT-SR5 Coupe 20v Swap

NC Panda
Club4AG Enthusiast
Posts: 74
Joined: Wed Feb 20, 2013 9:06 pm

Re: NC Panda's 20v GTSR5 years in the making

Postby NC Panda » Sun Mar 31, 2013 9:55 am

Thanks guys, I'm around Durham but go back and forth between here and Greensboro

User avatar
grappletech
Club4AG Expert
Posts: 344
Joined: Sat Jan 12, 2013 12:13 pm

Re: NC Panda's 20v GTSR5 years in the making

Postby grappletech » Sun Mar 31, 2013 10:41 am

Oh ok, I am from NC but im currently stationed in Colorado... I am taking leave a month from now, so I'll hit you up since ill be around that area
87 GTS Coupe stock and Super Duper Clean
87 GTS Coupe Beams 3sge (under construction cuz I'm slow and lazy and broke-FML)
87 SR5 Coupe Shell. (Sold)
86 SR5 Hatch Shell
86 GT-SR5 Coupe 20v Swap

NC Panda
Club4AG Enthusiast
Posts: 74
Joined: Wed Feb 20, 2013 9:06 pm

Re: NC Panda's 20v GTSR5 years in the making

Postby NC Panda » Mon Apr 01, 2013 4:07 pm

Finally time for this to start looking like it's clean again... well, almost. The filler went on pretty well for my taste, now to let it dry and start the sanding process. Only grabbed pics of the drivers side, but you get the idea.
Image
Image
(the holes that are left on the strut tower are for the brake proportioning system and the master cyl. stopper)

NC Panda
Club4AG Enthusiast
Posts: 74
Joined: Wed Feb 20, 2013 9:06 pm

Re: NC Panda's 20v GTSR5 years in the making

Postby NC Panda » Tue Apr 09, 2013 2:27 pm

So I started doing some sanding on the filler and it started getting reallly dusty real quick and my face mask's were not that good. So, to save my lungs I'm putting the sanding on hold for a few days until I can pick up a better ventilator. I did start on some extra little stuff though just to have some of the pretty parts ready when the motor drops. To go with the engine bay I figured the Valve cover, Cam Gear cover, and Plenum cover could all use a touch up. Final idea is still a secret for now but here's a hint; it's going to make people jump.

Had to start getting rid of the chrome paint that was on there. Sadly the valve cover had a small pressure fracture around one of the mounting bolts that I had to put some jbweld on but the valley cover will take care of that so no biggie to me.
Image

First coat is a textured metallic black. Looked nice going on, can't wait to see how this turns out
Image

NC Panda
Club4AG Enthusiast
Posts: 74
Joined: Wed Feb 20, 2013 9:06 pm

Re: NC Panda's 20v GTSR5 years in the making

Postby NC Panda » Mon Apr 15, 2013 3:11 pm

yea i'll be there. looks like the car wont quite make it but it shouldnt be too much longer

NC Panda
Club4AG Enthusiast
Posts: 74
Joined: Wed Feb 20, 2013 9:06 pm

Re: NC Panda's 20v GTSR5 years in the making

Postby NC Panda » Mon Apr 29, 2013 6:22 pm

Started putting some of the theory about the relay panel down into actual wires and such. Not done but here's the update since it's been a bit.
Image

The engine bay is in the sanding process for the body filler. Am positive that I will have to put another layer on some sections but it's looking good. Those pics will come when I get a little more progress done and am not in the middle of a move!

User avatar
Mr.Fujiwara
Club4AG Expert
Posts: 482
Joined: Fri Jan 11, 2013 8:13 am
Location: North Hollywood

Re: NC Panda's 20v GTSR5 years in the making

Postby Mr.Fujiwara » Wed May 01, 2013 10:33 am

looks good hope your knucle gets better man!! lol
Old username: Charskiezz

20V BT: Traded For F20c Swap

NC Panda
Club4AG Enthusiast
Posts: 74
Joined: Wed Feb 20, 2013 9:06 pm

Re: NC Panda's 20v GTSR5 years in the making

Postby NC Panda » Tue May 07, 2013 4:45 pm

well... the moving is taking longer than expected but i'm still getting a few things taken care of.
here's the new valve cover, plenum cover, and gear/pulley covers that'll go on it... Van Halen inspiration with a little twist to match the rest of the car
Image

I just want the motor to go in... le sigh
one day

yellowsnow4free
Club4AG Enthusiast
Posts: 185
Joined: Thu Jan 10, 2013 10:55 am

Re: NC Panda's 20v GTSR5 years in the making

Postby yellowsnow4free » Tue May 07, 2013 11:13 pm

Wow, nice build :)

Nice welding too! Are you experienced or is this among your first attempts at it? Good job :)

NC Panda wrote:Image

What paint did you use for these? I've been thinking about repainting mine. Not sure if I should go with a gloss black or semi-gloss.

Keep up the good work! :)

NC Panda
Club4AG Enthusiast
Posts: 74
Joined: Wed Feb 20, 2013 9:06 pm

Re: NC Panda's 20v GTSR5 years in the making

Postby NC Panda » Sat May 11, 2013 6:14 pm

Thanks man, I've had a bit of experience behind a few MIG machines when I was in school. Now I have a Lincoln 140HD MIG of my own that I can use whenever. I need to go ahead and get my air tank for it so I can stop using Flux but it all seemed to hold fairly well and most welds will end up covered anyway. The pain on the bumper panels was a semi-gloss I am pretty sure (it's been a while since I painted those.)

yellowsnow4free
Club4AG Enthusiast
Posts: 185
Joined: Thu Jan 10, 2013 10:55 am

Re: NC Panda's 20v GTSR5 years in the making

Postby yellowsnow4free » Sat May 11, 2013 11:23 pm

NC Panda wrote:Thanks man, I've had a bit of experience behind a few MIG machines when I was in school. Now I have a Lincoln 140HD MIG of my own that I can use whenever. I need to go ahead and get my air tank for it so I can stop using Flux but it all seemed to hold fairly well and most welds will end up covered anyway. The pain on the bumper panels was a semi-gloss I am pretty sure (it's been a while since I painted those.)

Thanks for the reply! :D

Yeah, I took an introduction to welding class in college myself; MIG welding is the best! :D

And thanks for the info on paint! Semi-gloss is what I was thinking too.

Keep up the good work! :)

spike10000
Posts: 1
Joined: Sun May 12, 2013 11:06 pm

Re: NC Panda's 20v GTSR5 years in the making

Postby spike10000 » Sun May 12, 2013 11:08 pm

Hi there, did your tom's gauge cluster show up? Keen to have a look!

NC Panda
Club4AG Enthusiast
Posts: 74
Joined: Wed Feb 20, 2013 9:06 pm

Re: NC Panda's 20v GTSR5 years in the making

Postby NC Panda » Mon May 13, 2013 12:48 am

The cluster actually fell through. There was some funny business going on on the other end of that deal that seemed very similar to a deal that screwed me out of about $200 a while ago. Learned my lesson with funny situations and do not plan to have to put up with that kind of stuff again if I can help it!

NC Panda
Club4AG Enthusiast
Posts: 74
Joined: Wed Feb 20, 2013 9:06 pm

Re: NC Panda's 20v GTSR5 years in the making

Postby NC Panda » Tue May 14, 2013 9:13 pm

So i forgot to grab pics but the engine bay is ready for the next round of body filler. Thankfully this layer should involve much less work since I can now see where the bulges/holes are much easier. It also feels ooh so smooth and clean. I'm getting really excited to start spraying the primer on it but thankfully I've been able to refrain from doing that too soon haha. With all of the running around I've been doing (much more than I expected I'd have to) it's been a bit slower but little things keep happening and, well hey, little things join to make a big thing in the end haha.

I did manage to grab some pics of the motor covers after I cleared them. Used some High-Temp clear and put about 8 layers on them. Pics do a little justice but nowhere near enough, the flake on these things pop like nobody's business and it's really nice to see it come together the way it did. Granted these will get replaced when I can afford some new ones that aren't so beaten up I think they came out just fine for the time being.
Image
Image

next time i make it over to the car I'll grab some before/after pics of the next layer of body filler on the bay and how she comes out! Firewall will be included in the next round too so all that crazy hacking will finally have some pretty form

NC Panda
Club4AG Enthusiast
Posts: 74
Joined: Wed Feb 20, 2013 9:06 pm

Re: NC Panda's 20v GTSR5 years in the making

Postby NC Panda » Wed May 15, 2013 4:25 pm

Got some pics of where the engine bay is currently. This is after the first layer of body filler. I haven't done the filler on the firewall yet, I still have a few spots to touch up first but the wheel wells and spots that I removed look about right for how they need to be. Smooth as a baby's bottom too :-D

Image
Image
Image

This layer was to get rid of the big dips and major changes. The next layer will finish off the small dips and even it all out. Can't wait!

NC Panda
Club4AG Enthusiast
Posts: 74
Joined: Wed Feb 20, 2013 9:06 pm

Re: NC Panda's 20v GTSR5 years in the making

Postby NC Panda » Tue May 21, 2013 6:34 pm

Got to work on some more of the engine bay today. Not quite done still but very close. Got to start working on the filler on the firewall and, though it looks a little rough, it came out a little better than I expected.

Image
Image

I also finished the relay panel. Thankfully my multimeter confirmed full continuity because I really did not want to have to take this thing back apart. Now I just need to size the plexi cover and the led confirmation panel.
Image

Have to go out of town again tomorrow but hopefully this coming weekend I can finish the filler and start the paint process! We're moving again soon and I'm trying to get her back together decently enough to have it make it onto a trailer in one piece

NC Panda
Club4AG Enthusiast
Posts: 74
Joined: Wed Feb 20, 2013 9:06 pm

Re: NC Panda's 20v GTSR5 years in the making

Postby NC Panda » Sun May 26, 2013 5:40 pm

Got some of the sanding and stuff done on the filler for the firewall. Put a layer of primer on the wells and the passenger side firewall to get a better idea of where my valleys are and see what still needs attention without having to stare at the multicolored sections of metal, sanded filler, and fresh filler etc.

Image
Image

Theres def still some spots that need some heavy attention but now I can see even the smallest areas much easier.