Things you'll need:
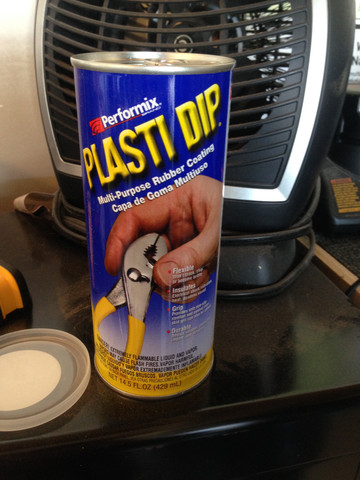
1) Performix Plasti Dip (This IS NOT the spray plastidip you're probably used to seeing, It's made by the same company though. I got this can at Lowes right next to the
plastidip. Make sure you check the cap for what color it is too.)
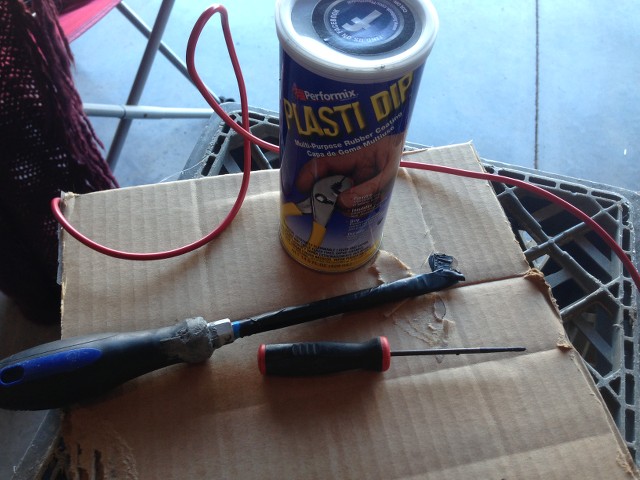
2) Some type of stir stick, I used a screwdriver wrapped in painters tape
3) A pick tool of some sort of small thin object like a pick tool
4) A wire for hanging the part. I used 10 gauge. You'll want this to be stiff
5) Maybe some cardboard for catching drips of the plastic
6) Decals for the gas and hatch (I got mine from http://www.torparts.com for a good price and they are top quality)
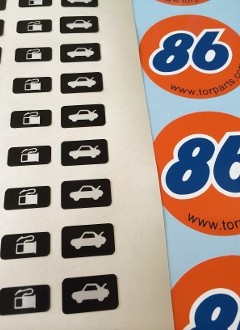 (Pic from torparts site)
-Start by removing your levers, It is possible to do it without taking the seat out, however I recommend it just because it is way easier to do. There is a single 10mm bolt in the front and then you'll need to pop the cable holders out of the locks . Once those are off, you can slide the cables out of the levers. If you're worried you'll forget which is which, label them with a piece of tape. (I have no pictures of this since mine was already out but I can take them if you need them)
- Remove the old rubber. It should be cracked and nasty if it's even there. I used a blade to help get it off. Get as much off as possible. Once the rubber is off, give the part a good wipedown ensuring there is no residual rubber on the levers. (Again, no pictures)
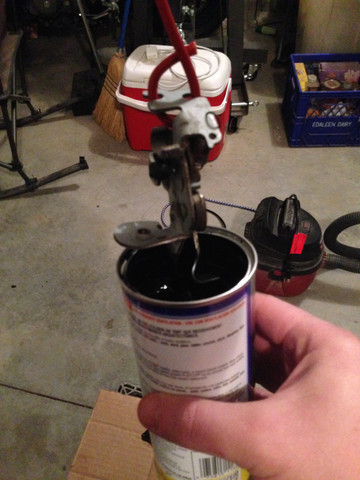
- From here you'll want to hang the lever from a piece of wire. Make sure that it is held tight and won't drop the part. You can also break open the can of plastic dip and give it a good stir
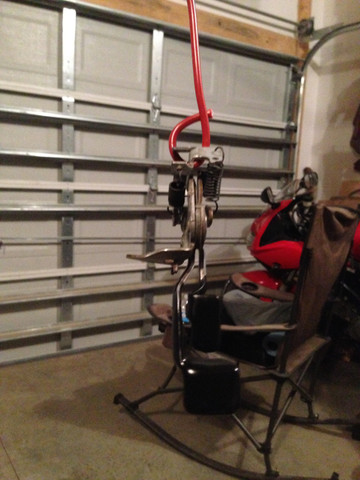
- Now you're ready to 'dip' the part. The can is wide enough that you don't need to pour it in something else. Just slowly lower the levers into the dip. you'll want to go in as far as possible without getting the coating on the mounting surface for the 10mm bolt. You don't need to hold it in the can or anything, it is just a down and up.
- Next you'll need your pick tool. I noticed after I removed the levers that the dip (which is very thick) was connected on both levers so I ran my pick in between the thin area between the levers so that the rubber was separate for each one. It will drip a little bit too here. Take the time to pop any bubbles you see and shape the rubber how you want it to sit. any place it dripped I made sure was flat and realize you have plenty of work time here. I got a nasty bubble under the bigger hatch release lever but it was easy to pop and shape with the pick.
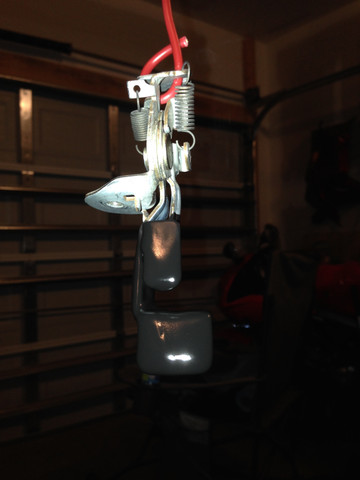
- Allow 30 min between coats at least! Repeat the last step. I wouldn't do more than 2 coats if at all. Once finished let the part sit for 4-6 hours. Probably more for you guys in the northeast. I just let it hang over night.
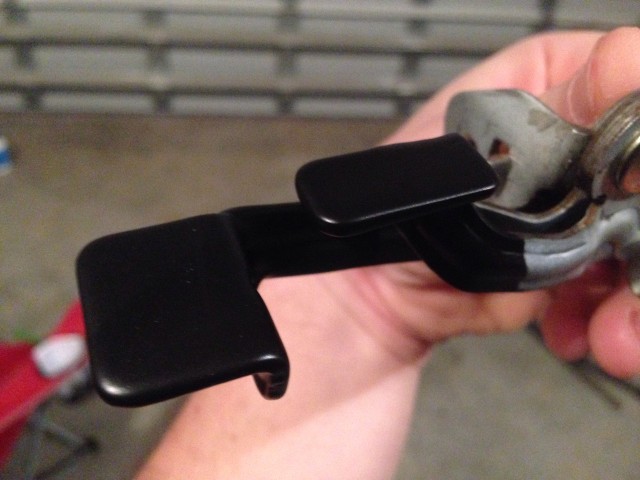
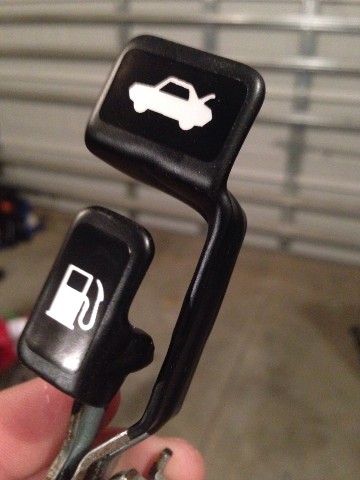
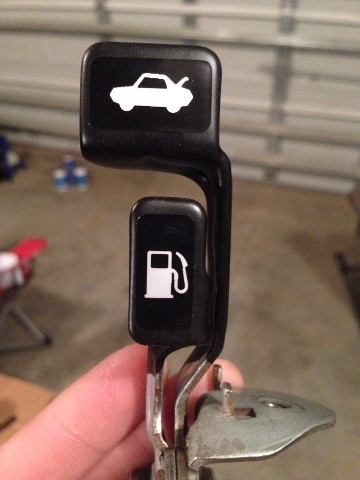
- This is the product I woke up to the next morning and it all looked great.
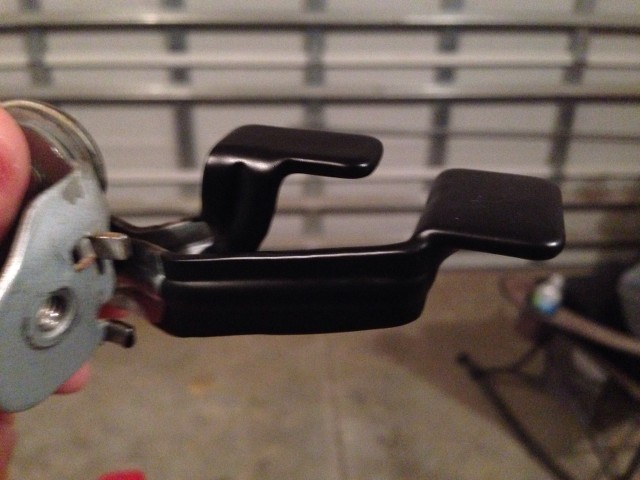
- All that's left is to apply the decals. Take your time so they don't look like ****. Finished product:
Total cost on this was less than 30 bucks for the decals and dip but worth every penny. I hope this helps!


